Chocolate Lava Cake is one of those desserts that saves the day when you want something warm, rich, and a little dramatic, but you do not want to spend all night in the kitchen. I have made it on random weeknights, for birthdays, and once just because I had a stressful day and needed a win. The best part is that it feels fancy, yet the steps are honestly pretty simple if you know what to look for. If you have ever worried about underbaking or overbaking, you are not alone, and I will walk you through it like I am right there with you. Let us get that gooey center on purpose, not by accident. 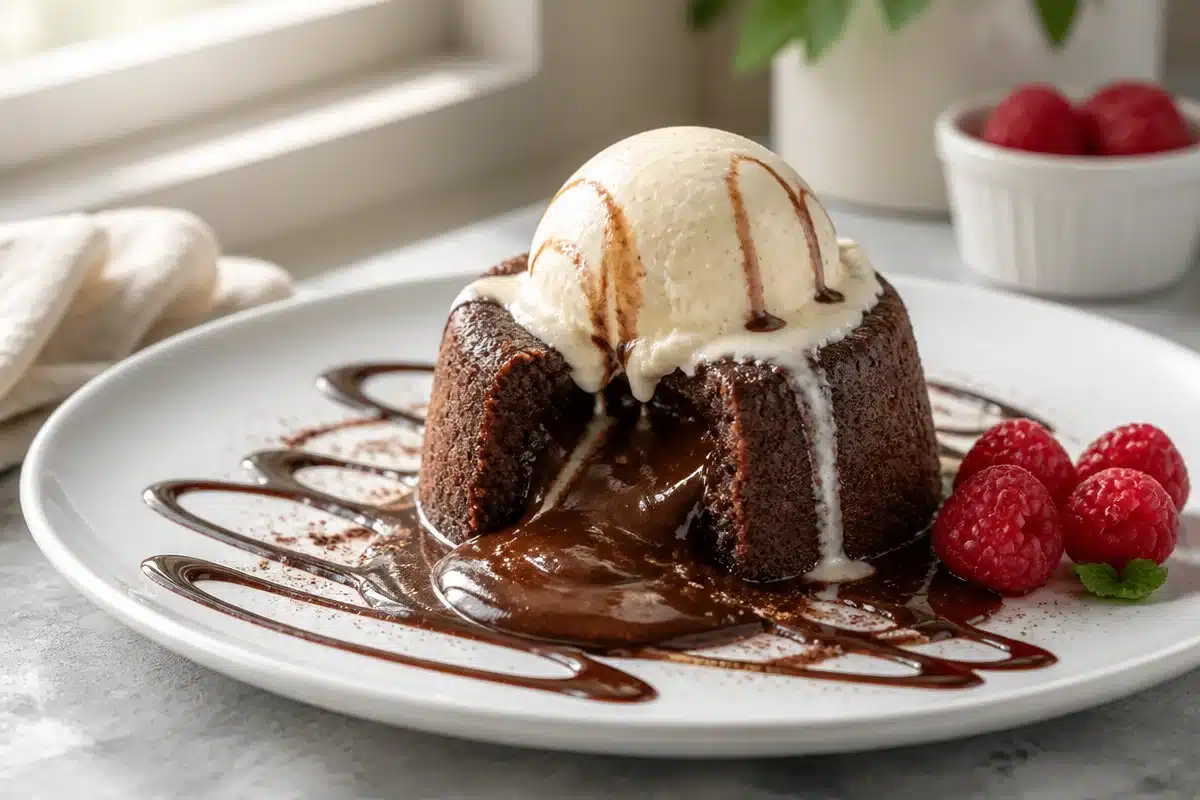
Key Benefits of Chocolate Lava Cake
There is a reason I keep coming back to Chocolate Lava Cake. It is quick comfort, the kind that makes your kitchen smell like a chocolate shop, and it turns a regular evening into something special. Also, you do not need a ton of tools or fancy decorating skills to make it look impressive.
Here is what I think makes it such a winner:
- Fast dessert: once you have everything measured, it bakes in about 10 to 13 minutes.
- Big payoff: the molten center looks like you planned a restaurant moment at home.
- Easy to scale: you can make two for a date night or six for a small group.
- Freezer friendly: you can prep the batter in advance, then bake when you need it.
And if you are in a chocolate mood in general, I always think it is fun to keep other easy chocolate treats in your back pocket too. These chocolate cake mix cookies are one of my lazy day favorites because they feel like a shortcut that still tastes homemade.
Common Misconceptions About Chocolate Lava Cake
I used to think Chocolate Lava Cake was one of those desserts that only works if you have pro level timing. Not true. The “lava” is mostly about the right batter texture and baking just until the edges are set and the center is still soft.
Let us clear up a few things that trip people up:
Misconception 1: The center is raw batter
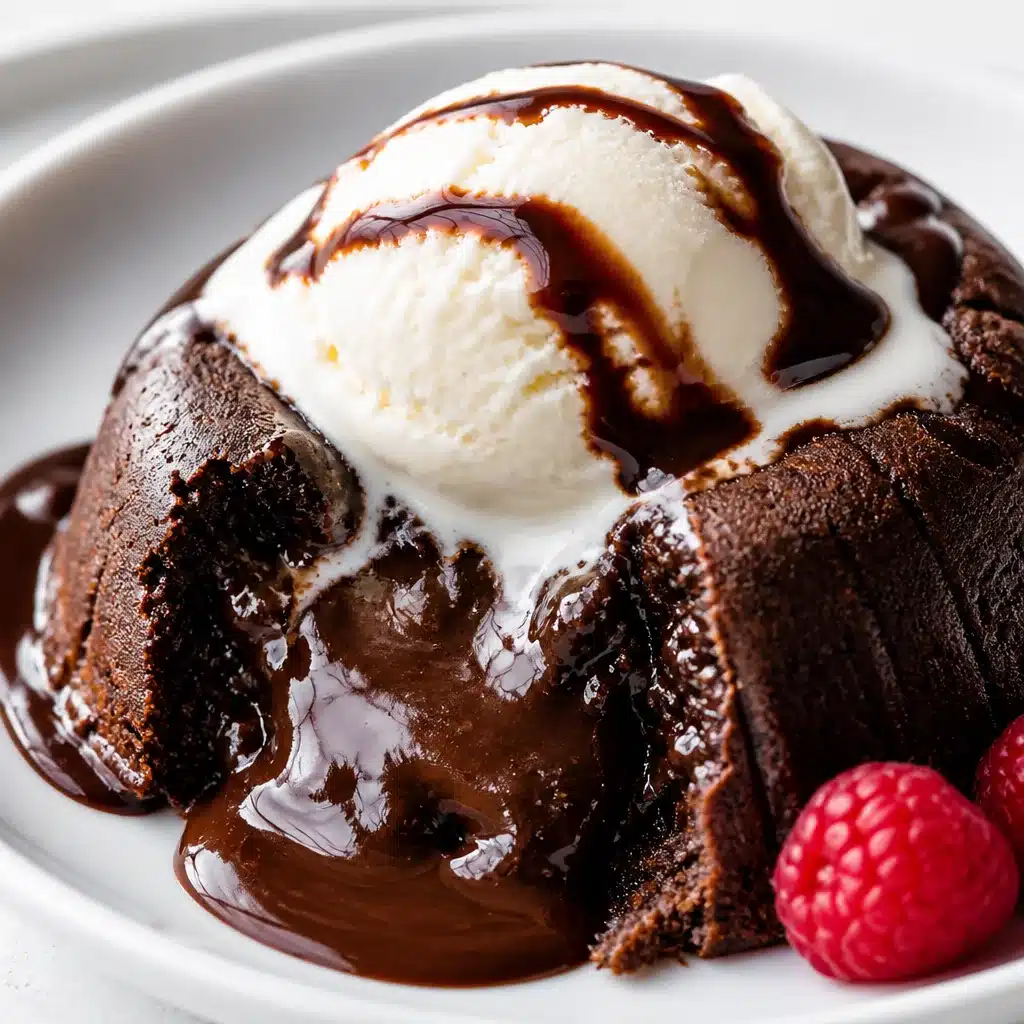
Nope. The center should be warm and pudding like, not liquid egg. The trick is using enough chocolate and butter to make a rich base, and baking just until the outer ring is set. If you cut into it and it looks like thin soup, it probably needed another minute.
Misconception 2: You need special ramekins
Ramekins are nice, but you can use a muffin tin if that is what you have. Just grease it very well, and expect a slightly different shape. The taste is what matters.
Misconception 3: It only works if you serve it immediately
It is best warm, yes. But you can still enjoy it after it sits for 10 minutes. The center thickens as it cools, so it becomes more like a fudgy core instead of flowing lava. Still delicious, just a different vibe.
“I made this for my family and everyone thought it was from a restaurant. The timing tips saved me, and we actually got the gooey center on the first try.”
Essential Tips for Mastering Chocolate Lava Cake
This is the part where I get a little bossy, in a friendly way. Chocolate Lava Cake is simple, but small details matter. Do these things and you will feel like a genius when you flip it out and the center does its thing.
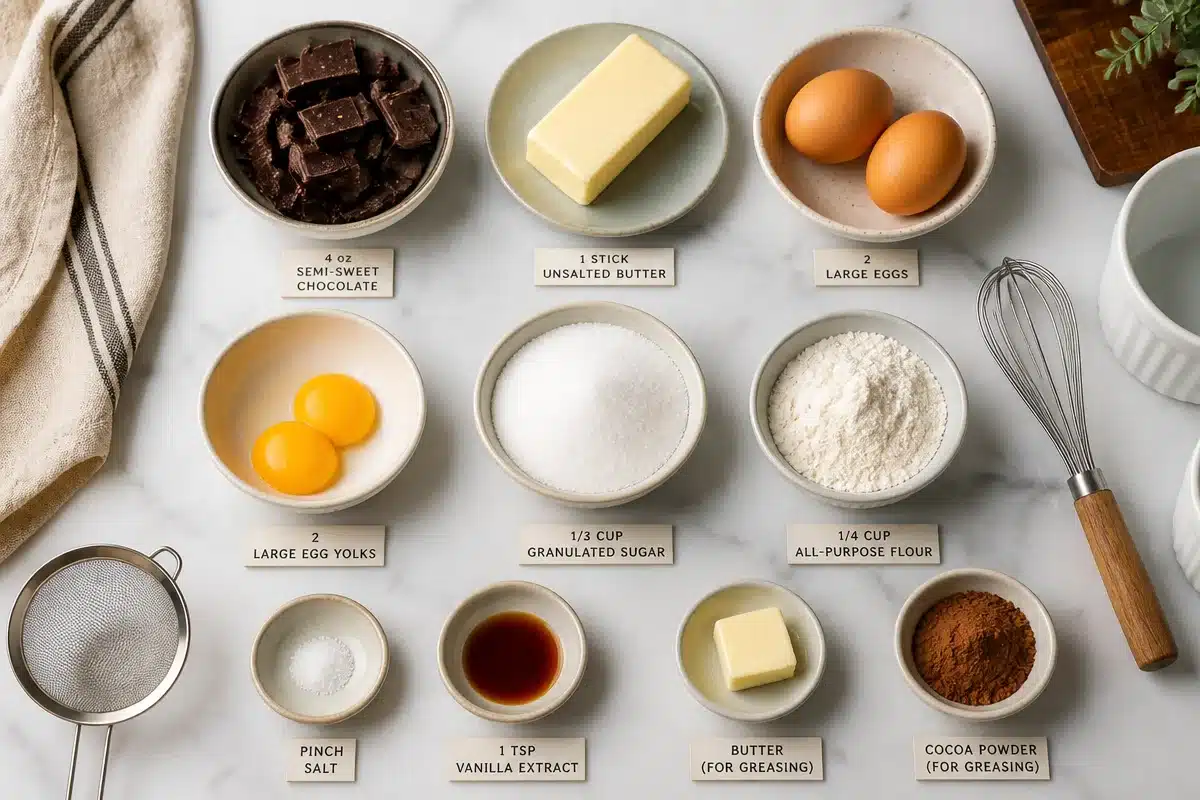
What you will need (nothing wild, I promise):
- 4 oz semi sweet chocolate (bar chocolate melts smoother than chips, but chips work)
- 1 stick unsalted butter
- 2 large eggs
- 2 large egg yolks (this helps the texture, do not skip if you can)
- 1/3 cup granulated sugar
- 1/4 cup all purpose flour
- Pinch of salt
- 1 tsp vanilla extract (optional, but I like it)
- Butter and cocoa powder for greasing the ramekins
My step by step directions:
- Preheat your oven to 450 F. Grease 4 ramekins with butter, then dust with cocoa powder. Tap out extra cocoa.
- Melt the chocolate and butter together. You can do this in the microwave in short bursts, stirring often, or over a double boiler. Let it cool for 2 to 3 minutes so it is not scorching hot.
- In another bowl, whisk eggs, egg yolks, and sugar until it looks a little lighter and thicker. You do not need a mixer, just some energy.
- Pour the melted chocolate mixture into the egg mixture slowly while whisking. Add vanilla if using.
- Fold in flour and salt just until you do not see dry flour. Do not overmix.
- Divide batter into ramekins and place them on a baking sheet.
- Bake for 10 to 13 minutes. Start checking at 10. The edges should look set, but the middle should still look soft.
- Let them sit for 1 minute. Run a knife around the edges, then flip onto plates.
The timing trick I swear by: if it is your first time, bake one test cake first. Seriously. Ovens vary, ramekins vary, and this removes the pressure. Once you nail the time in your kitchen, you will repeat it forever.
How to know it is done: the top should look set around the edges, and the very center might look slightly underdone. When you gently tap the side of the ramekin, it should jiggle a little in the middle.
Also, if you are into chocolate desserts that feel a bit “extra” but are still easy, you might also like these chocolate chip cheesecake cookies. They are a totally different texture, but they hit that rich, cozy dessert craving.
Real-Life Applications of Chocolate Lava Cake
I know “applications” sounds serious, but I just mean the real moments when Chocolate Lava Cake comes in clutch. This is the dessert I pull out when I want people to feel cared for, without making a huge mess or buying ten ingredients I will never use again.
Here are a few times it works really well:
Date night at home: You can prep the batter, cook dinner, then bake the cakes while you eat. Dessert comes out warm right when you want it.
Small dinner parties: Make the batter earlier, keep it in the fridge in the ramekins, then bake when everyone is finishing their meal. It feels like a restaurant move.
Celebrations for people who “do not want a big fuss”: You know the type. They say they do not want anything, but then they smile when you bring out something warm with ice cream.
Solo treat night: Make two. Eat one. Save one for tomorrow. Or do not. No judgment.
Serving ideas that never fail: a scoop of vanilla ice cream, fresh berries, a dusting of powdered sugar, or even a pinch of flaky salt if you like that sweet salty thing.
Resources for Further Learning on Chocolate Lava Cake
If you want to go deeper, compare methods, or just see how other bakers do it, I am all for that. I learned a lot by reading different versions and noticing what stays consistent: good chocolate, butter, and careful baking time.
Here are a few learning angles that help:
Chocolate choice: bars melt smoother, but good quality chips are still fine.
Make ahead: you can chill the filled ramekins, then bake a minute longer.
Adjusting sweetness: darker chocolate will taste more intense and less sweet.
Food safety: if you are worried, bake 1 to 2 minutes longer for a more set center. It will be fudgy, not super runny.
And if you are baking for someone with allergies or preferences, you can experiment carefully. For example, gluten free flour blends usually work in small amounts like this, but the texture can change. I recommend doing a test run first, especially if it is for guests.
Common Questions
Can I make Chocolate Lava Cake ahead of time?
Yes. You can mix the batter, fill the ramekins, cover, and refrigerate for up to 24 hours. Bake straight from the fridge, but add about 1 to 2 minutes.
Why did my cakes not flip out cleanly?
Usually it is not greased enough, or you skipped the cocoa dusting. Butter plus cocoa powder works better than flour here because it keeps the outside chocolatey.
What if I do not have ramekins?
Use a muffin tin. Grease it well and dust with cocoa. Start checking early because it may bake faster in metal.
How do I know I will get the lava center?
Watch the edges. When the edges are set and the center is still soft, pull them. If you wait until the center looks fully firm, you will get a more cake like middle.
Can I reheat leftovers?
You can, but it will not be as lava like. Microwave for 10 to 20 seconds and enjoy it as a warm fudgy cake instead.
A sweet little nudge to go bake
Chocolate Lava Cake is one of those recipes that makes you feel like you did something big, even if it only took a short time. Focus on good greasing, solid chocolate, and watching the bake time like a hawk, and you will be in great shape. If you want to compare another reliable method, check out How to Make Chocolate Lava Cakes – Sally’s Baking Addiction, and for a slightly different take, Chocolate Lava Cake – Preppy Kitchen is also a helpful read. Now go grab that butter and chocolate and make it happen. You deserve a warm, gooey dessert moment tonight.
Print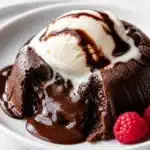
Chocolate Lava Cake
- Total Time: 23 minutes
- Yield: 4 servings
- Diet: Vegetarian
Description
A rich and warm dessert with a gooey center that is quick and easy to make, perfect for any special occasion.
Ingredients
- 4 oz semi-sweet chocolate
- 1 stick unsalted butter
- 2 large eggs
- 2 large egg yolks
- 1/3 cup granulated sugar
- 1/4 cup all-purpose flour
- Pinch of salt
- 1 tsp vanilla extract (optional)
- Butter for greasing
- Cocoa powder for dusting
Instructions
- Preheat your oven to 450°F. Grease 4 ramekins with butter, then dust with cocoa powder.
- Melt the chocolate and butter together in the microwave or over a double boiler.
- Let it cool for 2 to 3 minutes.
- Whisk eggs, egg yolks, and sugar in another bowl until thicker.
- Pour the melted chocolate mixture into the egg mixture slowly while whisking.
- Fold in flour and salt until just combined.
- Divide the batter into the ramekins and place on a baking sheet.
- Bake for 10 to 13 minutes, checking at 10 minutes.
- Let sit for 1 minute, then run a knife around the edges and flip onto plates.
Notes
Best served warm and can be made ahead of time. Serve with ice cream or fresh berries for extra indulgence.
- Prep Time: 10 minutes
- Cook Time: 13 minutes
- Category: Dessert
- Method: Baking
- Cuisine: American