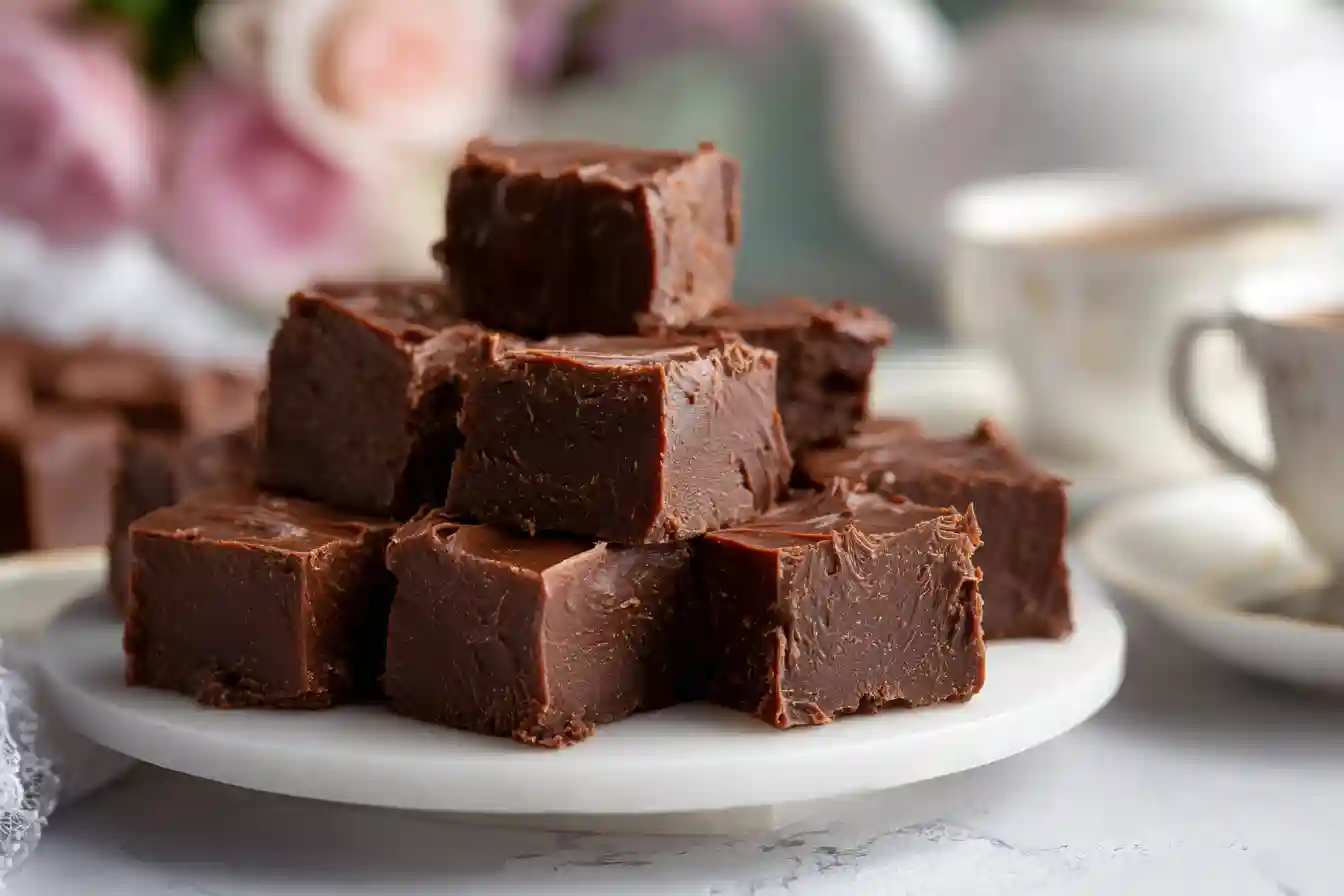
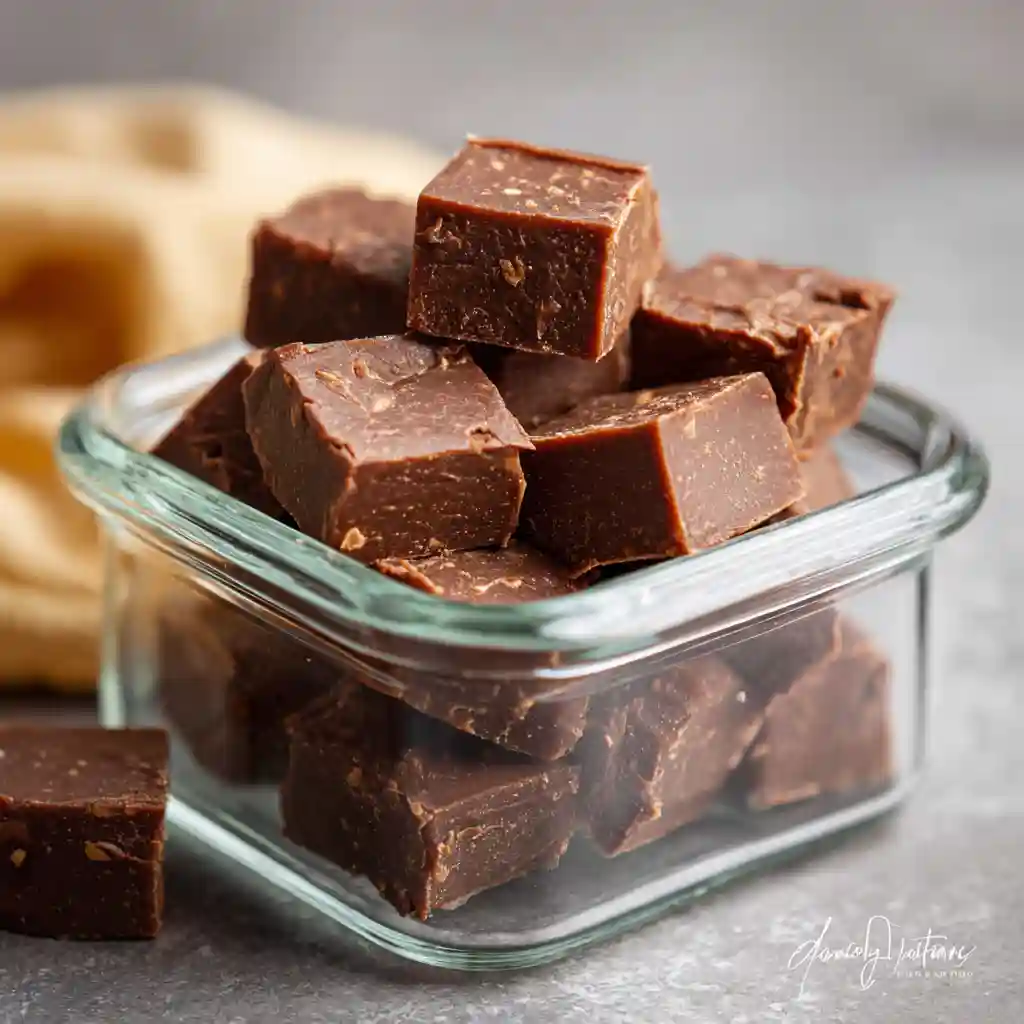
Why This Easy Fudge Recipe Will Be Your Favorite Dessert
Everyone loves fudge, but not everyone loves making it. The long cooking times, tricky temperatures, and candy thermometers? No thanks. That’s why this easy fudge recipe is the game-changer your sweet tooth has been waiting for.
With just three basic ingredients, five minutes of prep, and no baking required, this dessert is:
- Foolproof, even for beginners
- Perfect for holidays, parties, or midnight cravings
- Creamy, rich, and totally irresistible
Whether you’re whipping it up for guests or just sneaking bites from the fridge after dinner, this recipe always delivers.
Want more treats like this? Try our chocolate chip cheesecake cookies or the super nostalgic old-fashioned salmon patties savory and comforting!
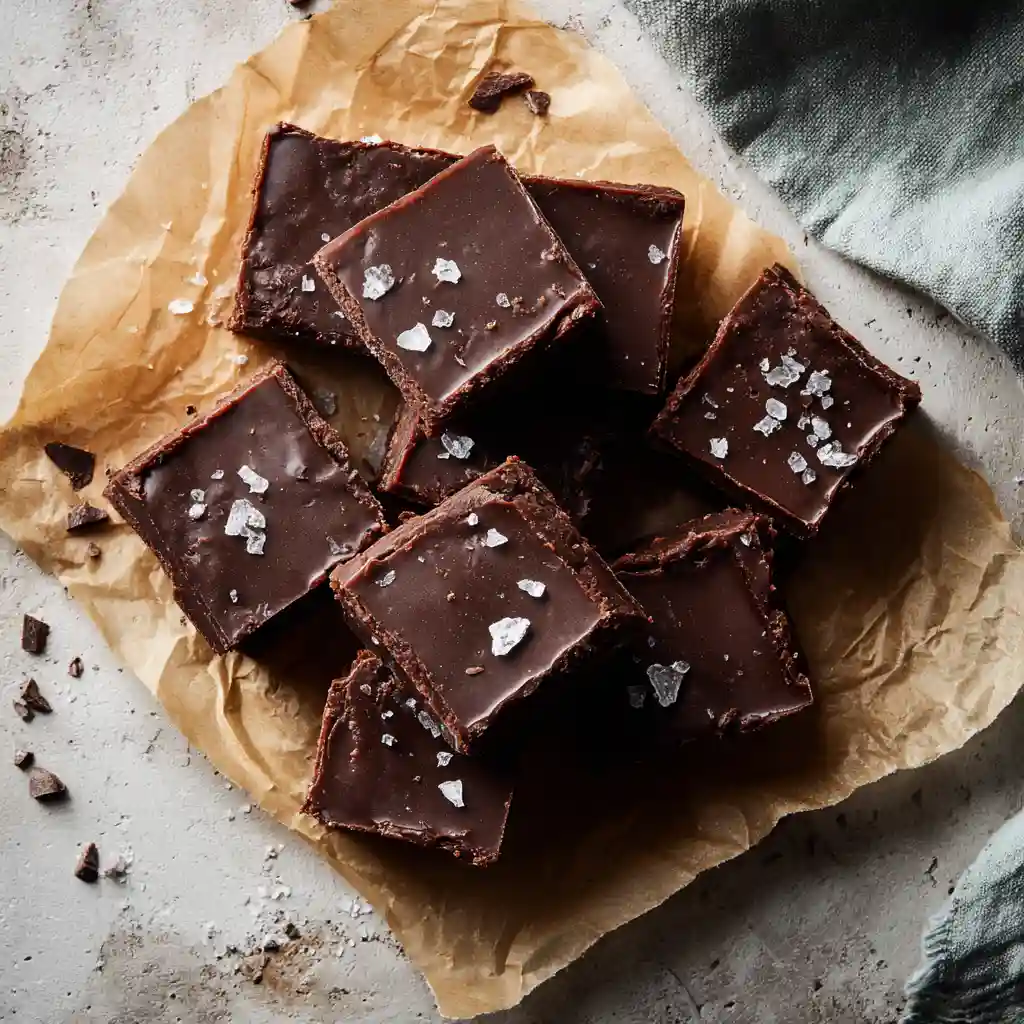
Table of Contents
Table of Contents
From Grandma’s Kitchen to Your Microwave
Classic fudge takes time. This easy fudge recipe takes shortcuts, the smart kind.
Instead of boiling sugar and checking candy stages, we use a combo of:
- Sweetened condensed milk
- Chocolate chips
- Pure vanilla extract
This trio melts into the smoothest, creamiest fudge ever without needing a thermometer or even your stove. Just pop it in the microwave, stir it up, pour it into a pan, and let it set.
It’s a method that’s been tried, tested, and loved by busy moms, kids, and home bakers everywhere. Even Cleveland Clinic highlights the antioxidant benefits of real chocolate, so a square or two isn’t just tasty, it’s smart too.
The Only 3 Ingredients You Need
Here’s what makes this easy fudge recipe so reliable:
- Chocolate Chips: Choose semi-sweet for depth or milk chocolate for a milder flavor.
- Sweetened Condensed Milk: Skip evaporated milk; they’re not the same. This is what gives the fudge its silky texture.
- Vanilla Extract: Adds balance, warmth, and depth. Use real vanilla for the best results.
Bonus: You can easily customize it swirl in peanut butter, top with nuts, or mix in crushed cookies.
This isn’t just fudge. It’s your new secret weapon for instant chocolate joy.
Why This Recipe Works So Well
This easy fudge recipe doesn’t just save time, it saves headaches.
According to the FDA’s food handling chart, recipes using shelf-stable ingredients like these have minimal risk and can be safely stored at room temperature or in the fridge for extended freshness. That means:
- Less worry
- Longer shelf life
- More flavor, faster
It’s a win-win every time you make it.
What You Need to Make the Best Easy Fudge Recipe
The beauty of this easy fudge recipe is how shockingly simple the ingredient list is. No long grocery trip. No weird tools. Just a few basics that may already be in your kitchen.
Here’s everything you’ll need.
Ingredients
- 2 cups semi-sweet chocolate chips (or milk chocolate for a softer taste)
- 1 (14 oz) can sweetened condensed milk
- 1 teaspoon pure vanilla extract
That’s it. Just three ingredients, but combined right, they create pure chocolate magic.
Want to switch things up?
Try mix-ins like:
- Crushed candy canes
- Mini marshmallows
- Chopped walnuts or pecans
- Peanut butter swirls
This base is flexible. You can even substitute dark chocolate or white chocolate chips for a new twist.
You might also like our dense bean salad recipe if you’re after something savory and protein-packed.
Recommended Tools
No fancy equipment here. Just the basics:
- Microwave-safe bowl (preferably glass)
- Rubber spatula or wooden spoon
- 8×8-inch pan (lined with parchment for easy removal)
- A fridge to help the fudge set
Still using foil? Switch to parchment paper. It’s cleaner, easier to work with, and won’t stick to your precious chocolate squares.
Pro Tip: Don’t use wax paper it can melt or transfer flavor into your fudge.
Step-by-Step: How to Make Easy Fudge (Microwave Method)
This method is so easy, you’ll feel like you’re cheating. But trust us, it works every time.
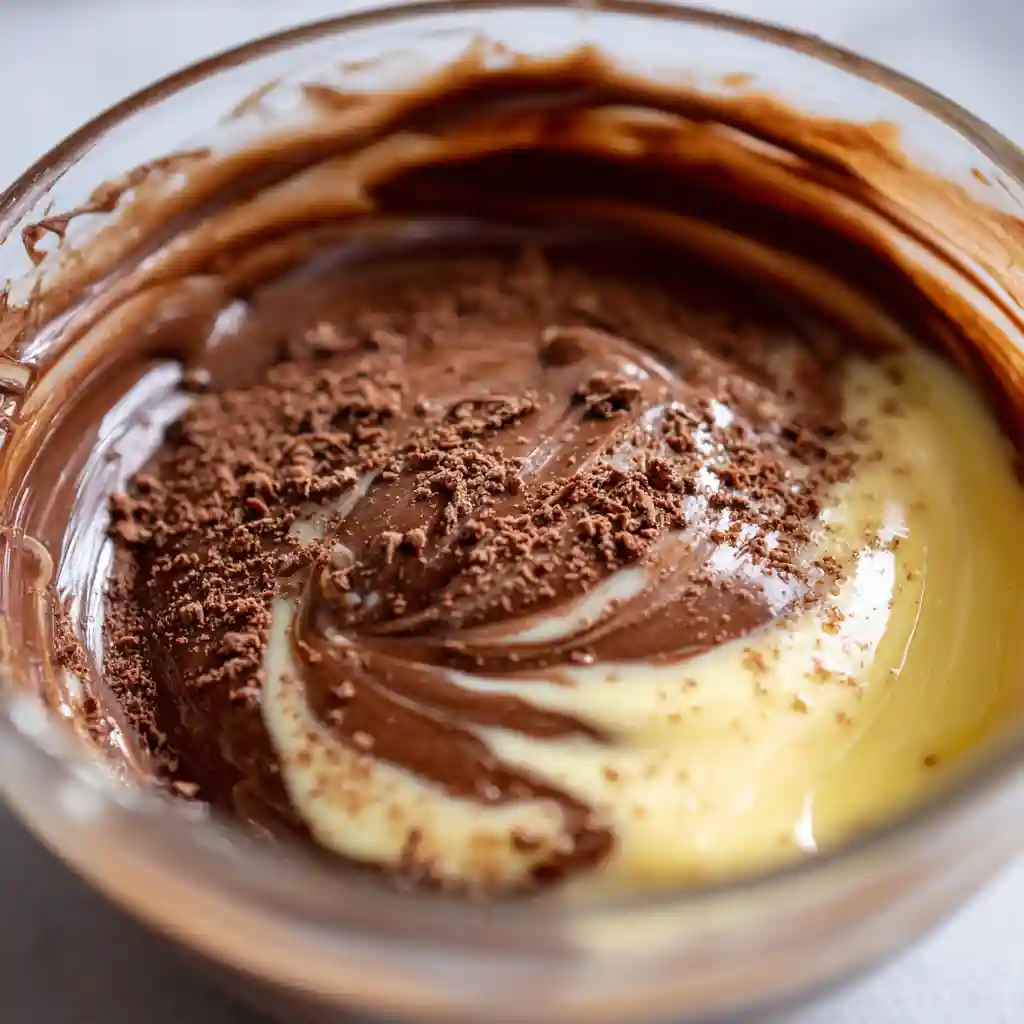
Step 1: Melt the Chocolate and Milk
Place the chocolate chips and sweetened condensed milk in a microwave-safe bowl. Microwave on high in 30-second bursts, stirring between each, until fully melted and smooth.
Usually takes about 1½ to 2 minutes in total.
Step 2: Add Vanilla
Once melted, stir in your vanilla extract. This deepens the chocolate flavor and adds a bakery-style warmth.
Step 3: Pour and Chill
Pour the mixture into your parchment-lined pan and spread it evenly. Refrigerate for 2–3 hours, or until fully set.
Want it faster? Pop it in the freezer for 45 minutes but don’t forget about it!
Bonus: Make It Yours
Once you’ve mastered the base, try turning this easy fudge recipe into a signature treat with one of these twists:
- Sprinkle sea salt on top before chilling
- Mix in crushed Oreos or M&M’s
- Add a swirl of peanut butter or Nutella
The options are endless. The results? Always impressive.
Inspired by easy recipes? Our turkey ribs are another surprising hit tender, flavorful, and unexpected.
Food Safety Tip
According to FoodSafety.gov, treats like this fudge with no raw eggs or perishable dairy are generally safe to leave out at room temperature for short periods. Just keep it sealed, dry, and away from sunlight.
5 Delicious Fudge Variations You Should Try
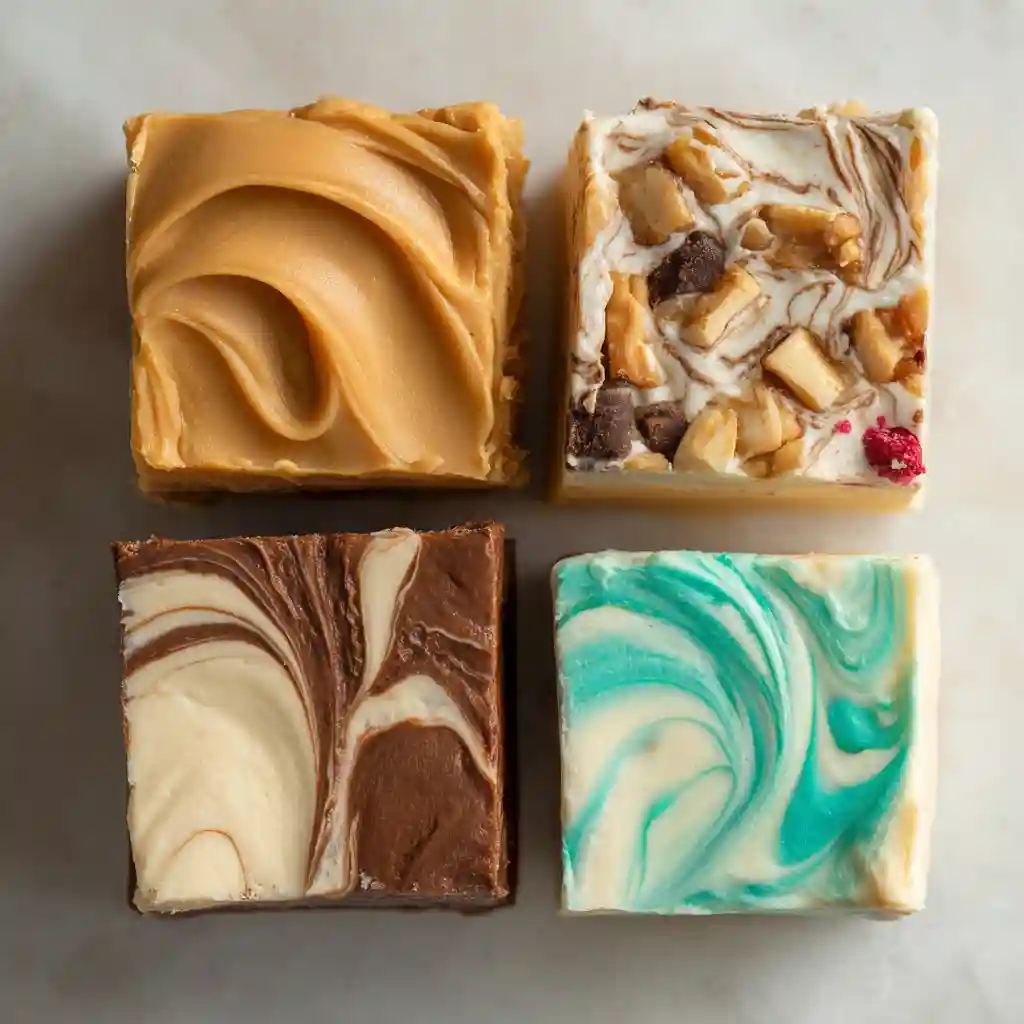
Once you’ve nailed the classic easy fudge recipe, it’s time to get creative. This recipe is the ultimate blank canvas, and these five variations will take it from simple to show-stopping.
Each one adds a fun twist while sticking to the same base formula. All you need to do is stir in or layer a few extra ingredients before chilling.
1. Peanut Butter Swirl Fudge
If you love peanut butter cups, this one’s for you.
How to make it:
- After pouring the fudge into your pan, drop spoonfuls of creamy peanut butter over the top.
- Use a toothpick or butter knife to swirl it through the chocolate.
- Chill as usual.
Creamy, nutty, and super addictive.
2. Salted Caramel Crunch Fudge
Sweet meets salty in this ultra-satisfying combo.
Add to your base:
- ¼ cup crushed pretzels
- 2 tablespoons caramel sauce (drizzled on top)
- Sprinkle with flaky sea salt before chilling
The crunch of the pretzels and the smooth caramel contrast perfectly.
For another sweet-savory surprise, don’t miss our delicious passover potato pie yes, it’s as good as it sounds!
3. Mint Chocolate Fudge
Refreshing and rich, this one’s perfect for the holidays or any time you’re craving something cool.
Just add:
- ½ teaspoon peppermint extract (in place of or alongside the vanilla)
- Optional: green food coloring and crushed candy canes on top
Let it chill and enjoy that melt-in-your-mouth minty bite.
4. Rocky Road Fudge
This is the fudge that eats like a candy bar.
Stir in before chilling:
- ½ cup mini marshmallows
- ⅓ cup chopped walnuts or pecans
- Optional: drizzle with melted chocolate
Soft. Crunchy. Gooey. All in one square.
5. White Chocolate Raspberry Fudge
Elegant enough for gifting, easy enough for everyday.
How to make it:
- Use white chocolate chips instead of regular ones
- Drop small spoonfuls of raspberry jam over the top and swirl
- Let it set completely before slicing
It’s sweet, tangy, and looks gorgeous in a gift box.
Looking for more creative desserts? Our easy crockpot steak and potatoes recipe proves that simple can be impressive.
Pro Tip: Mix Carefully
Whatever add-ins you choose, always fold them in gently; overmixing can cause separation or a gritty texture. Also, avoid wet ingredients that release too much moisture (like fresh fruit), which can affect setting.
Save or Share?
All of these variations store just like the original:
- In an airtight container
- Up to 2 weeks in the fridge
- Or 3 months in the freezer
Want to gift them? Use mini cupcake liners in a cute box or a cellophane bag tied with ribbon. Just add a label and a smile.
According to the USDA gift food safety guide, shelf-stable, dairy-free treats like this are ideal for mailing too.
Pro Tips for the Creamiest, Smoothest Fudge
Anyone can follow a recipe. But if you want that glossy, silky finish and rich, melt-in-your-mouth texture the kind that makes people say “Wow!” these pro tips will make all the difference.
Let’s turn your easy fudge recipe into bakery-level perfection.
Don’t Overheat the Chocolate
This is the #1 mistake home bakers make.
Microwaving chocolate for too long or at high power can:
- Cause it to seize (turn grainy or dry)
- Burn it (especially milk or white chocolate)
Fix: Always heat in short 30-second bursts, stirring between each round. Stop when about 90% melted, the residual heat will finish the job.
This tip also applies to other melt-based recipes like our homemade cinnamon roll cheesecake where smoothness matters just as much.
Use Fresh Ingredients
Sweetened condensed milk has a long shelf life, but once opened or expired, it loses flavor and consistency. Always check the date.
The same goes for chocolate chips. Old or low-quality chips can result in waxy, dull fudge. Brands like Ghirardelli, Guittard, or Hershey’s give consistent results.
Need help identifying quality chocolate? Harvard School of Public Health recommends looking for at least 70% cocoa content if you want the health benefits, too.
Don’t Skip the Chill
Yes, it’s tempting to slice in early, but letting your fudge set completely is critical for:
- Clean edges when slicing
- Firm texture
- No oily separation
Chill Time: 2–3 hours in the fridge or 45 minutes in the freezer (covered).
You can make this ahead and store it alongside mains like our tasty lake trout fish cakes for a full meal prep win.
Slice with Confidence
Want those clean, professional-looking squares?
Here’s how:
- Run a sharp knife under hot water, then dry it.
- Slice slowly, wiping the blade between each cut.
- For uniform sizing, measure and mark with a toothpick first.
For gifting, wrap squares individually with wax paper, then place in mini cupcake liners or airtight tins.
If Your Fudge Turns Out Grainy…
Don’t panic. It usually comes down to:
- Overheating the chocolate
- Stirring too aggressively
- Using old ingredients
You can try remelting it with a splash of milk and gently stirring or crumble it over ice cream for a delicious “save.”
Final Touches That Make a Big Impact
- Add toppings right before chilling: crushed candy, sea salt, sprinkles.
- Drizzle melted white chocolate over cooled fudge for bakery-level style.
- Dust with cocoa powder for a gourmet look.
Even simple recipes like this easy fudge recipe can feel elevated with a little extra care.
How to Store Fudge the Right Way
You’ve made your perfect batch using this easy fudge recipe, now what?
Storage might sound simple, but doing it the wrong way can lead to:
- Sticky, soggy squares
- Dull flavor
- Rock-hard texture
Here’s how to keep your fudge tasting fresh, smooth, and gift-ready for as long as possible.
Should You Store Fudge at Room Temperature?
Yes, but only under the right conditions.
Room Temperature Rules:
- Wrap it tightly in parchment or wax paper
- Store in an airtight container
- Keep in a cool, dry place (not near the oven or in sunlight)
Shelf life: Up to 7–10 days
If your kitchen is humid or hot, consider the fridge instead. Chocolate doesn’t like heat — and condensation ruins texture.
This applies to other recipes too, like our easy crockpot steak and potatoes always think storage-smart!
Can You Store Fudge in the Fridge?
Absolutely. It helps extend freshness without affecting flavor.
Tips for Refrigerating:
- Slice the fudge first, then store it layered between parchment paper
- Use a sealed container to prevent moisture buildup
- Let it come to room temperature before serving for the best texture
Shelf life: 2–3 weeks in the fridge
According to Healthline’s guide to chocolate storage, chocolate stored in a fridge retains structure but may develop “sugar bloom” (white specks). It’s harmless just aesthetic.
Can You Freeze Fudge?
Yes, and you should if you want to make it ahead or avoid waste.
How to Freeze It Right:
- Wrap the whole block (or individual pieces) in wax or parchment paper
- Place in a freezer-safe container or zip-top bag
- Label with the date
Shelf life: Up to 3 months
When ready to serve, thaw in the fridge overnight, then let sit at room temperature for 30 minutes. The flavor and texture bounce back beautifully.
How to Package Fudge for Gifting
Homemade fudge makes a beautiful gift, but sloppy packaging ruins the magic.
Try these ideas:
- Stack squares in mini cupcake liners inside a bakery box
- Wrap pieces individually in parchment, then tie with twine
- Use holiday-themed tins or mason jars
Want to go the extra mile? Include a printed card with the recipe or ingredients (great for allergies or vegan swaps).
Looking for gift-worthy savory dishes? Try how to make delicious turkey ribs at home a wow-worthy main to go with your sweet treats.
Signs Your Fudge Has Gone Bad
Fudge rarely spoils quickly, but keep an eye out for:
- Mold or moisture spots
- Sour or “off” smell
- Hard, crumbly texture that doesn’t improve at room temp
In doubt? Toss it. Always prioritize safety.
According to the USDA FoodKeeper App, properly stored fudge can retain quality longer than expected especially when frozen.
FAQ
Can I Make This Fudge Dairy-Free or Vegan?
Yes, with a few smart swaps.
For dairy-free fudge:
Use dairy-free chocolate chips (like Enjoy Life or Hu brands)
Swap sweetened condensed milk with sweetened condensed coconut milk
Many plant-based milks won’t work the same, so always use condensed versions for the correct texture.
Need inspiration for other allergy-friendly options? Check out dense bean salad recipe high protein, no dairy.
Why Did My Fudge Turn Out Grainy?
This usually happens if:
The chocolate was overheated
You stirred too aggressively
The ingredients weren’t fresh
Solution: Heat gently in short bursts and stir just until smooth.
If it’s already grainy, try reheating with a tiny splash of milk and re-stirring gently or turn it into an ice cream topping!
Can I Double the Batch?
Totally, this easy fudge recipe scales up like a champ.
Just make sure to:
Use a larger pan (9×13 works well)
Microwave in batches or a large bowl so you don’t overheat the chocolate
Chill longer (larger volume takes more time to set)
You’ll have enough to keep some, gift some, and snack freely.
What’s the Best Chocolate to Use?
Semi-sweet is the go-to for balance. But you can experiment with:
Milk chocolate: Sweeter and softer
Dark chocolate: Richer and more intense
White chocolate: Great for variations like raspberry or mint
Use good-quality chips or baking bars for the best flavor and texture. The Cleveland Clinic recommends dark chocolate for added antioxidants, too.
What If I Don’t Have Vanilla?
You can leave it out, but you’ll lose a bit of depth.
Alternatives:
Almond extract (go easy, it’s strong!)
Peppermint extract (great for a holiday version)
Instant espresso powder (¼ tsp for mocha vibes)
Still delicious either way.
Why This Easy Fudge Recipe Deserves a Spot in Your Recipe Box
There are hundreds of fudge recipes online. But very few deliver the ease, flavor, and fail-proof results this one does.
With just 3 ingredients, no baking, and endless customization options, it’s:
- Budget-friendly
- Kid-approved
- Gift-perfect
- Foolproof even for first-time makers
And because it’s so adaptable, you can reinvent it all year long: mint fudge in winter, peanut butter swirl in fall, raspberry white chocolate for spring.
Love dessert? You’ll also love our chocolate chip cheesecake cookies another simple and wildly satisfying treat.
Now that you’ve got this easy fudge recipe in your toolkit… all that’s left to do is make it!
Print
Easy Fudge Recipe
- Total Time: 7
- Yield: 16 squares
- Diet: Vegetarian
Description
This easy fudge recipe uses just 3 ingredients and no baking. It’s quick, foolproof, and great for gifts or anytime cravings.
Ingredients
2 cups semi-sweet chocolate chips
1 (14 oz) can sweetened condensed milk
1 teaspoon pure vanilla extract
Instructions
1. In a microwave-safe bowl, add chocolate chips and sweetened condensed milk.
2. Microwave in 30-second intervals, stirring until melted and smooth.
3. Stir in vanilla extract.
4. Pour into a parchment-lined 8×8 pan and spread evenly.
5. Refrigerate for 2–3 hours until fully set.
6. Slice into squares and enjoy!
Notes
Store in an airtight container in the fridge up to 2 weeks or freeze up to 3 months.
Customize with nuts, peanut butter, mint, or caramel.
- Prep Time: 5
- Cook Time: 2
- Category: Dessert
- Method: No-Bake
- Cuisine: American


1 thought on “Easy Fudge Recipe: The Only Guide You’ll Ever Need”