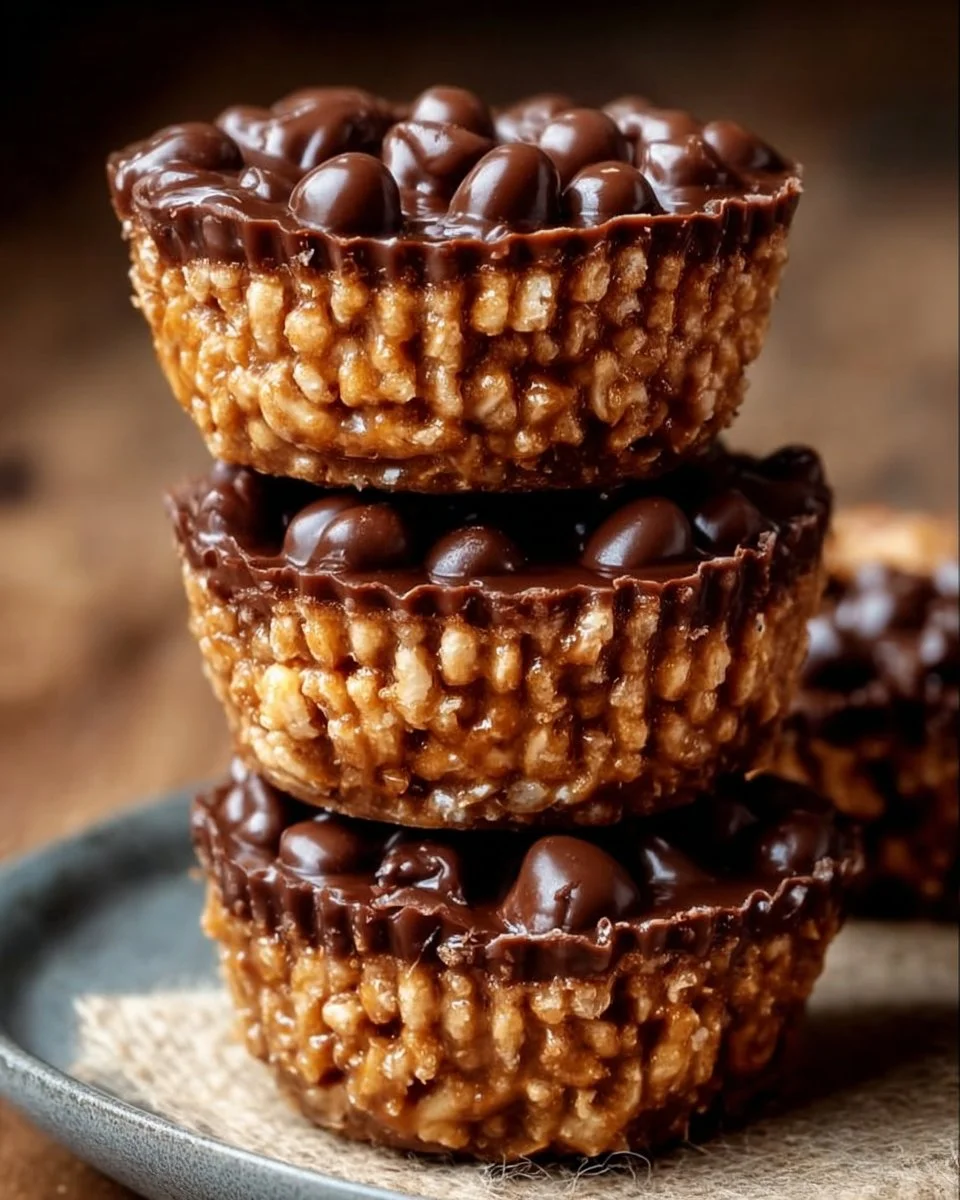
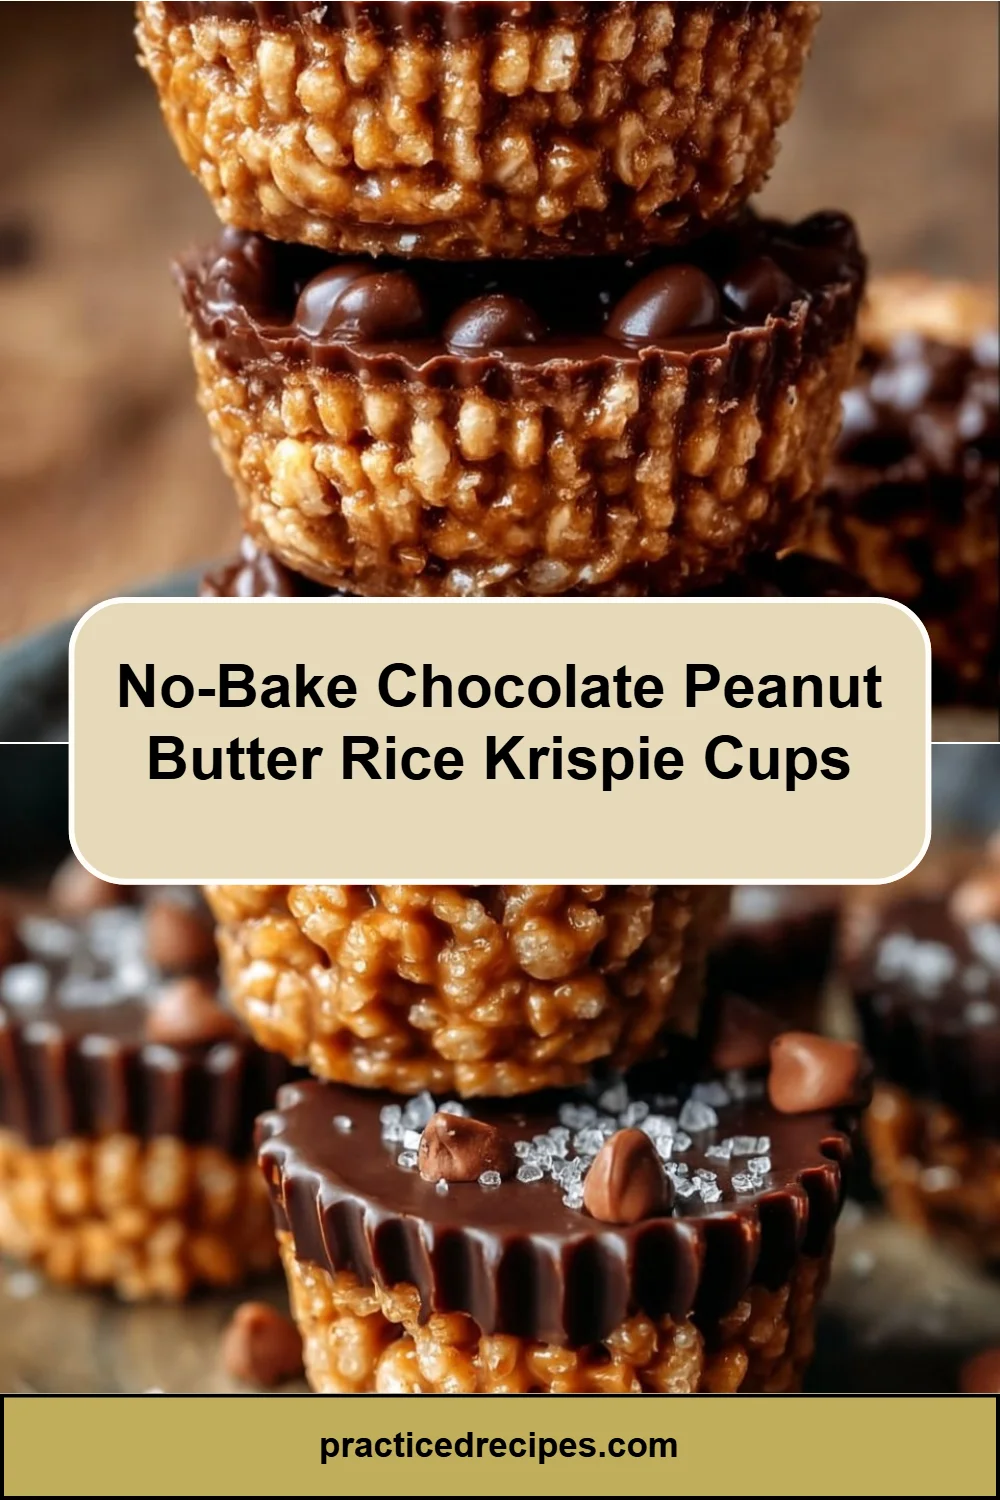
Chocolate Peanut Butter Rice Krispie Cups are a delightful treat that combines rich chocolate and creamy peanut butter with the crunch of Rice Krispies. This no-bake recipe is perfect not just for a weekend treat, but also as a quick dessert for parties or family gatherings. The gooey texture mingled with the crispy cereal creates a satisfying snack that everyone will love.
Why Make This Recipe
There are countless reasons to whip up a batch of Chocolate Peanut Butter Rice Krispie Cups. First and foremost, they are incredibly easy to make and require very little time. With just a few simple ingredients, you can create something that feels indulgent yet doesn’t require advanced baking skills. These cups are also customizable, allowing you to tweak the recipe to your liking. Whether you want to experiment with different flavor profiles or add in extra ingredients, the options are endless. Lastly, they make an excellent treat for kids and adults alike, perfect for satisfying that sweet tooth without the fuss of an elaborate dessert.
How to Make Chocolate Peanut Butter Rice Krispie Cups
Let’s dive into the steps for creating these chocolatey, peanut buttery morsels of goodness!
Ingredients:
- 3 cups Rice Krispies cereal
- 1 cup creamy peanut butter
- 1/2 cup unsalted butter
- 1 cup mini marshmallows
- 1 cup chocolate chips
- 1/2 tsp vanilla extract (optional)
- Pinch of sea salt (optional)
Directions:
1️⃣ Melt the Base: In a medium saucepan over low heat, melt the butter and marshmallows while stirring consistently until smooth.
2️⃣ Add Peanut Butter: Stir in the creamy peanut butter and vanilla extract (if using) until fully combined and creamy.
3️⃣ Mix with Cereal: Pour the Rice Krispies into a large bowl and add the peanut butter mixture. Gently fold until all the cereal is coated evenly.
4️⃣ Shape the Cups: Line a muffin tin with paper liners. Spoon the mixture evenly into each cup and press down gently to form a flat surface.
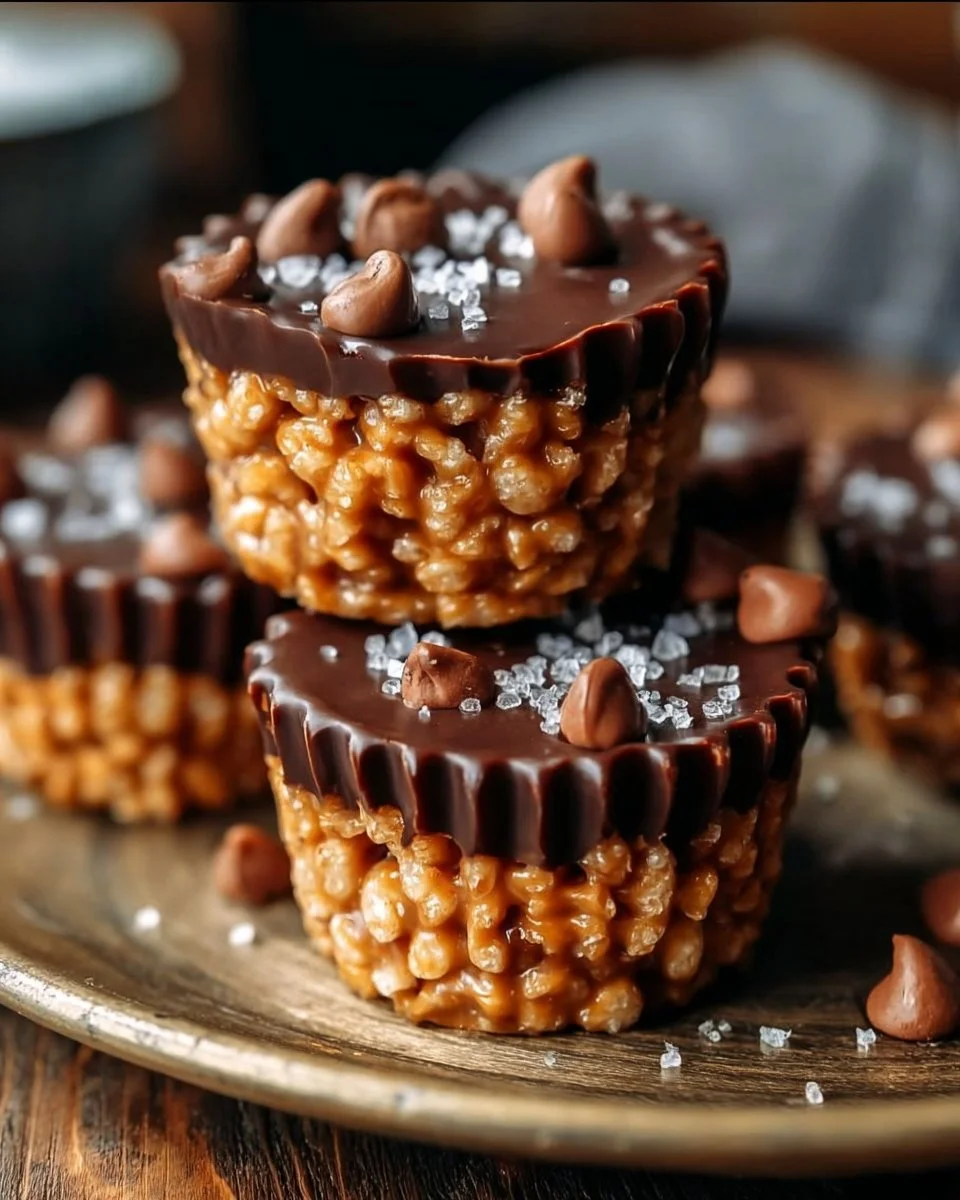
5️⃣ Add Chocolate Layer: Melt the chocolate chips in the microwave in 20-second intervals, stirring in between until smooth. Spoon the melted chocolate over each cup and spread evenly. You can sprinkle a pinch of sea salt on top if desired.
6️⃣ Set & Serve: Allow the cups to cool at room temperature for about 20 minutes or place them in the refrigerator to set faster. Once firm, remove the paper liners and serve!
Pro Tips for Success with Chocolate Peanut Butter Rice Krispie Cups
- Use High-Quality Chocolate: For the best flavor, opt for high-quality chocolate chips. This will elevate the overall taste of your cups.
- Make It a Family Activity: Involve the kids in the making process. They can help with mixing or pressing the mixture into the muffin tin.
- Don’t Rush the Melting Process: When melting the butter and marshmallows, keep the heat low and stir frequently. This helps avoid scorching.
- Experiment with Add-Ins: Feel free to add chopped nuts, dried fruits, or even mini candies to your mixture for extra flavor and texture.
- Line Your Cups Well: Make sure to line the muffin cups thoroughly so that the treats come out easily once they have set.
- Use a Silicone Muffin Pan: If you have one, a silicone muffin pan can make it even easier to remove the cups after they cool.
Flavor Variations for Chocolate Peanut Butter Rice Krispie Cups
- Nutty Chocolate Delight: Add chopped nuts such as almonds or walnuts into the peanut butter mixture for an extra crunch.
- Salted Caramel Flavor: Drizzle some caramel sauce over the melted chocolate layer before it sets for a rich, decadent taste.
- White Chocolate Twist: Substitute half the chocolate chips with white chocolate chips for a different color and flavor profile.
- Dried Fruit Surprise: Mix in dried cranberries or raisins for a fruity burst that complements the chocolate and peanut butter.
- Minty Fresh: Add a few drops of mint extract to the chocolate layer for a refreshing twist on the classic combination.
Serving Suggestions for Chocolate Peanut Butter Rice Krispie Cups
These delightful cups are perfect for any occasion! Serve them as part of a dessert table at a birthday party, or pack them in lunchboxes for a sweet surprise. They also make excellent snacks for movie nights or casual get-togethers. Consider arranging them on a festive platter or serving them with a scoop of ice cream for an over-the-top dessert experience. They are also a fun treat to share with friends during game nights or while hosting a casual gathering.
Storage and Freezing Instructions for Chocolate Peanut Butter Rice Krispie Cups
To maintain the freshness of your Chocolate Peanut Butter Rice Krispie Cups, store them in an airtight container at room temperature. They will stay fresh for about a week; however, you can also refrigerate them to extend their shelf life. If you want to prep ahead, these cups freeze wonderfully! Just make sure to place them in an airtight container or freezer bag, separating layers with parchment paper. They can be frozen for up to three months and can be enjoyed straight from the freezer or after a quick thaw in the fridge.
Nutrition Facts (Per Serving)
| Nutrient | Amount |
|—————|————|
| Calories | 190 |
| Protein | 3g |
| Carbohydrates | 22g |
| Fat | 10g |
| Fiber | 1g |
| Sodium | 90mg |
FAQ About Chocolate Peanut Butter Rice Krispie Cups
Can I use crunchy peanut butter instead of creamy?
Absolutely! Crunchy peanut butter can add a delightful textural contrast to your Rice Krispie cups. Just keep in mind that it will affect the smoothness of the final product, but many people enjoy that extra crunch.
How do I know when the marshmallows are melted enough?
You’ll want to stir the marshmallows and butter until they are completely smooth and blended. This usually takes just a few minutes over low heat. If there are small lumps or grainy bits, they need more stirring.
Can I make these cups vegan?
Yes! To make these Chocolate Peanut Butter Rice Krispie Cups vegan-friendly, you can use plant-based butter and ensure that the marshmallows and chocolate chips are dairy-free. Many brands offer delicious vegan alternatives.
What if I don’t have a muffin tin?
No worries! If you don’t have a muffin tin, you can shape the mixture into bars by spreading it in a greased 9×9-inch baking pan. Allow it to cool, then cut it into squares for serving.
Can I use other cereals instead of Rice Krispies?
Definitely! While Rice Krispies give a light and crispy texture, you can substitute them with other puffed cereals like Corn Pops or even granola. The final product will have a different flavor, but it will still be delicious.
Final Thoughts
Chocolate Peanut Butter Rice Krispie Cups are a fabulous treat that anyone can create with minimal effort. With just a handful of ingredients, you can whip up something truly delightful for yourself, your family, or your friends. This recipe is not only easy but also flexible for those who want to experiment with flavors or ingredients. Whether you enjoy them right away or store them for later, these delicious cups are sure to satisfy any sweet craving. Give them a try and treat yourself to a delightful experience!
Print
Chocolate Peanut Butter Rice Krispie Cups
- Total Time: 25 minutes
- Yield: 12 servings
- Diet: Vegetarian
Description
Delightful no-bake treats combining rich chocolate and creamy peanut butter with the crunch of Rice Krispies.
Ingredients
- 3 cups Rice Krispies cereal
- 1 cup creamy peanut butter
- 1/2 cup unsalted butter
- 1 cup mini marshmallows
- 1 cup chocolate chips
- 1/2 tsp vanilla extract (optional)
- Pinch of sea salt (optional)
Instructions
- Melt the butter and marshmallows in a medium saucepan over low heat, stirring until smooth.
- Stir in the creamy peanut butter and vanilla extract (if using) until combined.
- In a large bowl, pour the Rice Krispies and add the peanut butter mixture, then fold until evenly coated.
- Line a muffin tin with paper liners and spoon the mixture into each, pressing down to form a flat surface.
- Melt the chocolate chips in the microwave in 20-second intervals, stirring until smooth, and then spoon over each cup.
- Allow to cool at room temperature for about 20 minutes or refrigerate to set faster. Remove paper liners and serve.
Notes
Use high-quality chocolate for the best flavor. Involve kids for a fun cooking activity.
- Prep Time: 15 minutes
- Cook Time: 10 minutes
- Category: Dessert
- Method: No-Bake
- Cuisine: American