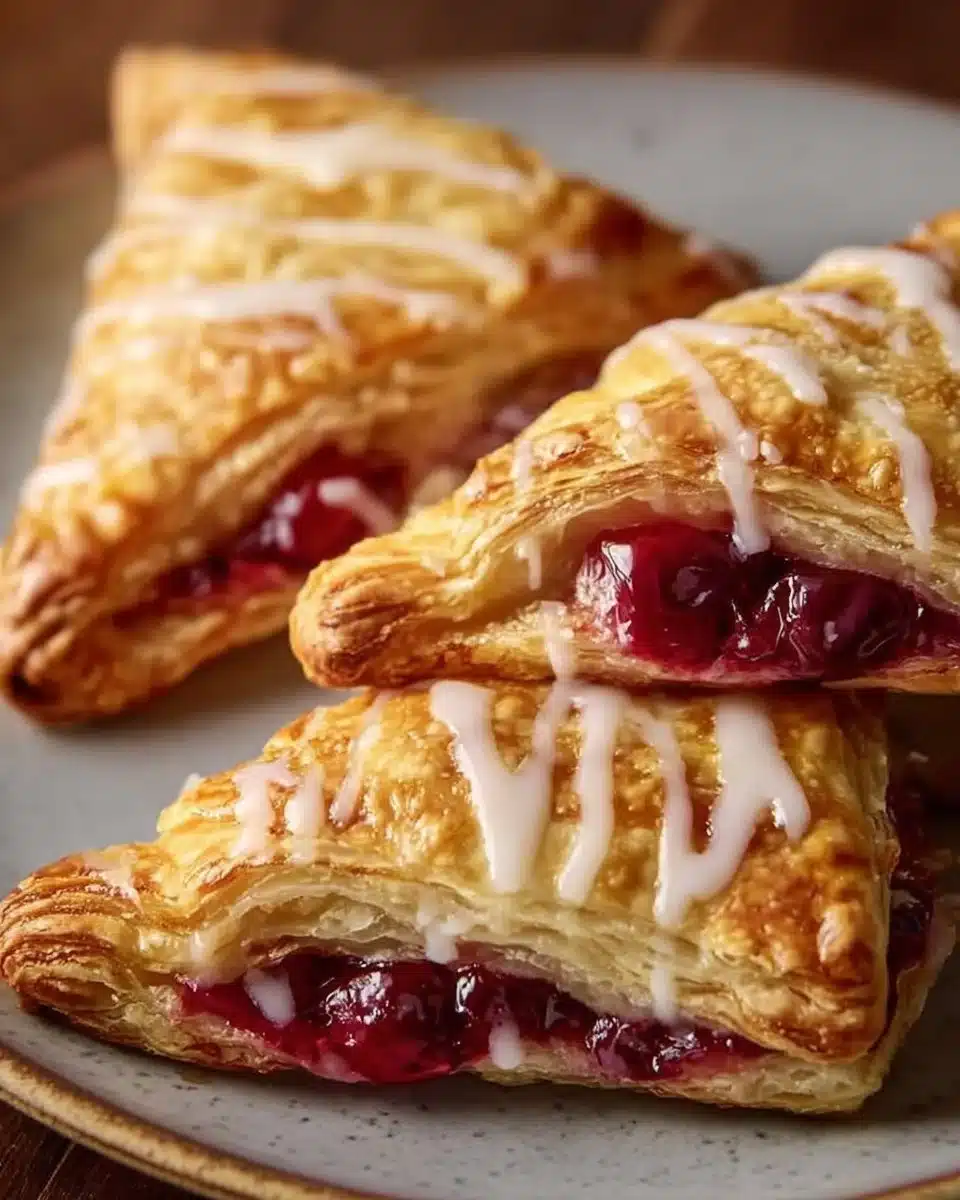
Homemade Cherry Turnovers are a simple, joyful way to bring fresh fruit and flaky pastry to your table — they taste like sunshine folded into dough. These hand-held pastries pair tart-sweet cherries with buttery crust, making them equally at home for breakfast, an afternoon snack, or a relaxed dessert. If you love cooking from scratch, you might also enjoy this comforting best homemade lasagna recipe for a savory meal to accompany your baking adventures.
This article walks you through why these turnovers are worth making, how to make them step by step, tips and tasty variations, storage advice, nutrition estimates, and answers to common questions. Whether you’re a confident home baker or trying puff pastry for the first time, you’ll find helpful, practical guidance to get reliably delicious results.
Why make Homemade Cherry Turnovers
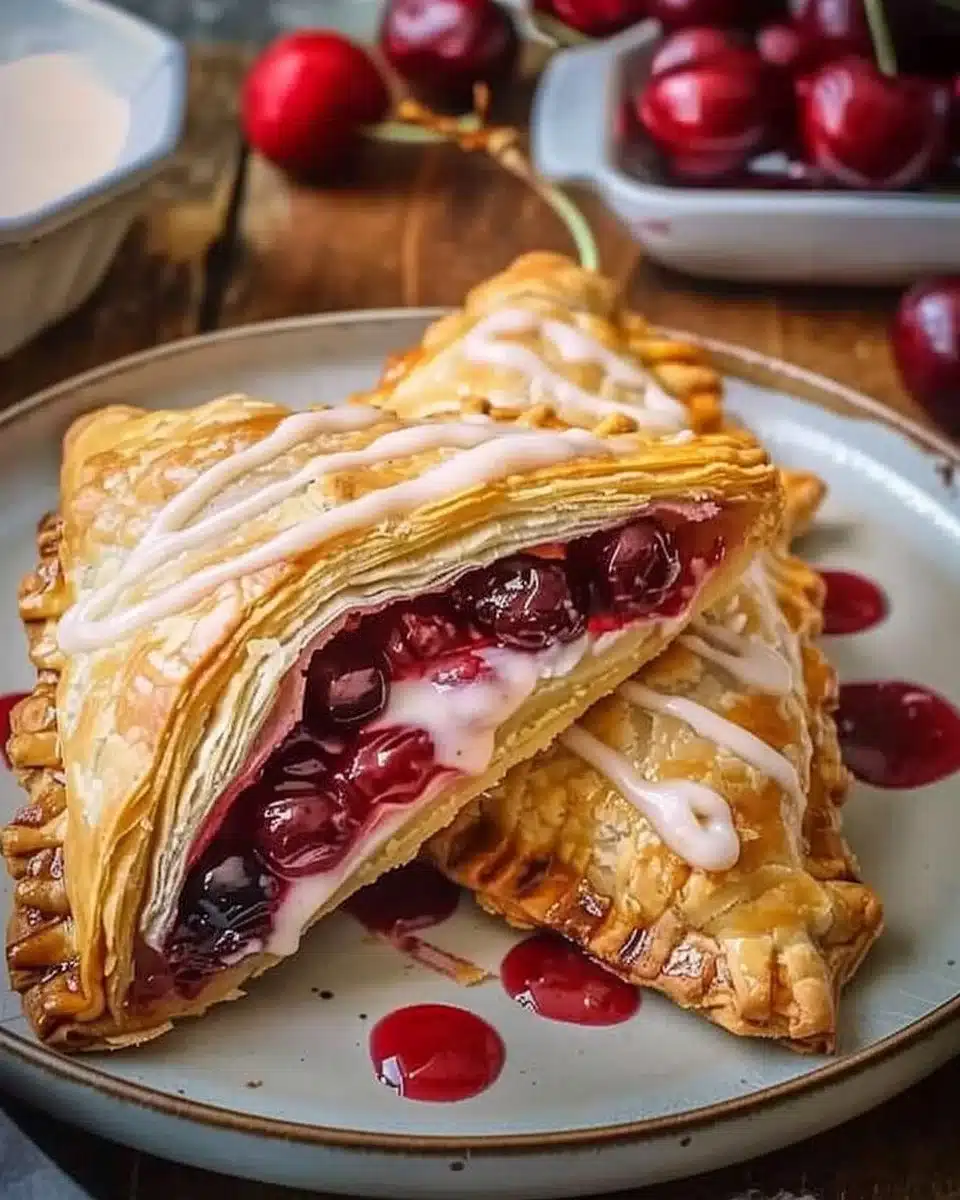
Homemade Cherry Turnovers are rewarding because they combine a few simple, inexpensive ingredients into something that looks and tastes special. The contrast between a crisp, golden exterior and a soft, jammy cherry interior is universally appealing. Making turnovers at home also lets you control the sweetness, the fruit texture, and the size so each person gets just the right portion.
Baking your own turnovers will also improve basic pastry skills. The dough in this recipe uses an easy "cut-in" butter method that teaches temperature control, gentle handling, and how to develop a tender, flaky texture without complicated techniques. Once you’re comfortable with this dough, you can adapt it for apricot, apple, or savory fillings.
Seasonal fruit shines in turnovers. Fresh cherries in summer are vibrant and fragrant; canned cherries in winter give reliable flavor year-round. Because the filling is cooked first, you avoid watery pockets and get a nicely thickened jam-like interior every time.
If you want to explore different cherry-based desserts while keeping the cherry theme going, try this layered cherry amaretto tiramisu for a richer, creamier option that still celebrates the same bright fruit flavor.
How to make Homemade Cherry Turnovers
This recipe blends a straightforward pastry dough with a cooked cherry filling. The steps are forgiving, and you can make the dough ahead or freeze turnovers before baking for later. Read through the full directions once before you start so you know how the process flows: make dough, prepare filling, assemble turnovers, bake.
Directions :
- Preheat the oven to 375°F (190°C).
- In a large bowl, combine flour and salt. Cut in butter until the mixture resembles coarse crumbs. Stir in ice water until the dough comes together.
- Roll out the dough on a floured surface to about 1/8 inch thick. Cut into squares (about 4×4 inches).
- In a saucepan, combine cherries, sugar, cornstarch, vanilla, and lemon juice. Cook over medium heat until the mixture thickens and bubbles.
- Place a spoonful of cherry filling in the center of each pastry square. Fold the dough over to form a triangle and seal the edges with a fork.
- Brush the tops with beaten egg.
- Place on a baking sheet and bake for 25-30 minutes, or until golden brown.
- Allow to cool slightly before dusting with powdered sugar, if desired.
Step-by-step notes for success
- Keep the butter cold. When you cut cold butter into the flour, it creates small bits of fat that steam during baking and make the pastry flaky. If the butter softens too much, pop the bowl in the refrigerator for 10–15 minutes before continuing.
- Don’t overwork the dough. Mix just until it holds together; too much kneading develops gluten and makes the crust tough. A patchy, crumbly look that comes together when pressed is perfect.
- Chill before rolling if the dough feels warm. Cold dough is easier to roll to a thin, even thickness and keeps its shape better when filled.
- Cook the filling until it’s thickened. Cornstarch will give the cherries a glossy, sliceable jam-like texture that won’t leak during baking.
- Seal edges well. Brushing the folded edge with a little water or egg wash and pressing with a fork helps keep the filling inside.

Ingredients
- 2 cups all-purpose flour
- 1/2 teaspoon salt
- 1 cup unsalted butter, chilled and diced
- 1/4 cup ice water
- 2 cups fresh or canned cherries, pitted
- 3/4 cup sugar
- 2 tablespoons cornstarch
- 1 teaspoon vanilla extract
- 1 tablespoon lemon juice
- 1 egg, beaten (for egg wash)
- Powdered sugar (for dusting, optional)
Ingredient notes and substitutions
- Butter: Unsalted butter is recommended so you control the salt level. For a dairy-free version, try chilled coconut oil solidified in the fridge or a vegan butter alternative; note texture and flavor will vary slightly.
- Flour: Use all-purpose flour as listed. If you need a gluten-free option, substitute with a 1:1 gluten-free baking blend and rest the dough a little longer in the fridge before rolling since GF doughs can be softer.
- Cherries: Fresh pitted cherries give the best texture and bright flavor. If using canned cherries, drain them and pat them a little dry to reduce excess liquid, then follow the cooking step to thicken the filling. Frozen cherries can be used but thaw and drain excess juice first.
- Ice water: If you don’t have ice water, very cold tap water works. The goal is to keep the fat cold; do not use warm or room-temperature liquid.
- Sweetness: Adjust the sugar in the filling to taste — reduce if your cherries are very sweet or increase by a couple of tablespoons if they’re tart.
- Egg wash: For an egg-free wash, brush the tops with a mixture of plant-based milk and a touch of maple syrup to encourage browning.
Pro Tips for Success Homemade Cherry Turnovers
- Work cold and fast. Cold ingredients and short handling time give you the flakiest crust. If the dough warms, chill it briefly rather than continuing to work.
- Cut uniform squares. A consistent 4×4-inch square yields even baking and a neat finished turnover. You can make smaller or larger versions, but adjust the baking time by a few minutes.
- Don’t overfill. Use a spoonful of filling — too much can cause leaking and soggy bottoms. Aim for about 2 tablespoons of filling per square.
- Vent the tops. If you like, make one or two small slits on the top of each turnover to release steam. This helps keep the pastry crisp and prevents the filling from bursting through.
- Egg wash at the right moment. Brush the egg wash just before baking; if you egg-wash too early and let the turnovers sit, the wash can dry and attract flour, making the surface less shiny.
- Rotate the pan. For even browning, rotate the baking sheet halfway through the baking time if your oven has hot spots.
Flavor Variations Homemade Cherry Turnovers
- Almond-Cherry: Add 1/2 teaspoon almond extract to the cherry filling or fold a teaspoon of almond paste into the jam before filling. Sprinkle slivered almonds on top before baking for crunch.
- Chocolate-Cherry: Stir 1–2 tablespoons of finely chopped dark chocolate into the warm cherry filling, or sprinkle mini chocolate chips into each turnover before sealing for a gooey surprise.
- Citrus-Boost: Increase the lemon juice to 2 tablespoons and fold in a teaspoon of finely grated lemon or orange zest for a brighter, more aromatic filling.
- Spiced Cherry: Add 1/4 teaspoon cinnamon and a pinch of nutmeg or cardamom to the filling for a warm spice profile that pairs well in cooler months.
- Cream Cheese Swirl: Spoon a small dollop (about 1 teaspoon) of sweetened cream cheese onto the pastry square first, then top with cherry filling for a richer, cheesecake-like interior.
Serving Suggestions Homemade Cherry Turnovers
Serve turnovers warm for the best textural contrast: the crust is crisp and the filling is slightly jammy. Here are a few serving ideas:
- Breakfast or brunch: Pair with plain yogurt and a pot of coffee or a carafe of tea. A small dusting of powdered sugar makes them feel festive.
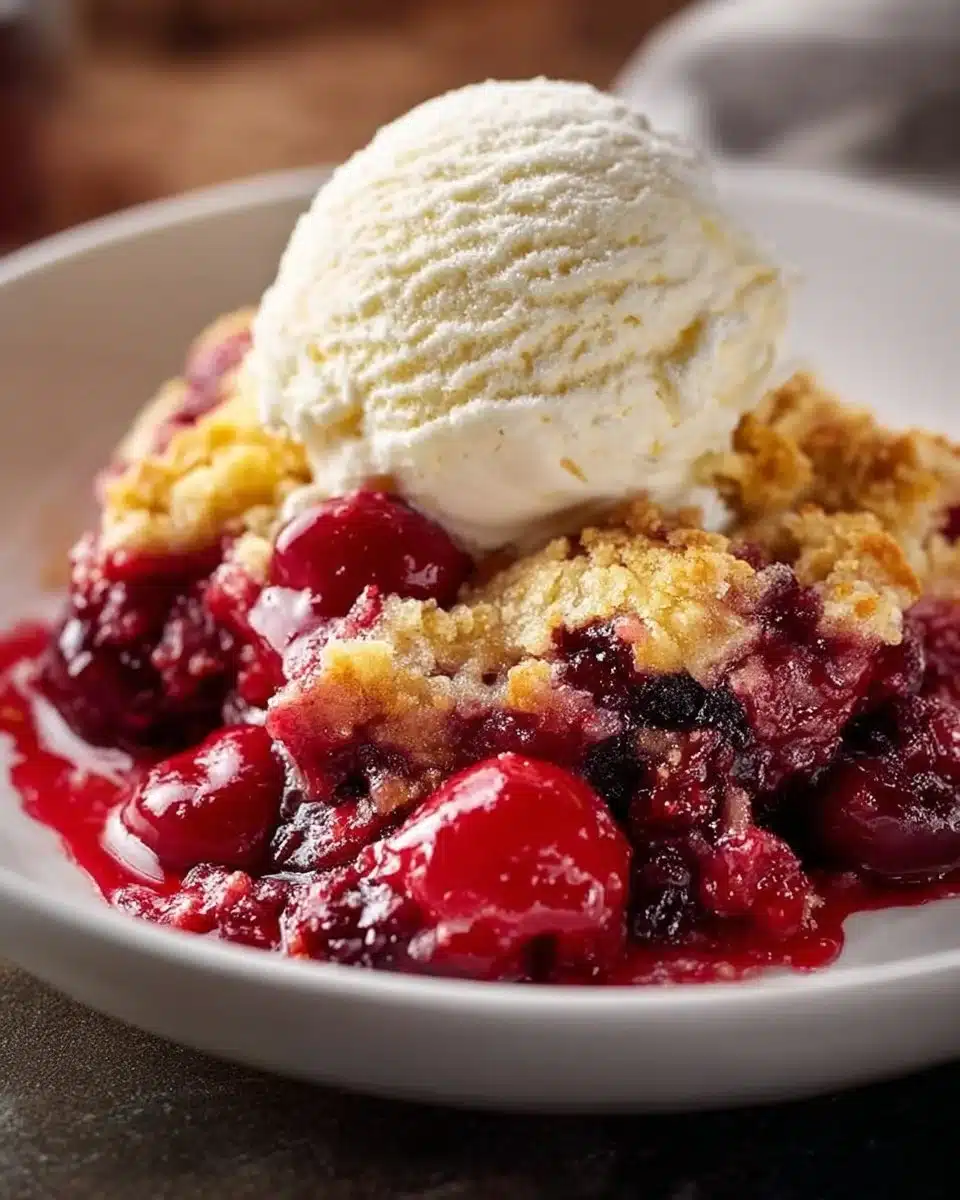
- Dessert: Add a scoop of vanilla ice cream or a dollop of lightly whipped cream. Warm turnovers with cold ice cream are a classic pairing.
- Picnic-friendly: Let them cool completely, wrap individually, and pack for a portable, no-utensils treat.
- Party platters: Arrange turnovers on a platter with fresh cherries and mint sprigs for color. They’re easy to eat standing up and work well for casual gatherings.
Storage and Freezing Instructions Homemade Cherry Turnovers
Short-term storage
- At room temperature: Store cooled turnovers in an airtight container at room temperature for up to 2 days. To help keep the crust crisp, place a paper towel under them to absorb any moisture.
- In the refrigerator: If your kitchen is warm or if you used a cream cheese variation, store turnovers wrapped in plastic wrap or in a sealed container in the fridge for up to 4 days. Reheat in a 350°F oven for 8–10 minutes to refresh the crisp.
Freezing
- Unbaked: Assemble turnovers, place them on a baking sheet in a single layer, and freeze until firm (about 1–2 hours). Transfer to a freezer bag or container for up to 3 months. Bake from frozen, adding 5–10 minutes to the baking time and checking for a golden color.
- Baked: Cool completely, then wrap each turnover in plastic wrap and aluminum foil, or place in a freezer-safe container. Freeze for up to 2 months. Reheat from frozen in a 325–350°F oven for 10–15 minutes until warmed through and crisp.
- Thawing: Thaw overnight in the refrigerator, then reheat in a 350°F oven for 8–12 minutes. Microwaving will soften the pastry, so avoid unless you’ll crisp them up afterward in a toaster oven or oven.
Nutrition Facts (Per Serving)
Estimate per serving (assuming this recipe makes 8 turnovers):
- Calories: 425 kcal
- Protein: 4 g
- Carbohydrates: 49 g
- Fat: 24 g
- Fiber: 2 g
- Sodium: 160 mg
Notes on these numbers
- These nutrition values are approximate. The actual numbers will vary with the exact type of butter, the size of your turnovers, and whether you add powdered sugar or a glaze.
- Making 10 smaller turnovers lowers calories per piece; dividing into fewer large turnovers raises them. If you want to reduce calories, use slightly less butter, make smaller turnovers, or swap part of the butter for a lighter shortening (noting the texture change).
- If you use canned cherries in syrup, be aware they can add extra sugar and calories. Drain and rinse canned cherries where possible to reduce added syrup.
FAQ About Homemade Cherry Turnovers
How many turnovers does this recipe make?
This recipe yields roughly 8 standard 4×4-inch turnovers, though the exact count depends on how thin you roll the dough and how large you cut the squares. If you cut smaller squares, expect 10–12 turnovers. For larger hand pies, you may get 6. If portion control is important, make a test square first to see how much dough is used per turnover.
Can I use frozen cherries instead of fresh or canned?
Yes. Use thawed and well-drained frozen cherries for the filling. Thaw them in a colander so excess juice drains away, then pat them dry with paper towels before cooking. Because frozen cherries often release more liquid, you may need to cook the filling a bit longer to reach the proper thickness.
What makes the pastry flaky and how do I avoid tough dough?
Flakiness comes from small pockets of cold fat in the dough. Keep butter cold and cut it into the flour until you have pea-sized bits. Mix the dough just until it holds together and chill if it becomes too warm. Overworking the dough develops gluten and yields a tougher crust, so be gentle and pause to chill when needed.
Can I make the dough ahead of time?
Absolutely. You can make the dough up to 2 days ahead, wrap it tightly in plastic wrap, and refrigerate. For longer storage, freeze the dough for up to one month; thaw in the refrigerator before rolling. This makes turnovers an excellent recipe to prep in stages: dough one day, filling and assembly another.
How do I prevent a soggy bottom?
A soggy bottom usually comes from excess filling liquid. To prevent it: cook the filling until thick and glossy, drain excess liquid from fruit before cooking, and avoid over-filling the pastries. Baking on a preheated baking sheet or pizza stone can also help set the bottom crust quickly and reduce sogginess.
Is there a quick shortcut if I don’t want to make dough from scratch?
Yes. Use store-bought puff pastry or pie crust as a shortcut. Puff pastry will produce an extra-flaky, layered result and shortens prep time. Thaw according to package directions, roll slightly to even the thickness, and cut into squares before adding the cooked cherry filling. Keep in mind puff pastry bakes faster, so watch your turnovers and reduce baking time as needed.
Final Thoughts
Homemade Cherry Turnovers are a versatile, comforting treat that celebrate seasonal fruit and simple baking techniques. They’re forgiving enough for a novice baker and satisfying for experienced cooks who enjoy perfecting pastry texture. With modest prep time and a handful of pantry staples, you can make turnovers that look special and taste like they belonged in a bakery window. Try the basic recipe first, then experiment with the variations and serving ideas to make these turnovers your own. Enjoy the baking process and the warm, fruity results.
Print
Homemade Cherry Turnovers
- Total Time: 1 hour
- Yield: 8 servings
- Diet: Vegetarian
Description
Delicious hand-held pastries filled with tart-sweet cherries wrapped in a flaky buttery crust.
Ingredients
- 2 cups all-purpose flour
- 1/2 teaspoon salt
- 1 cup unsalted butter, chilled and diced
- 1/4 cup ice water
- 2 cups fresh or canned cherries, pitted
- 3/4 cup sugar
- 2 tablespoons cornstarch
- 1 teaspoon vanilla extract
- 1 tablespoon lemon juice
- 1 egg, beaten (for egg wash)
- Powdered sugar (for dusting, optional)
Instructions
- Preheat the oven to 375°F (190°C).
- Combine flour and salt in a large bowl. Cut in butter until the mixture resembles coarse crumbs.
- Stir in ice water until the dough comes together.
- Roll out the dough on a floured surface to about 1/8 inch thick. Cut into squares (about 4×4 inches).
- Cook cherries, sugar, cornstarch, vanilla, and lemon juice over medium heat until thickened.
- Place a spoonful of cherry filling in the center of each pastry square. Fold the dough over to form a triangle and seal the edges with a fork.
- Brush the tops with beaten egg.
- Bake for 25-30 minutes, or until golden brown.
- Cool slightly before dusting with powdered sugar, if desired.
Notes
Keep the butter cold and don’t overwork the dough for the best results.
- Prep Time: 30 minutes
- Cook Time: 30 minutes
- Category: Dessert
- Method: Baking
- Cuisine: American