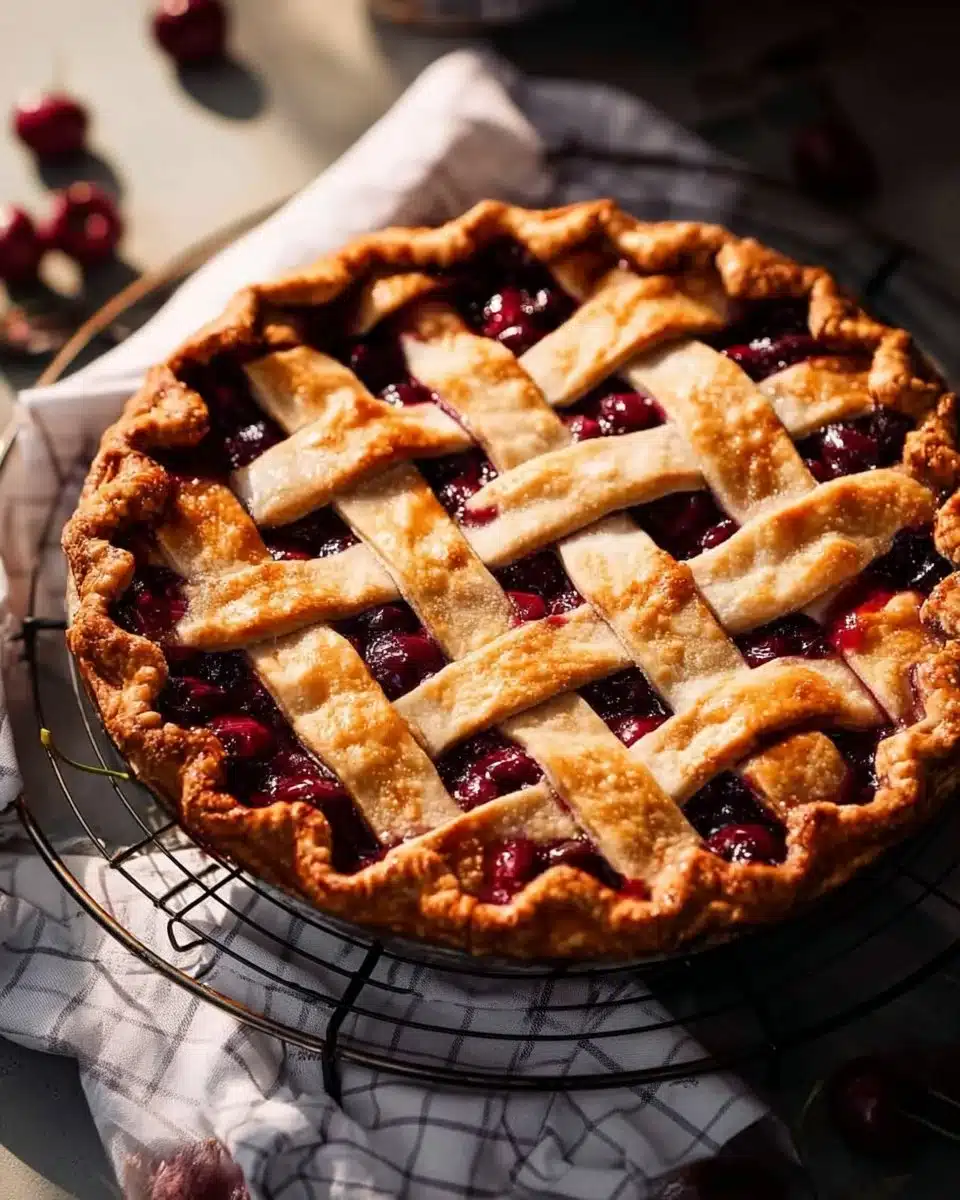
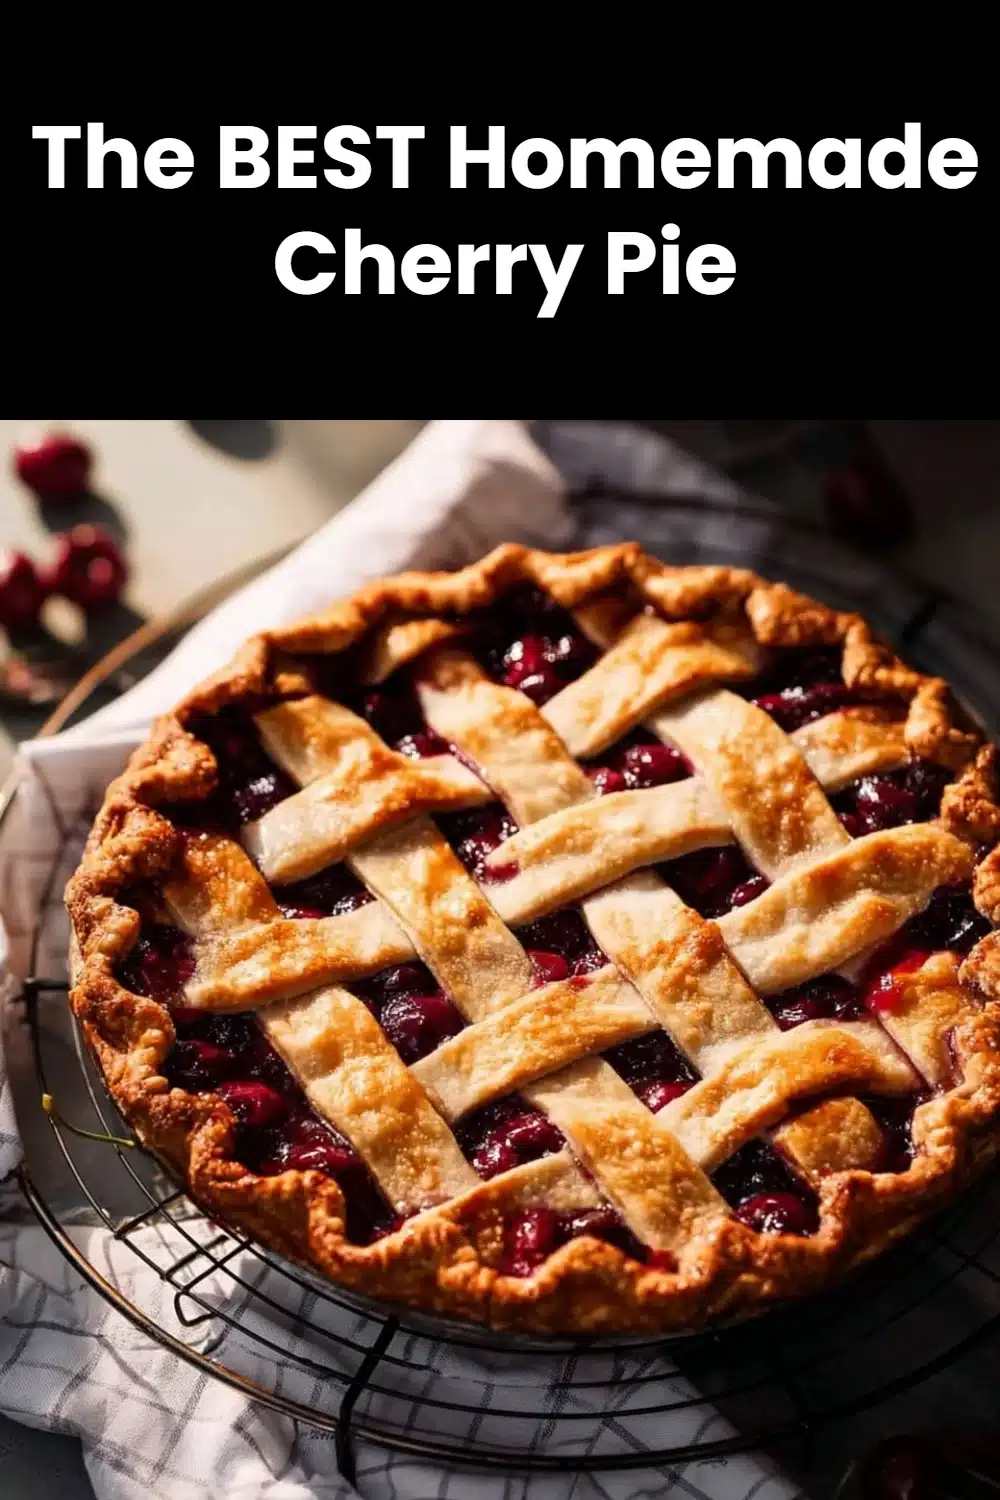
The BEST Homemade Cherry Pie is the kind of dessert that brings people to the table with a smile, and this recipe shows you how to make a reliably tender crust and glossy, jammy filling every time.
If you love comforting, from-scratch meals and tried-and-true family favorites, you might also enjoy the rich layers of a classic comfort dish like the best homemade lasagna recipe, but today we’re focused on bright, tart cherries encased in golden pastry.
why make this recipe
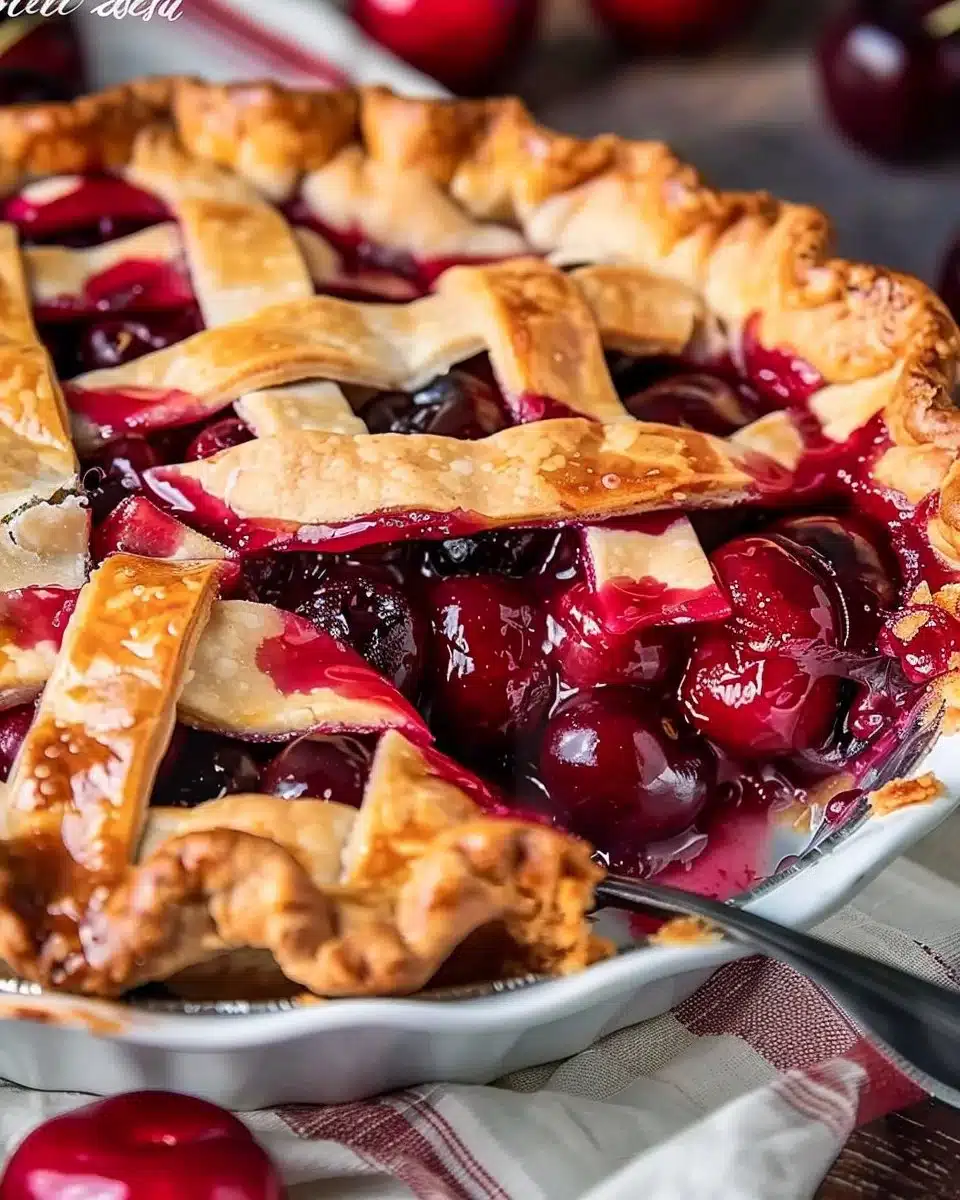
This cherry pie is simple, dependable, and delivers a perfect balance of sweet and tart in each forkful. It’s a great beginner-friendly pie that doesn’t rely on fancy techniques to impress. With just a handful of pantry staples and two cups of cherries—fresh or frozen—you can have a show-stopping dessert that smells like summer and tastes like tradition.
Beyond its nostalgic appeal, this recipe is fast to assemble, forgiving if you swap fresh for frozen fruit, and easy to scale up or down. It’s ideal for potlucks, holiday dinners, or a weeknight treat when you want something homemade without a lot of fuss.
how to make The BEST Homemade Cherry Pie
Making The BEST Homemade Cherry Pie is about taking small, dependable steps and paying a little attention to the filling’s consistency and the crust’s finish. Below is a clear walkthrough so you can feel confident from start to finish.
- Take your cherries out of the fridge early if they’re fresh so they come to room temperature. This helps them release juices evenly when heated.
- If using frozen cherries, do not thaw them completely before cooking the filling—slightly frozen berries release less water and reduce the chance of a runny filling.
- Taste the filling as it cooks and adjust sugar if your cherries are particularly sweet or tart.
- Chill the assembled pie for at least an hour before slicing if you want tidy slices; this gives the filling time to set.
Ingredients :
- 2 cups fresh or frozen cherries
- 1 cup granulated sugar
- 2 tablespoons cornstarch
- 1 tablespoon lemon juice
- 1 tablespoon butter
- 1 pre-made or homemade pie crust (enough for top and bottom)
- 1 egg (for egg wash)
- 1 tablespoon milk (for egg wash)
Ingredient notes and substitutions:
- Cherries: If you have sweet Bing cherries, they pair well with the sugar level listed. If your cherries are very tart, add an extra 1–2 tablespoons of sugar. Frozen cherries work wonderfully; toss them in a little cornstarch if they seem watery.
- Sugar: You can reduce sugar if your fruit is very sweet or swap in 3/4 cup brown sugar for a deeper flavor. For a lower-sugar option, use a sugar substitute suitable for baking (follow package guidance).
- Cornstarch: Arrowroot or tapioca flour can be used in equal measure as a thickener if you prefer gluten-free options.
- Pie crust: A store-bought double crust works fine, but a flaky homemade butter crust will elevate the pie. For dairy-free needs, use a vegan crust and vegan butter substitute.
- Egg wash: For a vegan alternative, brush the top crust with milk alone or use a small amount of maple syrup diluted with water for shine.
Directions :
- Preheat the oven to 425°F (220°C).
- In a saucepan over medium heat, combine cherries, sugar, cornstarch, and lemon juice. Stir until the mixture starts to bubble. Remove from heat.
- Roll out the pie crust and place it in a pie dish. Pour the cherry mixture into the crust, dot with butter.
- Cover with a second pie crust, seal the edges, and make a few slits in the top for steam to escape.
- Brush the top with a mixture of egg and milk.
- Bake for 30-35 minutes, or until the crust is golden brown.
- Cool before serving.
Pro Tips for Success The BEST Homemade Cherry Pie
- Use a heavy-bottomed saucepan for the filling. It heats evenly and reduces the chance of hot spots that scorch the sugar.
- Don’t overload the pie dish. Two cups of cherries is the right amount for a standard 9-inch pie shell; extra filling can cause overflow while baking.
- Vent the top crust well. Those slits let steam escape and help the filling thicken rather than turn soggy.
- Shield the crust edges with foil after 20 minutes if they’re browning too quickly. This avoids burnt rims and ensures an evenly baked top.
- Let the pie cool at least 1–2 hours before slicing. The filling will set and give you nice, clean slices instead of a soupy center.
Flavor Variations The BEST Homemade Cherry Pie
- Almond Cherry Pie: Add 1/2 teaspoon almond extract to the filling and sprinkle sliced almonds on top of the crust for a nutty aroma that complements cherries beautifully.
- Cherry Berry Mix: Stir in 1/2 cup fresh blueberries or raspberries with the cherries to add a layered fruit complexity and color contrast.
- Bourbon-Free Cherry Compote: For a richer taste without using alcohol, mix in a tablespoon of strong black tea or a splash of balsamic vinegar to deepen the flavor profile.
- Spiced Cherry Pie: Add 1/4 teaspoon ground cinnamon and a pinch of ground cardamom to the filling for warm, autumnal notes.
- Streusel Topping: Replace the top crust with a cinnamon-oat streusel (butter, flour, oats, brown sugar) for a crumbly, textured finish.
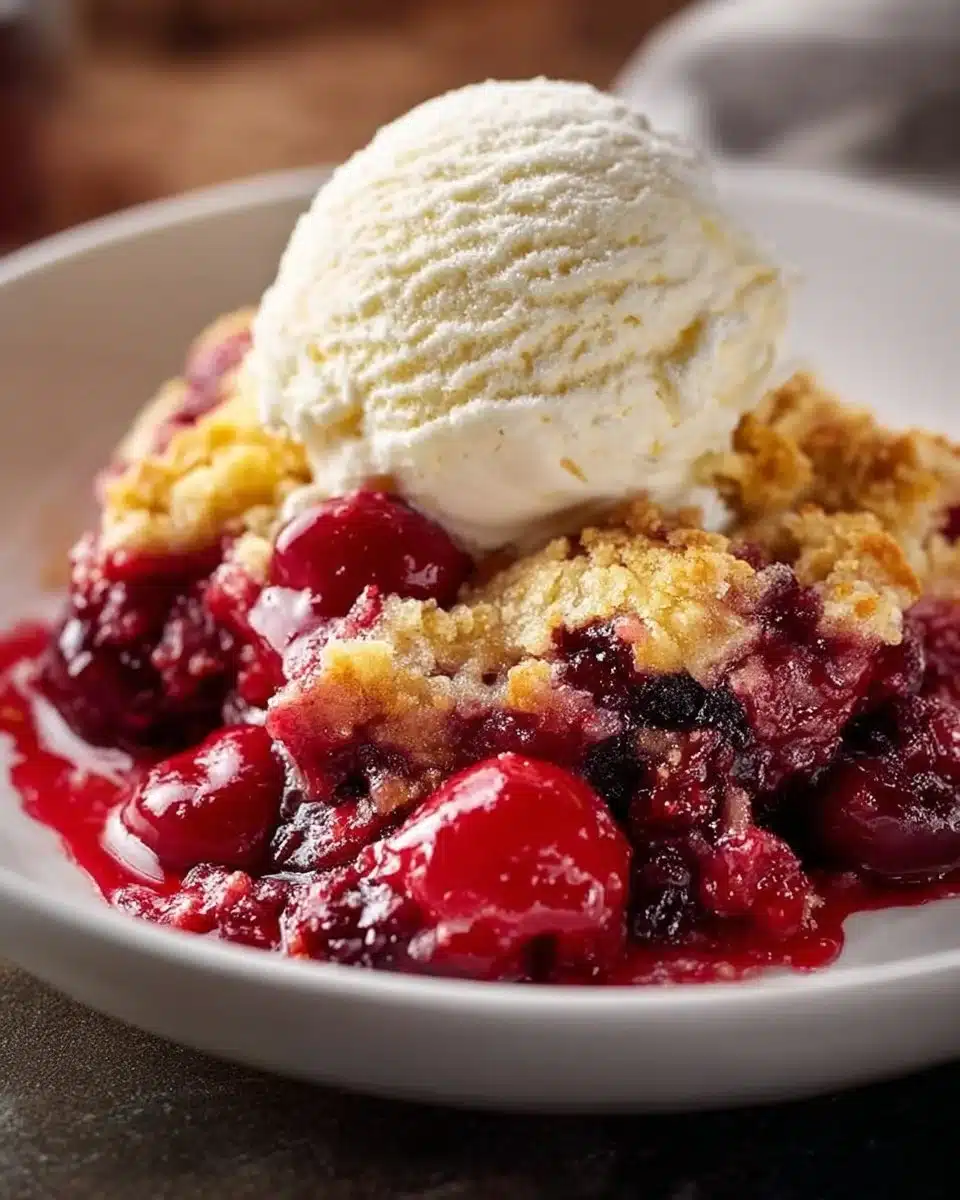
Serving Suggestions The BEST Homemade Cherry Pie
Serve this pie warm or at room temperature with a scoop of vanilla ice cream or a dollop of lightly whipped cream. A sprinkle of powdered sugar adds a festive touch, while a few toasted almonds or a drizzle of warm chocolate can make it feel extra-special.
For a brunch or dessert buffet, slice the pie into smaller wedges and let guests top their pieces with fresh berries or lemon zest. If you’re pairing savory and sweet dishes for a holiday spread, consider the contrast of the pie’s bright fruitiness with a hearty main like an easy homemade chicken pot pie casserole; the savory richness pairs surprisingly well with a light, fruity dessert.
Storage and Freezing Instructions The BEST Homemade Cherry Pie
- Short-term storage: Cover leftover pie loosely with plastic wrap or foil and keep it in the refrigerator for up to 4 days. Reheat individual slices in a 350°F oven for 8–10 minutes to restore crispness.
- Long-term freezing: Cool the pie completely, then wrap it tightly in plastic wrap followed by a layer of aluminum foil. Freeze for up to 3 months. Thaw overnight in the refrigerator and warm in a 325°F oven for 15–20 minutes before serving.
- Freeze filling only: If you want to make filling ahead, cook the cherry filling, cool it, and freeze in an airtight container for up to 3 months. Thaw in the refrigerator and use it in a freshly baked crust for best texture.
- Re-crisping a soggy crust: If the bottom crust softens, place slices on a baking sheet and bake at 375°F for 8–12 minutes to refresh the texture.
Nutrition Facts (Per Serving)
These are approximate values for one slice when the pie is cut into eight equal slices. Values will vary depending on the specific crust you use and whether you serve the pie with ice cream.
- Calories: 300 kcal
- Protein: 3 g
- Carbohydrates: 47 g
- Fat: 13 g
- Fiber: 3 g
- Sodium: 210 mg
Note: These figures are estimates. Using a lower-fat crust, reducing sugar, or changing portion size will alter the nutritional profile.
FAQ About The BEST Homemade Cherry Pie
How do I prevent a soggy bottom crust?
A soggy bottom comes from excess liquid. Cook the filling until it thickens and bubbles—this activates the cornstarch. If you’re using frozen cherries, heat them briefly to reduce excess water before adding them to the crust. You can also brush the bottom crust with lightly beaten egg and blind-bake it for 5–7 minutes before filling to create a moisture barrier.
Can I use fresh cherries instead of frozen?
Yes. Fresh cherries work beautifully and often produce a brighter flavor. Pit them and use as directed. If they are especially juicy, consider cooking the filling a bit longer to evaporate excess moisture or add an extra 1/2 tablespoon of cornstarch to help thicken the juices.
What can I use instead of cornstarch for thickening?
Tapioca starch, arrowroot powder, or quick-cooking tapioca are good swaps. Use equal amounts for arrowroot or tapioca. Keep in mind that arrowroot yields a clearer, glossy filling while tapioca can give a slightly chewier texture.
How do I make a lattice or decorative top without it falling apart?
Chill your rolled-out dough for 10–15 minutes if it feels warm; cold dough is easier to handle. Roll the strips evenly and weave them carefully over the filling. Use a small amount of beaten egg along the edge where the strips meet the bottom crust to “glue” them together. A quick rest in the refrigerator for 15 minutes before baking helps the shape hold.
Is it okay to sweeten the pie with honey or maple syrup?
You can, but both are liquid sweeteners and may thin the filling slightly. If you substitute, reduce other liquids or increase the thickener (a bit more cornstarch) to compensate. Honey and maple syrup will change the flavor profile—maple adds depth, honey gives floral notes.
How long should I let the pie cool before serving?
For best slices, cool the pie for at least 1–2 hours at room temperature so the filling sets. If you can wait longer, chilling in the refrigerator for 3–4 hours yields very neat slices. If serving warm, place a slice on a warm plate to prevent it from cooling too quickly.
Final Thoughts
A well-made cherry pie is a simple pleasure that rewards patience and good ingredients. The BEST Homemade Cherry Pie recipe gives you a straightforward approach to a classic dessert—juicy cherries, glossy filling, and a golden crust. Whether you’re serving it for a holiday, a picnic, or just because, these steps and tips will help you bake a pie that looks and tastes like it was made with love. Enjoy the process, and don’t be afraid to make the recipe your own with the flavor variations and substitutions suggested above.
Print
The BEST Homemade Cherry Pie
- Total Time: 55 minutes
- Yield: 8 servings
- Diet: Vegetarian
Description
A simple and dependable cherry pie recipe that delivers a perfect balance of sweet and tart in each forkful.
Ingredients
- 2 cups fresh or frozen cherries
- 1 cup granulated sugar
- 2 tablespoons cornstarch
- 1 tablespoon lemon juice
- 1 tablespoon butter
- 1 pre-made or homemade pie crust (enough for top and bottom)
- 1 egg (for egg wash)
- 1 tablespoon milk (for egg wash)
Instructions
- Preheat the oven to 425°F (220°C).
- Combine cherries, sugar, cornstarch, and lemon juice in a saucepan over medium heat. Stir until it starts to bubble, then remove from heat.
- Roll out the pie crust and place it in a pie dish. Pour the cherry mixture into the crust and dot with butter.
- Cover with a second pie crust, seal the edges, and make a few slits on top for steam to escape.
- Brush the top with the egg and milk mixture.
- Bake for 30-35 minutes or until the crust is golden brown.
- Cool before serving.
Notes
Chill the assembled pie for at least an hour before slicing for neat pieces. Adjust sugar based on the tartness of your cherries.
- Prep Time: 20 minutes
- Cook Time: 35 minutes
- Category: Dessert
- Method: Baking
- Cuisine: American