What is Potato Pave?
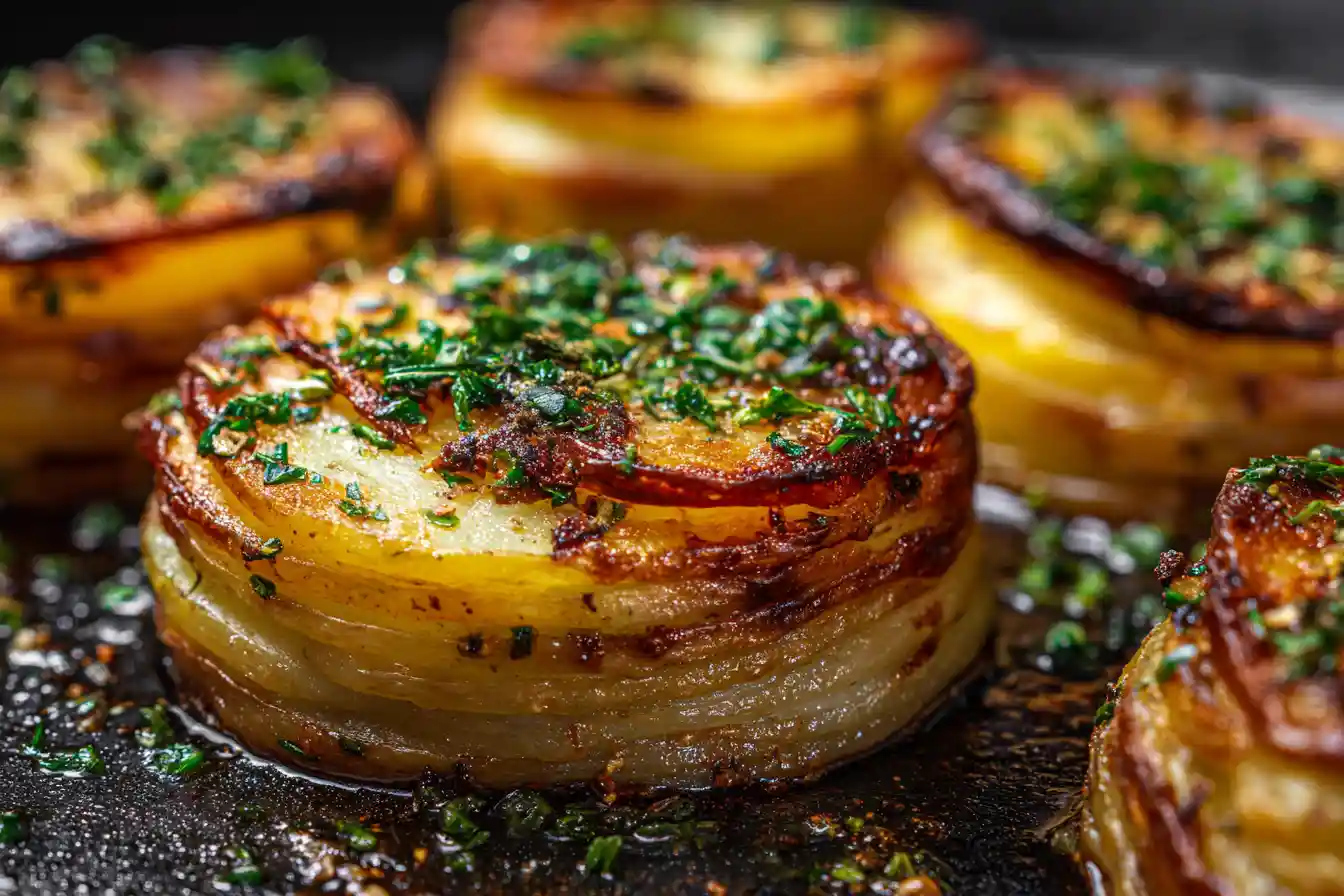
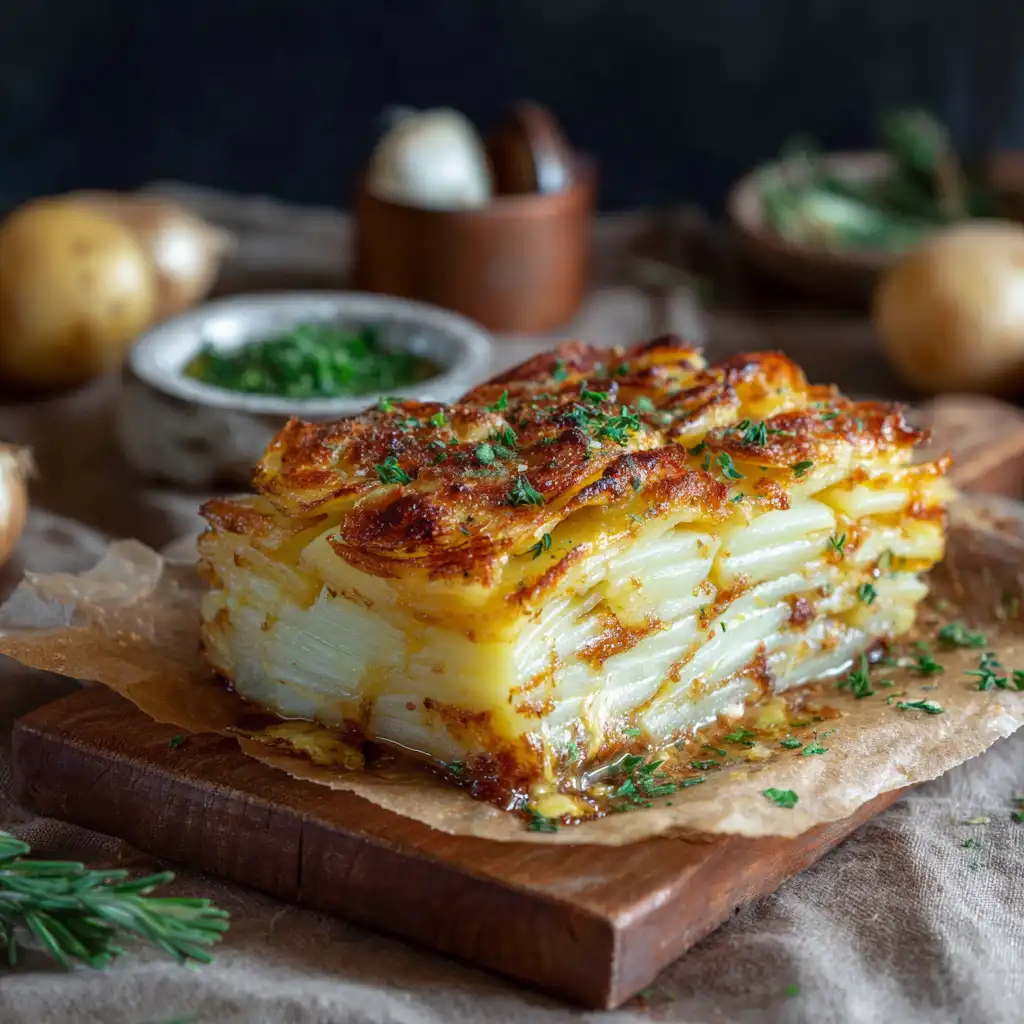
Ever tried a potato dish so good it stole the spotlight from the main course? That’s exactly what potato pave does. It’s a French-inspired layered potato creation that transforms humble spuds into a luxurious, golden, and ultra-crispy showstopper. Unlike mashed potatoes or fries, pave is structured, elegant, and surprisingly simple to make at home.
So, what makes this dish so unique? “Pavé” means “paving stone” in French, and the name perfectly fits the shape and texture of the finished dish: rectangular, crisp-edged, and layered like cobblestones. It’s the kind of dish that impresses at dinner parties yet satisfies like good old comfort food.
Whether you’re planning a holiday dinner or just want to level up your potato game, this guide will walk you through everything you need to know to make the perfect potato pave, from ingredients and layering to slicing, crisping, and even storing leftovers like a pro.
In fact, we first stumbled across this wildly popular variation while experimenting with crispy layers for holiday dinners, and let’s just say, it instantly became a house favorite. If you’re planning a full menu, this dish pairs beautifully with our easy homemade chicken nuggets for a comforting, family-friendly meal.
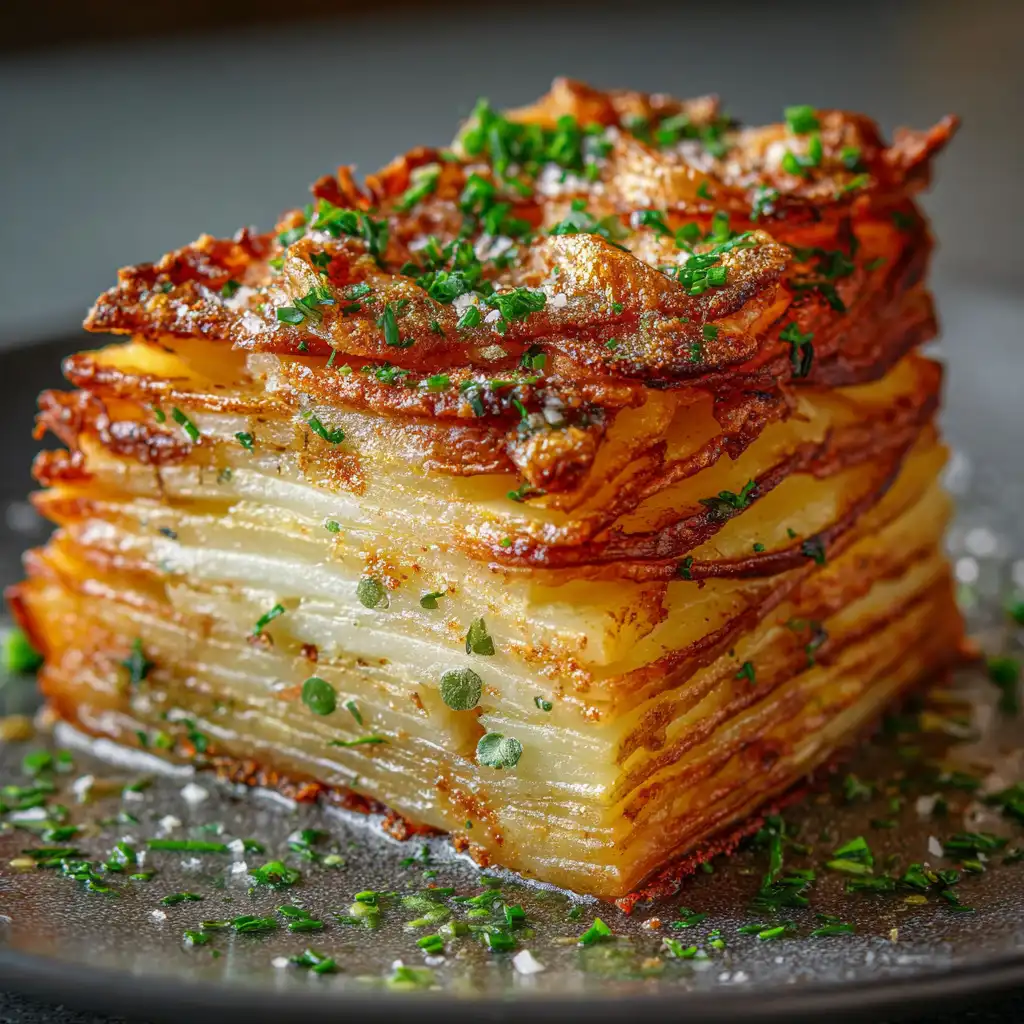
Table of Contents
Table of Contents
Origins of Potato Pave
The potato pave was popularized by chefs in upscale restaurants who wanted to elevate the humble potato without overcomplicating it. The key idea was this: take paper-thin slices of potato, layer them with clarified butter, press them into a mold, chill them, and then fry or bake the slices until they shatter into crisp perfection.
It borrows from French gratin and terrine techniques, but with more finesse. Think of it as a cousin to pommes Anna, but with more structure and crunch.
Difference Between Pave and Gratin
People often confuse potato pave with potato gratin, but they’re quite different.
| Feature | Potato Pave | Potato Gratin |
|---|---|---|
| Structure | Firm, sliceable | Creamy, soft |
| Texture | Crispy edges, layered | Cheesy and melty |
| Prep | Chilled and pressed | Baked straight after assembly |
| Cooking | Sliced & crisped post-bake | Eaten directly after baking |
Pave is like gratin’s cooler, sharper sibling perfect for plating beautifully next to a roasted protein or serving in delicate squares at a fancy brunch.
What’s Ahead in This Article
Here’s what you’ll get from this in-depth guide:
- Ingredient breakdown and substitutions
- The perfect slicing and layering method
- How to get the crispiest golden exterior
- Tips on reheating, storing, and freezing
- Flavor twists with herbs, cheeses, and spices
- Pairing ideas for holidays and weeknight dinners
Where You’ll Use This
You’ll want to serve potato pave when you need a side dish that wows. It’s perfect for:
- Holiday dinners like Thanksgiving or Christmas
- Date-night meals with steak or salmon
- Impressing guests with something new and unexpectedly crispy
- Making a big batch ahead and reheating perfectly
Speaking of Side Dishes…
If you love potato-based sides, you might also like these crowd-pleasers:
- Try easy homemade chicken nuggets for a kid-friendly protein pairing
- Or balance things with a bowl of delicious Mediterranean fish stew
Ingredients You’ll Need for Potato Pave
To get that irresistible crisp and buttery flavor, the ingredients for potato pave are simple, but the quality really matters. This dish doesn’t rely on complexity; it’s all about technique and attention to detail.
Basic Ingredients
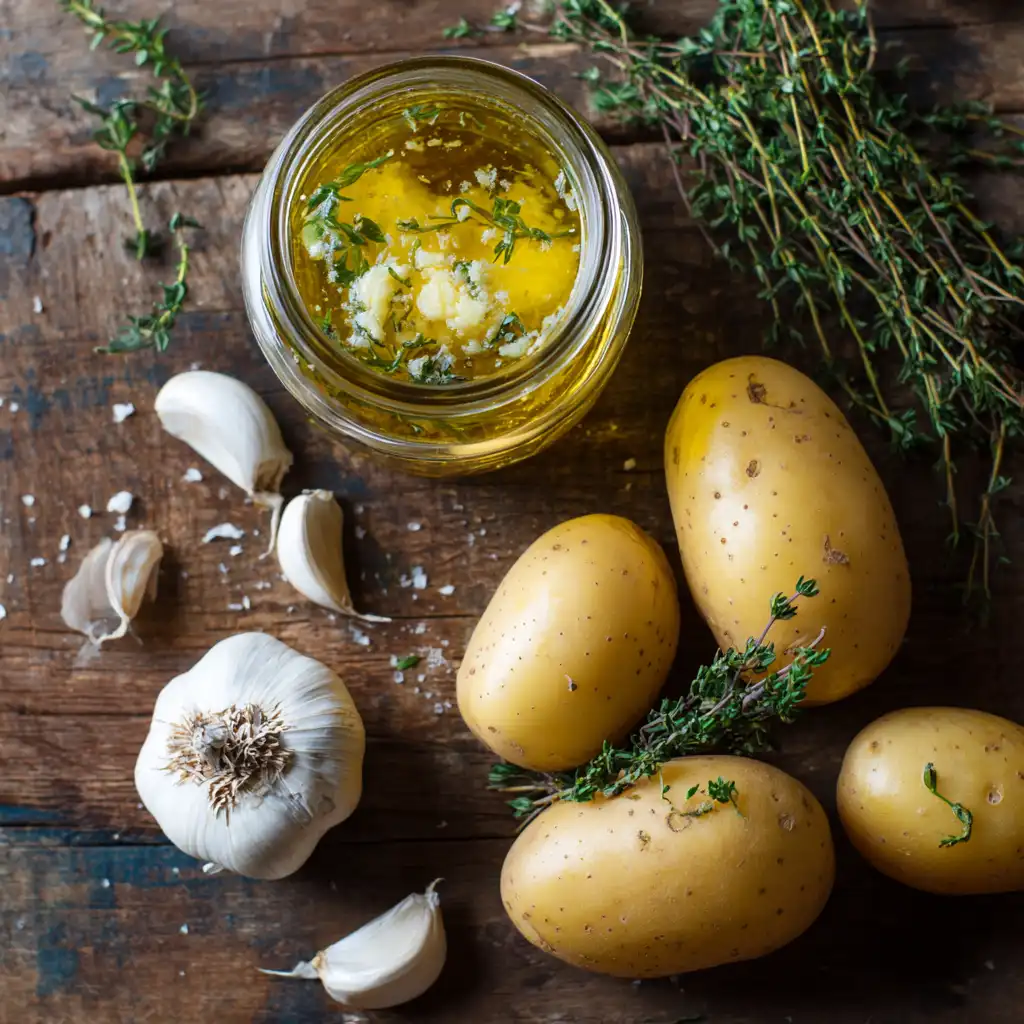
Here’s what you’ll need for the classic version:
- Yukon Gold Potatoes – 2.5 to 3 pounds, peeled
- Clarified Butter – about 1 cup
- Salt and Pepper – to taste
- Garlic (optional) – for infusing flavor
- Thyme or Rosemary (optional) – for layering between slices
Pro Tip: For help making your own clarified butter, check out our guide on how to make clarified butter. It’s more stable than regular butter and won’t burn during baking or pan-searing.
Why Clarified Butter Matters
Clarified butter is simply butter with the milk solids removed. This gives it:
- A higher smoke point (so it won’t burn)
- A clean, nutty taste
- A smooth, glassy finish when baked
Using clarified butter is non-negotiable if you want that stunning, crispy crust.
If you want a dairy-free version, high-quality olive oil or duck fat are alternatives, but the crisp won’t be quite the same.
Flavor Boosters (Optional but Awesome)
- Parmesan Cheese – Sprinkle between layers for an umami kick
- Shallots – Thinly sliced and tucked in for sweetness
- Truffle Oil – A drizzle at the end for luxurious depth
- Smoked Paprika or Nutmeg – For a subtle aromatic twist
Equipment You’ll Need
The equipment you use can make or break your potato pave. Good tools = even cooking and stress-free prep.
Must-Haves
- Mandoline Slicer – For super-thin, even potato slices
- Loaf Pan or Square Baking Dish – Heavy and oven-safe
- Parchment Paper – Helps with clean removal
- Foil and Weights – For pressing during baking
- Sharp Knife – For clean slicing after chilling
If you don’t have a mandoline, you can use a knife, but it’s worth investing in one for consistent slices essential for the “brick” effect.
Step-by-Step Potato Pave Recipe
Here’s how to make this stunning dish from start to finish.
1. Prep the Potatoes
Peel your potatoes and slice them into 1/16-inch thick rounds using a mandoline. Keep slices in cold water while slicing to prevent browning, but dry them thoroughly before layering.
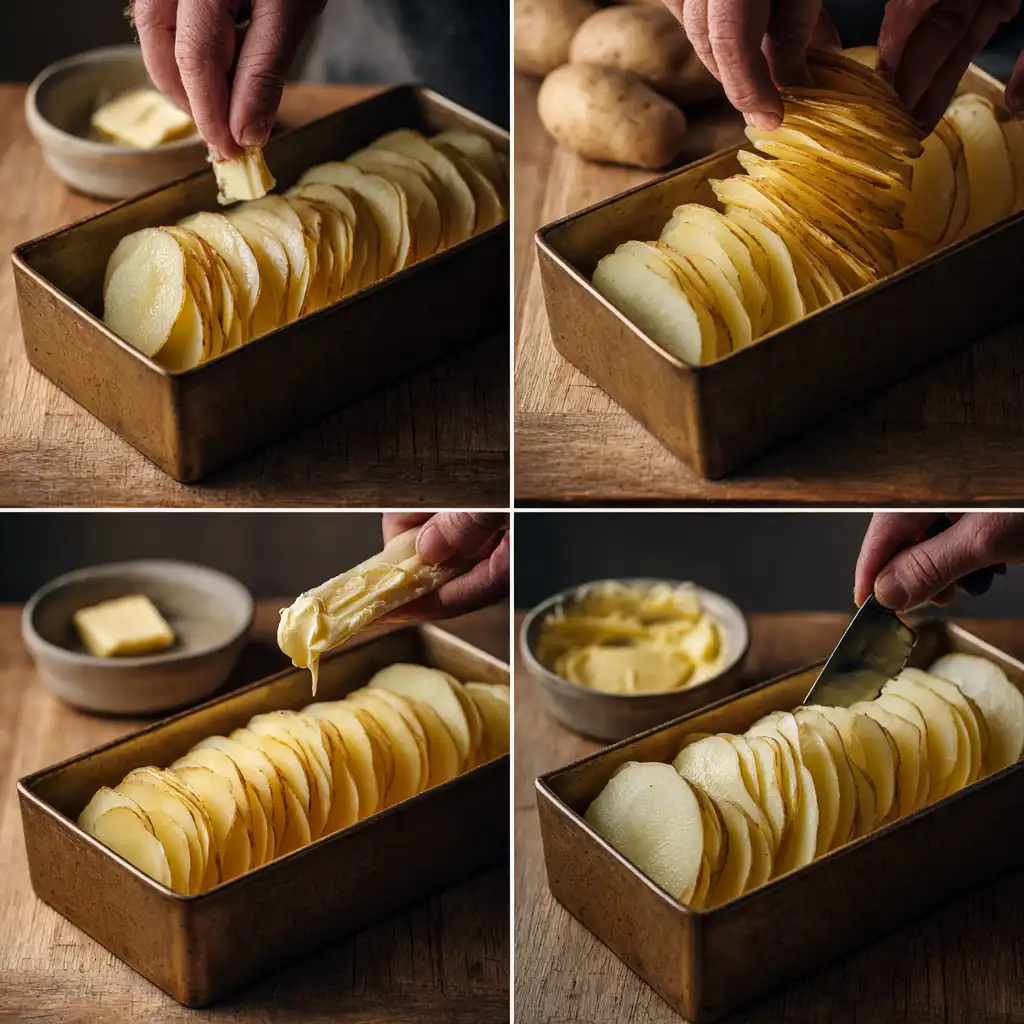
2. Assemble the Layers
Line a loaf pan with parchment paper. Start layering potatoes flat and evenly, brushing each layer with clarified butter and sprinkling salt/pepper. Repeat until you’ve used all the slices.
If using herbs or cheese, sprinkle every 3–4 layers.
Think of this as building a buttery potato lasagna.
3. Weigh It Down
Place a piece of parchment on top of the final layer. Cover tightly with foil and place another dish or baking weight on top to compress the layers while baking.
This helps create that tight, sliceable brick.
4. Bake Low and Slow
Bake at 325°F (160°C) for about 2 hours, or until fully tender when pierced with a knife.
Don’t rush this part; the layers need time to bond and cook through.
5. Chill Overnight
Cool to room temperature, then refrigerate (still pressed) overnight. This step is critical for slicing cleanly and frying for crispness.
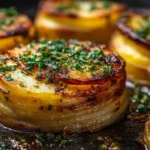
The Final Step: Searing for Crispiness
Once chilled, slice the potato pave into squares or rectangles. Heat a nonstick pan over medium heat with a bit of clarified butter or oil and sear each side until deeply golden brown.
Crispy on the outside. Creamy on the inside. Ridiculously addictive.
Want a Full Meal?
Pair this with a classic like our best homemade lasagna recipe for a comfort food combo that’ll win hearts (and maybe a few recipe requests).
Recap: Why This Recipe Works
- Layering = crispy + creamy contrast
- Chilling overnight = firm slices that hold shape
- Clarified butter = nutty flavor + golden crust
- Pan-searing = that dramatic crunch
Best Dishes to Serve with Potato Pave
Potato pave is buttery, crisp, and rich, which means it needs savory, saucy, or acidic mains to balance it.
Serve with Beef, Chicken, or Fish
Here are dishes that pair beautifully:
- Steak with peppercorn sauce
- Roast chicken or chicken parmesan
- Pan-seared salmon or halibut
- Lamb chops with rosemary and garlic
- Short ribs or pot roast
For an easy weeknight pairing, serve it with easy homemade chicken nuggets crispy meets crispy!
Great Holiday Combos
Potato pave is perfect for:
- Christmas dinners with glazed ham or roast duck
- Thanksgiving spreads as a fancy alternative to mashed potatoes
- New Year’s Eve with filet mignon and red wine sauce
Add a tart cranberry relish or green salad for contrast.
Storage and Reheating Tips
Refrigeration Guidelines
Once baked, let it cool, then cover tightly and refrigerate for up to 5 days.
According to the USDA’s refrigeration safety guidelines, perishable cooked foods like potatoes should be stored within 2 hours and kept at or below 40°F (4°C).
Freezing Instructions
- Slice the chilled pave
- Place parchment between layers
- Wrap tightly in foil or freezer-safe bags
- Freeze up to 1 month
When ready to eat, thaw in the fridge overnight before reheating.
Reheating Tips
Pan-Frying (Best for Crispiness)
- Let slices come to room temperature
- Use clarified butter or high-smoke-point oil
- Sear each side for 2–3 minutes on medium heat
Want to know why pan-frying works best? The Maillard reaction causes browning and intensifies flavor giving that signature crunch.
Oven Reheating (Great for Batches)
- Preheat to 375°F (190°C)
- Place slices on a lined tray
- Bake for 10–15 minutes or until edges are golden

Troubleshooting Common Mistakes
Even with a simple ingredient list, potato pave can go wrong if certain steps are skipped.
Problem: Slices Falling Apart
Causes:
- Didn’t chill long enough
- Skipped the weight/pressing step
- Cut while still warm
Fix:
Cool completely, press while baking, and chill overnight.
Problem: Not Crispy
Causes:
- Butter burned
- Pan too crowded
- Skipped the searing step
Fix:
Use clarified butter (which has a higher smoke point). The FDA also recommends using non-reactive cookware to avoid off-flavors or unsafe heating.
Problem: Sticks to the Pan
Causes:
- The pan is not hot enough
- Not enough butter or oil
- You flipped too soon
Fix:
Let a golden crust form before turning; resist the urge to move it early.
Problem: Uneven Layers
Causes:
- Hand-sliced potatoes
- Uneven pressure during baking
Fix:
Use a mandoline for perfect slices and apply even weights during baking.
Looking for a Light, Balanced Side?
Balance the richness of potato pave with something brothy and fresh like our delicious Mediterranean fish stew. The acidity and herbs cut through the butter beautifully.
Recap: Crisp, Store, Serve Like a Pro
- Pair it wisely: Meats, sauces, and holiday classics
- Store it smart: Cool, wrap, chill, or freeze in slices
- Reheat right: Pan for crisp, oven for convenience
- Fix mistakes: Patience and chilling are key
With this guidance, your potato pave won’t just look amazing, it’ll taste like a restaurant-level side with all the trusted kitchen science to back it up.
Substitutions & Dietary Tweaks
Looking for something more diet-friendly? Here’s how to make potato pave work for different needs.
Gluten-Free?
No gluten in this dish at all unless you’re adding breadcrumb toppings. Keep it clean with:
- Potatoes
- Clarified butter or oil
- Herbs, garlic, and seasoning
Dairy-Free Option
Use:
- Avocado oil
- Coconut oil (light flavor)
- Vegan butter (watch for water content)
Pro Tip: Avoid oils that smoke below 400°F. This smoke point chart from Healthline helps pick the right one.
Leftover Potato Pave? Try These Genius Ideas
Potato pave is so good, you’ll be tempted to eat it cold from the fridge. But here are 3 better ways to repurpose it:
1. Pave Hash
Dice leftover pave, crisp it in a pan, and toss in:
- Chopped onions
- Bell peppers
- Leftover steak or eggs
Serve with hot sauce and call it brunch.
2. Mini Pave Sandwiches
Cut into small squares and sandwich with:
- Sliced turkey
- Dijon mustard
- Arugula
- Caramelized onions
Great for a party appetizer or high-end snack.
3. Loaded Pave Bites
Top reheated cubes with:
- Sour cream
- Chives
- Crumbled bacon or smoked salmon
Instant hors d’oeuvres. Fancy yet effortless.
Want more comfort food ideas? Try our best homemade lasagna the perfect pairing for a cozy weekend dinner.
Quick Recap
- Sweet potatoes work with tweaks
- Clarified butter is best, but ghee or avocado oil can sub
- Make ahead up to 3 days
- Store safely and reheat like a pro
- Leftovers = next-level creativity
Why You’ll Love This Potato Pave Recipe
Potato pave isn’t just a side dish; it’s a conversation starter. It’s the kind of recipe that makes guests pause, admire the layers, and ask, “You really made this at home?”
Here’s why it’s worth mastering:
- Impossibly crispy outside with a buttery-soft center
- Elegant enough for fine dining, but cozy enough for a family dinner
- Completely customizable with herbs, cheeses, or even sweet potatoes
- Can be made ahead and reheated perfectly, no stress during hosting
- Works for every season: holidays, Sunday dinners, or meal prep
If you’re looking to upgrade your sides from basic to breathtaking, this is it.
FAQs About Potato Pave
1. What is potato pave made of?
Potato pave is made from thinly sliced potatoes layered with clarified butter, pressed, baked slowly, then chilled and seared until golden and crispy.
2. What type of potato is best for pave?
Yukon Gold is ideal for its balance of starch and moisture. Russets can be used, but may fall apart more easily after chilling.
3. Can I make potato pave ahead of time?
Yes. It’s best made ahead. Chill it overnight for clean slicing and pan-fry before serving.
4. How do I keep potato pave crispy?
Sear each slice in a hot, nonstick pan with clarified butter. Let the crust form before flipping.
5. Is potato pave gluten-free?
Yes, as long as you don’t add breadcrumbs or gluten-based toppings, it’s naturally gluten-free.
Potato Pave Recipe | Crispy, Buttery Layers You’ll Love
- Total Time: 8 hours (with chilling)
- Yield: 6 servings
Description
This potato pave recipe delivers ultra-crispy, buttery layers of thinly sliced potatoes pressed, baked, and pan-seared to perfection. It’s the ideal elegant side dish for holidays or special dinners.
Ingredients
2.5 to 3 lbs Yukon Gold potatoes, peeled
1 cup clarified butter or ghee
1 tsp salt (or to taste)
1/2 tsp black pepper
2 garlic cloves, smashed (optional)
2 sprigs thyme or rosemary (optional)
1/4 cup grated Parmesan cheese (optional)
Olive oil or additional butter for searing
Instructions
1. Preheat oven to 325°F (160°C). Line a loaf pan with parchment paper.
2. Using a mandoline, slice potatoes into 1/16-inch thick slices. Dry well with a towel.
3. Layer slices in the pan, brushing each layer with clarified butter and seasoning lightly.
4. Repeat until all potatoes are used. Add herbs or Parmesan every few layers if desired.
5. Cover the top with parchment, then tightly with foil. Place another pan or weights on top.
6. Bake for 1 hour 45 minutes to 2 hours, or until completely tender.
7. Cool to room temperature, then refrigerate overnight with weights still on top.
8. Unmold the chilled pave and cut into squares or rectangles.
9. Heat a nonstick pan over medium heat. Sear each piece in butter until both sides are crisp and golden.
10. Serve warm, garnished with fresh herbs or a touch of truffle oil if desired.
Notes
Use clarified butter or ghee for the best searing results; regular butter burns quickly.
Make-ahead friendly: prepare up to 3 days ahead and reheat before serving.
For extra flavor, sprinkle Parmesan between layers before baking.
Sweet potato variation: add 1 tsp cornstarch and increase bake time slightly.
- Prep Time: 20 minutes
- Cook Time: 2 hours
- Category: Side Dish
- Method: Baking, Searing
- Cuisine: French