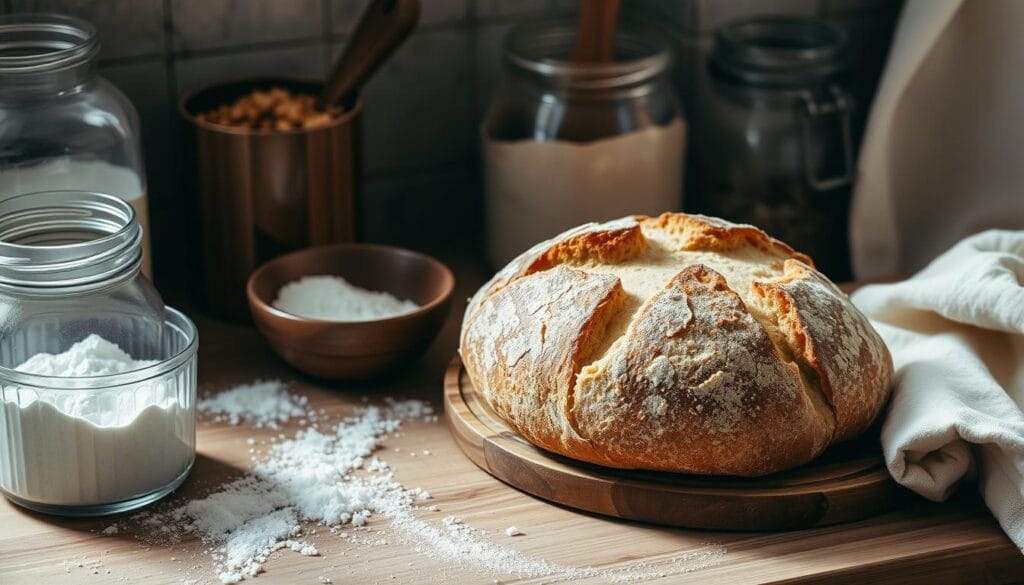
Learn the secrets of making an artisanal sourdough bread recipe with our simple guide. It’s perfect for both newbies and seasoned bakers. You’ll love creating your own delicious, crusty loaves at home. Let’s start our tasty adventure together, covering the basics of sourdough and giving you the skills to bake like a pro.
Key Takeaways
- Discover the history and science behind sourdough bread
- Learn the way to create and preserve a healthy sourdough starter
- Explore the best flour types for optimal sourdough results
- Master the art of dough development and shaping techniques
- Understand the crucial steps of the bulk fermentation process
Understanding the Magic of Sourdough: A Brief History
Sourdough bread has a long and fascinating history. It dates back to ancient times. This bread is known for its tangy taste and chewy texture.
It’s made through a natural process that bakers have perfected over time.
The Ancient Art of Natural Fermentation
The ancient Egyptians were among the first to use natural fermentation. They found wild yeasts and bacteria in the air. This helped them make a more nutritious and tasty bread.
This method is different from commercial breads, which use yeast. The fermentation process in sourdough creates complex flavours. It also makes the bread last longer and is loved by many worldwide.
Why Sourdough Bread Is Different
- Unique Flavor Profile: The sourdough starter and fermentation process give sourdough a tangy, complex taste. It’s unlike regular bread crumbs.
- Improved Digestibility: The natural fermentation breaks down gluten and complex carbs. This makes sourdough easier to digest for many.
- Extended Shelf Life: Sourdough bread lasts longer than commercial bread. This is thanks to the fermentation’s natural preservative effects.
- Nutritional Benefits: Sourdough is richer in B vitamins and minerals. This is because of the fermentation process.
Learning about sourdough’s history and unique qualities shows its true magic. It’s a craft that involves natural fermentation. Try baking your sourdough at home and enjoy its deliciousness.
Print
Easy Homemade Sourdough Bread Recipe | 2025 Beginner’s Guide
- Total Time: ~13 hours
- Yield: 1 loaf
Description
Learn the secrets of making artisanal sourdough bread with this easy-to-follow 2025 guide. Whether you’re just starting out or perfecting your technique, this recipe walks you through every step—from building your starter to baking a golden, crusty loaf.
Ingredients
1 cup (240 ml) active sourdough starter
1½ cups (355 ml) warm water
4 cups (500 g) all-purpose or bread flour
1 teaspoon (5 ml) salt
Instructions
Mix Starter and Water: In a large bowl, stir together your active sourdough starter and warm water until dissolved.
Add Flour and Salt: Mix in the flour and salt until you form a shaggy dough.
Knead: Knead on a floured surface for 10 minutes until smooth and elastic.
Bulk Ferment: Place in a greased bowl, cover, and let rise for 8–12 hours.
Shape: Once doubled, punch down the dough and shape it into a round or oval loaf.
Final Proof: Place on parchment or in a loaf pan, cover, and let rise for 2–3 hours.
Bake: Preheat oven to 450°F (230°C). Bake for 30–35 minutes until crusty and golden brown.
Cool and Slice: Let cool fully before slicing and enjoying.
Notes
Use a Dutch oven for best results and a crisp crust.
For best flavor, allow dough to ferment slowly in a cool place.
Try combining whole wheat or rye flour for deeper flavor.
- Prep Time: 12–15 hours (includes fermenting and proofing)
- Cook Time: 35 minutes
- Category: Bread
- Method: Baking
- Cuisine: Artisanal, Homemade
Essential Tools and Ingredients for Your Sourdough Journey
Starting your sourdough bread baking journey needs the right tools and ingredients. You’ll need the best flour and a proofing basket to make a perfect loaf. Let’s look at what you need to improve your bread-baking skills and make delicious sourdough at home.
Flour Power: Choosing the Best Grains
The key to a great sourdough recipe is the flour. Choose exquisite bread flour or all-purpose flour for the great consequences. These flours have the right amount of gluten for a great rise and texture.
Mixing and Shaping Essentials
You’ll need a big mixing bowl, preferably glass or stainless steel, for kneading and proofing. A sturdy dough scraper helps with folding and shaping during bulk fermentation. For the final shape, a well-floured proofing basket or banneton is essential for a beautiful crust.
Baking Basics: Pots and Pans
For baking your sourdough, a Dutch oven or a heavy-duty baking sheet is crucial. A Dutch oven creates a steamy environment like a professional bakery. If you prefer a more open bake, a baking sheet with a cover works well, too.
With these tools and ingredients, you’re ready to master bread-baking sourdough starter and create perfect artisan bread in your kitchen. Start your journey now!
Creating Your Sourdough Starter From Scratch
Making a sourdough starter from scratch is a fun journey. It brings out the best in homemade bread. This starter is key to sourdough’s tangy taste and chewy texture. Let’s explore how to make and care for your sourdough starter.
Feeding and Maintaining Your Starter
To keep your starter alive, feed it regularly. Feed it once or twice a day with equal parts flour and water. This keeps it active and ready for your bread.
Signs of a Healthy Starter
- Bubbly and frothy appearance
- Distinct sour aroma reminiscent of ripe fruit
- Doubling or tripling in volume after feeding
- Smooth, glossy texture without excessive dryness or wetness
Troubleshooting Common Starter Issues
If your starter seems slow, don’t worry. It’s a common problem. Check your feeding schedule and flour-to-water ratio. Also, make sure it is in a warm, consistent place. With some trial and error, you’ll have a lively starter for your sourdough.
| Common Starter Issues | Possible Causes | Solutions |
|---|---|---|
| Slow or no activity | Incorrect feeding ratio, low temperature | Adjust flour-to-water ratio, maintain optimal temperature |
| Discard the affected starter, clean the container,and restart | Overfeeding, inconsistent feeding schedule | Reduce feeding frequency, discard and restart the starter |
| Mold or discoloration | Contamination, improper storage | Discard the affected starter, clean the container, and restart |
The Best Flour Types for Sourdough Success
In bread baking, the flour you pick is crucial. It can change your artisan bread in big ways. Knowing about different flours can help you make the perfect loaf every time.
Whole wheat flour is great for sourdough bread. It gives your loaf a nutty taste and a chewy feel. Rye flour adds an earthy flavour, making your bread crumb unique.
All-purpose flour is perfect for a classic bread-baking feel. It makes a soft, light crumb. Try mixing different flours to find what you like best.
| Flour Type | Key Characteristics | Best for |
|---|---|---|
| Whole Wheat | Nutty flavor, chewy texture | Hearty, rustic loaves |
| Rye | Earthy, complex flavor | Unique, artisanal breads |
| All-Purpose | Soft, light-textured crumb | Classic sourdough loaves |
Choosing the right flour is key to sourdough success. Understand how each flour works and how to get the best results. Experiment, have fun, and let your creativity show in your bread baking.
Simple Sourdough Bread Recipe for Beginners
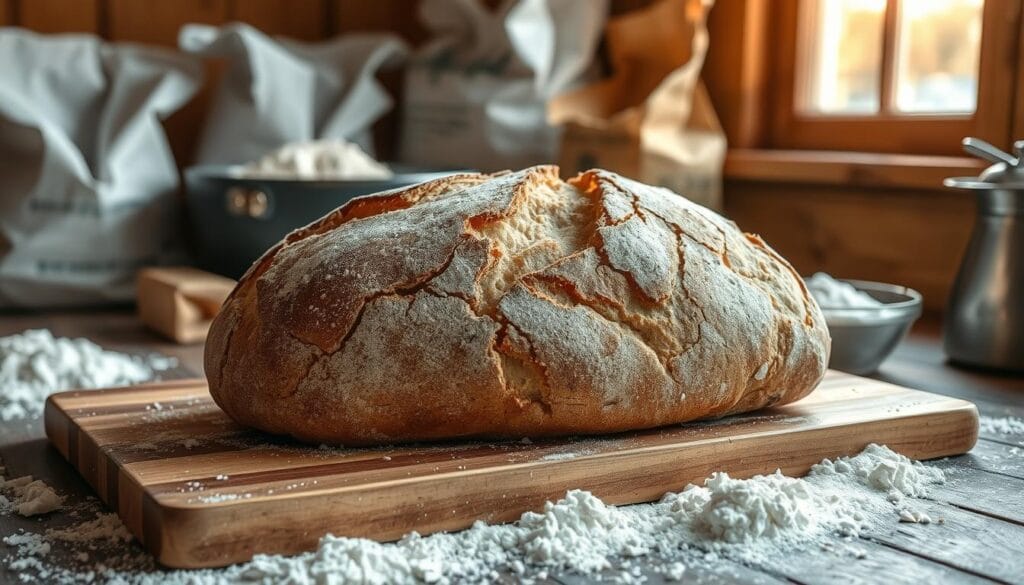
Making sourdough bread at home might seem hard, but it’s very rewarding. This easy recipe is great for beginners. It lets you try out sourdough bread baking and kneading techniques.
Ingredients List and Measurements
- 1 cup (240 ml) active sourdough starter
- 1 1/2 cups (355 ml) warm water
- 4 cups (500 g) all-cause flour or bread flour
- 1 teaspoon (5 ml) salt
Step-by-Step Mixing Instructions
To start your sourdough bread recipe, mix the sourdough starter and warm water in a big bowl. Stir until they’re well mixed. Then, add the flour and salt. Mix until you get a shaggy dough.
Now, knead the dough. Please put it on a floured surface and knead for 10 minutes. Use your heel to push and fold the dough. This makes the dough chewy.
When the dough is smooth and elastic, please put it in a greased bowl. Cover it and let it push upward for 8-12 hours. This long time is what makes sourdough special.
After it doubles in size, punch it down to get rid of air bubbles. Shape it into your favourite loaf shape. Please put it in a greased loaf pan or on a parchment-lined baking sheet. Cover it and let it rise for 2-3 hours.
Heat your oven to 450°F (230°C). Bake the loaf for 30-35 minutes. It should be golden brown and crispy. Let it cool before you slice, and enjoy.
Mastering the Art of Dough Development
Making the perfect artisan bread is more than just mixing ingredients. It’s about mastering dough development. How you knead the bread dough greatly affects the loaf’s texture and structure.
The stretch and fold method is key for the perfect breadcrumb. This technique builds gluten strength and creates an elastic texture. It traps air bubbles, leading to the open-crumb sourdough lovers adore.
- Begin by stretching the dough in four directions and then folding it into a tight ball.
- Do this stretch and fold every 30 minutes during bulk fermentation.
- Watch the dough closely and adjust folds as needed for the right strength and extensibility.
Proper kneading is also vital. While sourdough kneading is less intense than regular bread, gentle kneading helps build gluten. Avoid overworking to prevent a dense crumb.
“The perfect sourdough dough should be smooth, supple, and slightly tacky to the touch, with a well-developed gluten structure that can withstand gentle stretching.”
Mastering dough development leads to baking artisan bread with a beautiful crumb and chew. Remember, each loaf is a unique journey. Experiment to find the techniques that work best for you and your sourdough starter.
The Bulk Fermentation Process Explained
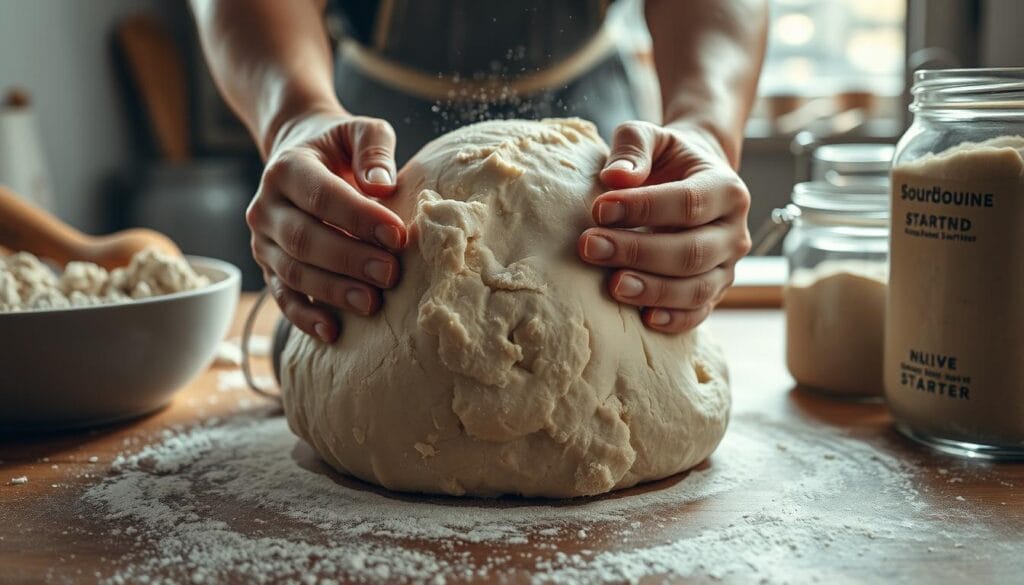
The bulk fermentation stage is key in sourdough bread baking. It’s where the dough’s flavour and structure come to life. Here, the dough ferments slowly, letting the sourdough starter’s yeasts and bacteria do their work.
Temperature Control Tips
Keeping the right temperature is crucial for bulk fermentation. The best range is 70°F to 80°F (21°C to 27°C). If it’s too cold, fermentation slows down. Too hot, and it can over-ferment, ruining the taste.
Use a proofing box or oven with the light on. It helps control the temperature, creating the best environment for your dough to rise.
Visual Cues for Perfect Fermentation
- Look for the dough to increase in volume by about 50-100%, doubling or even tripling in size.
- Observe the dough surface for a noticeable increase in bubbles and a slightly domed appearance.
- Gently poke the dough with your finger. If it springs back quickly, the fermentation is still in progress. If the indentation remains, the dough is prepared for the following step.
By watching the temperature and visual cues, you can get your sourdough dough just right. Hiss ensures a beautifully textured and flavorful loaf of bread.
Shaping Techniques for Beautiful Loaves
Making your sourdough bread look stunning is an art. t adds elegance to your homemade bread. Earning the ability to shape your dough into boules and batards can make your bread look amazing. Also, mastering bread scoring can make the bread crust look even better.
To shape a boule, collect the dough right into a tight ball. Uck the edges underneath for a smooth surface. Or a batard, shape the dough into an oval. Oll and shape it until it looks right.
Try different scoring patterns like a cross or hashtag. His adds interest to the bread crust.
The shaping process lets you add personality to your sourdough loaves through various scoring techniques. With practice, you’ll create artisan bread that impresses everyone.
FAQ
How long does it take to make a loaf of homemade sourdough bread?
Making a loaf of sourdough bread takes about 12-24 hours. His includes time to feed and activate your starter. t also covers fermentation, proofing, and baking.
What’s the difference between sourdough bread and regular bread?
Sourdough bread uses a sourdough starter, not commercial yeast. His natural process gives it a tangy flavour and chewy texture. It’s also more nutritious than regular bread.
Can I use all-purpose flour to make sourdough bread?
Yes, you can use all-purpose flour for sourdough. Ut, you might need to adjust the hydration and proofing times. Read flour or a mix of flours works best for texture and rise.
How do I know when my sourdough starter is prepared to apply?
Your starter is ready when it’s bubbly and doubled in size. t should pass the “float test.” Drop a spoonful into water. If it floats, it’s ready.
How often do I need to feed my sourdough starter?
Feed your starter every day if it is at room temperature. Tore it in the fridge for 5-7 days if you bake less often.
What’s the best way to knead sourdough dough?
UStretching and folding are used to make sourdough dough. He develops the gluten and makes the dough elastic. You can knead by hand or with a stand mixer.
How do I achieve a crispy crust on my sourdough bread?
For a crispy crust, bake in a Dutch oven or on a baking stone. His creates steam for a shiny crust. Coring the dough before baking also helps.
How do I store my homemade sourdough bread?
Store your sourdough bread at room temperature in a paper or linen bag. Void plastic to keep the crust crisp. Freeze slices for up to 3 months if you need to store them longer.




1 thought on “Easy Homemade Sourdough Bread Recipe | 2025 Beginner’s Guide”