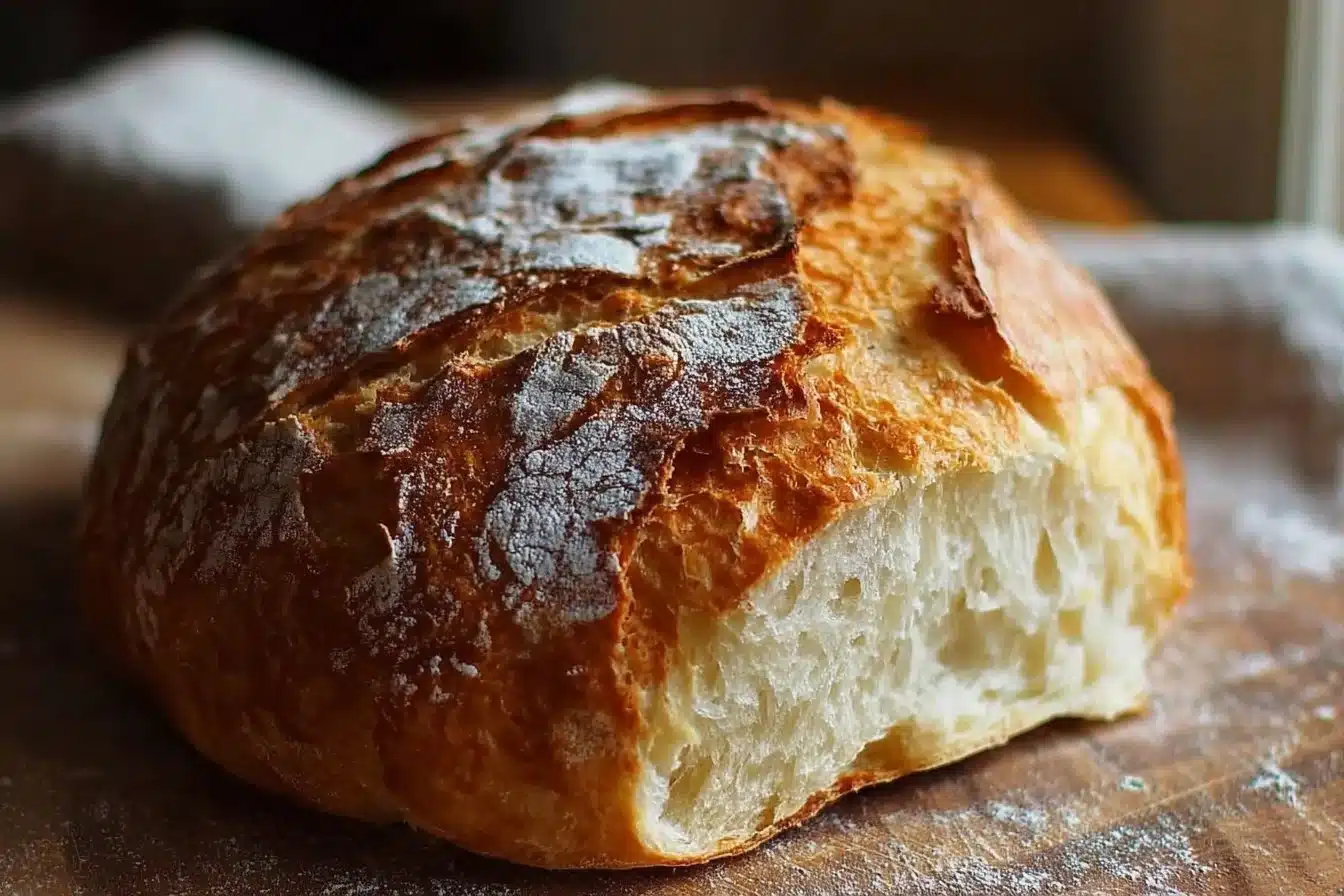
There’s something magical about homemade bread, and with this Simple No-Knead Artisan Bread recipe, you can create a crispy crust and a soft, airy interior without any of the hard work of traditional bread-making. This easy recipe simplifies the bread-baking process, allowing anyone, even beginners, to enjoy the satisfaction of fresh-baked bread right from their ovens.
Why Make This Recipe
Making artisan bread can seem intimidating, but this no-knead version takes the fear out of the process. Perfect for busy schedules, this simple recipe requires minimal hands-on time and capitalizes on a long fermentation period to develop rich flavors and textures. Whether you’re an experienced baker or just starting out, you’ll find joy in creating a loaf that’s perfect for sandwiches, toasting, or enjoying with butter. Plus, it fills your home with an incredible aroma that’s hard to resist!
How to Make Simple No-Knead Artisan Bread
Ingredients:
- 3 cups all-purpose flour
- 1 ½ teaspoons salt
- ½ teaspoon instant yeast
- 1 ½ cups warm water
Directions:
- In a large bowl, combine flour, salt, and yeast.
- Add warm water and stir until a sticky dough forms.
- Cover the bowl with plastic wrap and let it sit at room temperature for 12-18 hours.
- After the dough has risen and bubbles form on the surface, preheat your oven to 450°F (230°C).
- Place a Dutch oven with its lid in the oven to heat for 30 minutes.
- Meanwhile, turn the dough out onto a floured surface and shape it into a ball.
- Let it rest while the Dutch oven heats.
- Carefully remove the hot Dutch oven, place the dough inside, cover it, and bake for 30 minutes.
- Remove the lid and bake for another 15-20 minutes until the crust is golden brown.
- Let the bread cool on a wire rack before slicing.
Pro Tips for Success with Simple No-Knead Artisan Bread
- Use a Kitchen Scale: For accuracy, weigh your flour rather than measuring it by volume, especially if you can find it in gram conversions. A consistent weight will yield better results.
- Temperature is Key: If your kitchen is particularly cold, consider using warmer water to help activate the yeast more effectively.
- Longer Fermentation: Don’t rush the fermentation process! Allowing the dough to rise for longer will develop more flavor and a better texture.
- Avoid Over-Flouring: When shaping your dough, use just enough flour to keep it from sticking. This will help you achieve that beautiful artisan crust!
- Dutch Oven Matters: A heavy Dutch oven traps steam during baking, creating a perfect environment for your bread to rise. Don’t skip this step!
- Experiment with Timing: If you’re comfortable with timing, feel free to adjust the fermentation to fit your schedule. Just keep an eye on the dough’s readiness.
Flavor Variations for Simple No-Knead Artisan Bread
- Herb-Infused: Add dried herbs like rosemary, thyme, or oregano to your flour mixture for a fragrant loaf that’s perfect for dipping in olive oil.
- Garlic and Cheese: Mix in roasted garlic and shredded cheese such as Parmesan or cheddar into the dough for a savory twist.
- Whole Grain: Substitute up to a cup of all-purpose flour with whole wheat flour for a heartier bread that offers more fiber and nutrients.
- Seeds and Nuts: Incorporate seeds such as flaxseeds, sunflower seeds, or chopped walnuts into your dough for added crunch and flavor.
- Cinnamon Raisin: For a sweeter variation, add cinnamon and raisins for a delicious breakfast bread that pairs well with cream cheese.
Serving Suggestions for Simple No-Knead Artisan Bread
The versatility of this Simple No-Knead Artisan Bread means it pairs well with many dishes. Here are some serving suggestions:
- With Soups and Stews: This bread is perfect for dipping in a warm bowl of your favorite soup or hearty stew.
- As Sandwich Bread: Use it as a base for all types of sandwiches – the thick crust and soft interior hold fillings beautifully.
- With Olive Oil and Balsamic Vinegar: Slice and serve with a dish of olive oil mixed with balsamic vinegar for a delightful appetizer.
- Toast It Up: Enjoy slices toasted with butter or your choice of spreads for breakfast or a snack.
- Bruschetta: Top toasted slices with fresh tomatoes, basil, and mozzarella for a delicious bruschetta appetizer.
Storage and Freezing Instructions for Simple No-Knead Artisan Bread
To keep your bread fresh and delicious, follow these storage tips:
- Room Temperature: Store bread in a paper bag at room temperature for up to three days. Avoid plastic wrap, as it can make the crust soggy.
- Freezing: If you want to save some for later, slice the bread and wrap individual slices in plastic wrap or aluminum foil, then place them in a freezer bag. This allows you to pull out just what you need.
- Thawing: To thaw, simply remove a slice from the freezer and allow it to air thaw, or pop it in the toaster for a quick reheat.
Nutrition Facts (Per Serving)
| Nutrient | Amount |
|————-|—————|
| Calories | 160 |
| Protein | 4 g |
| Carbohydrates| 34 g |
| Fat | 0.5 g |
| Fiber | 1 g |
| Sodium | 200 mg |
FAQ About Simple No-Knead Artisan Bread
How long does it take to make no-knead bread?
The total time for making Simple No-Knead Artisan Bread is approximately 12-18 hours due to the long fermentation process. However, the hands-on time is minimal, mostly spent mixing ingredients and shaping the dough.
Can I use bread flour instead of all-purpose flour?
Yes, you can substitute bread flour for all-purpose flour in this recipe. Bread flour has a higher protein content, which can yield a chewier texture and a loftier loaf.
Is it necessary to use a Dutch oven for baking?
Using a Dutch oven is highly recommended for no-knead bread because it traps steam, creating a beautiful crust. If you don’t have a Dutch oven, you can bake on a baking stone or sheet tray, but the crust may not be as crispy.
What can I do if my dough doesn’t rise?
Several factors can affect dough rising, including the age of your yeast and the temperature in your kitchen. Ensure that the yeast is within its freshness date and experiment with slightly warmer temperatures if needed.
Can the dough be prepared in advance?
Yes! If you want to prepare the dough in advance, you can refrigerate it after mixing. Just make sure it’s covered well. You may need to extend the baking time if using cold dough.
Final Thoughts
Creating Simple No-Knead Artisan Bread at home is a rewarding experience that anyone can master. With just a few ingredients and a little patience, you’ll enjoy a remarkably delicious loaf that can brighten any meal. Whether you’re bringing it to a gathering or savoring it on your own, fresh bread doesn’t get any easier than this. So, roll up your sleeves, gather your ingredients, and start enjoying the wonderful world of homemade bread!
Print
Simple No-Knead Artisan Bread
- Total Time: 780 minutes
- Yield: 1 loaf
- Diet: Vegetarian
Description
Enjoy the magic of homemade bread with this easy no-knead artisan bread recipe, yielding a crispy crust and soft, airy interior without the hard work of traditional methods.
Ingredients
- 3 cups all-purpose flour
- 1 ½ teaspoons salt
- ½ teaspoon instant yeast
- 1 ½ cups warm water
Instructions
- In a large bowl, combine flour, salt, and yeast.
- Add warm water and stir until a sticky dough forms.
- Cover the bowl with plastic wrap and let it sit at room temperature for 12-18 hours.
- After the dough has risen and bubbles form on the surface, preheat your oven to 450°F (230°C).
- Place a Dutch oven with its lid in the oven to heat for 30 minutes.
- Meanwhile, turn the dough out onto a floured surface and shape it into a ball.
- Let it rest while the Dutch oven heats.
- Carefully remove the hot Dutch oven, place the dough inside, cover it, and bake for 30 minutes.
- Remove the lid and bake for another 15-20 minutes until the crust is golden brown.
- Let the bread cool on a wire rack before slicing.
Notes
For best results, weigh your flour and ensure your water temperature is warm, not hot. Don’t rush the fermentation process for better flavor.
- Prep Time: 15 minutes
- Cook Time: 45 minutes
- Category: Bread
- Method: Baking
- Cuisine: Homemade