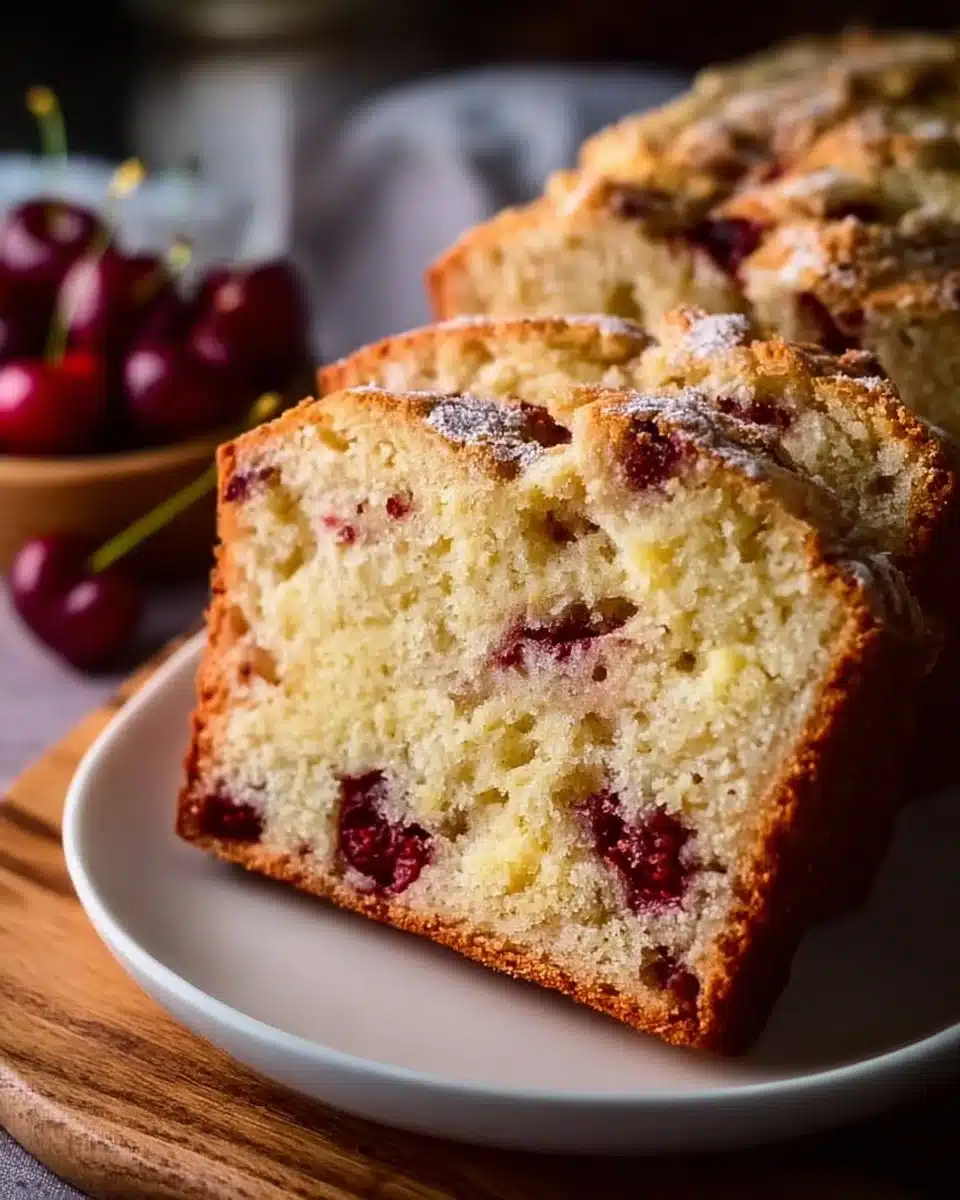
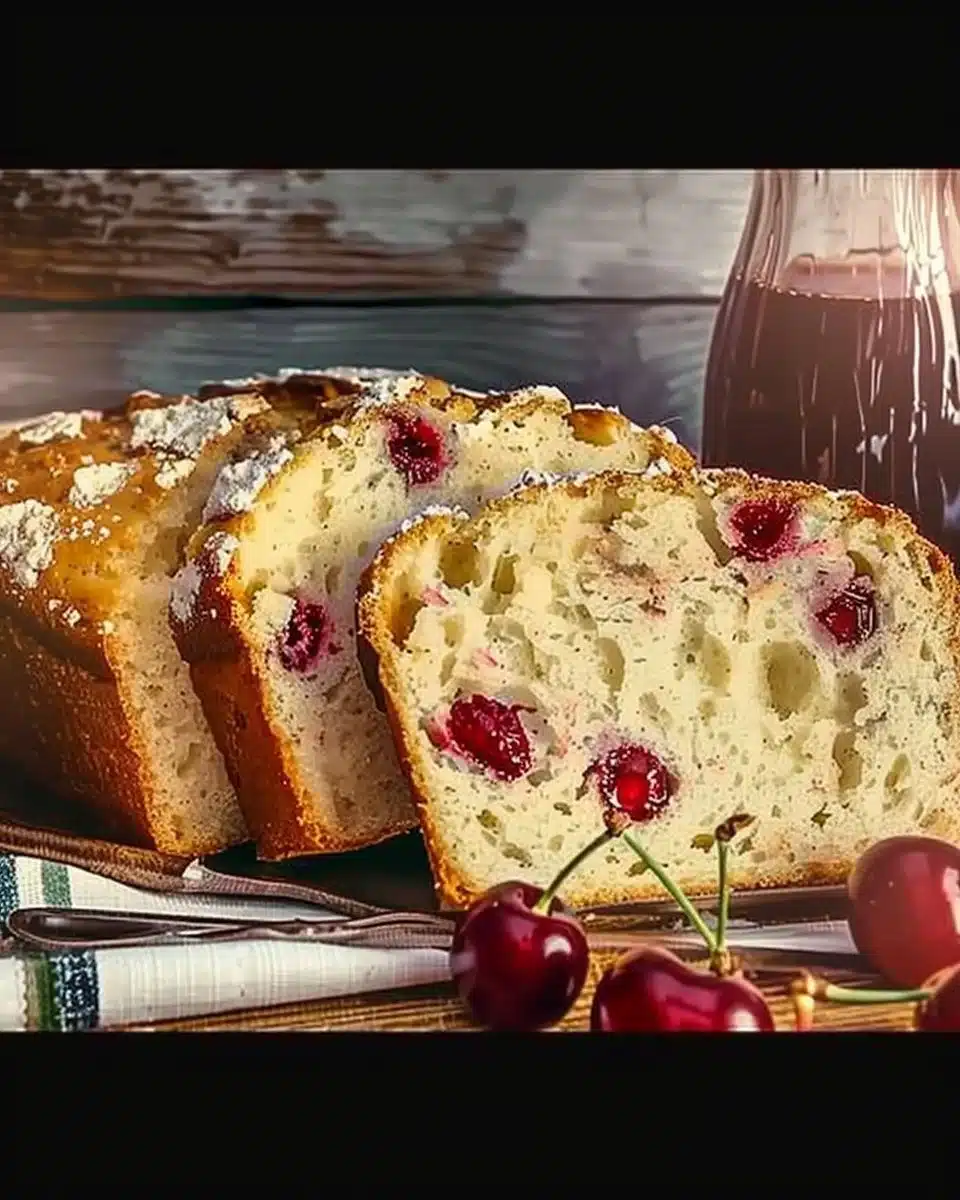
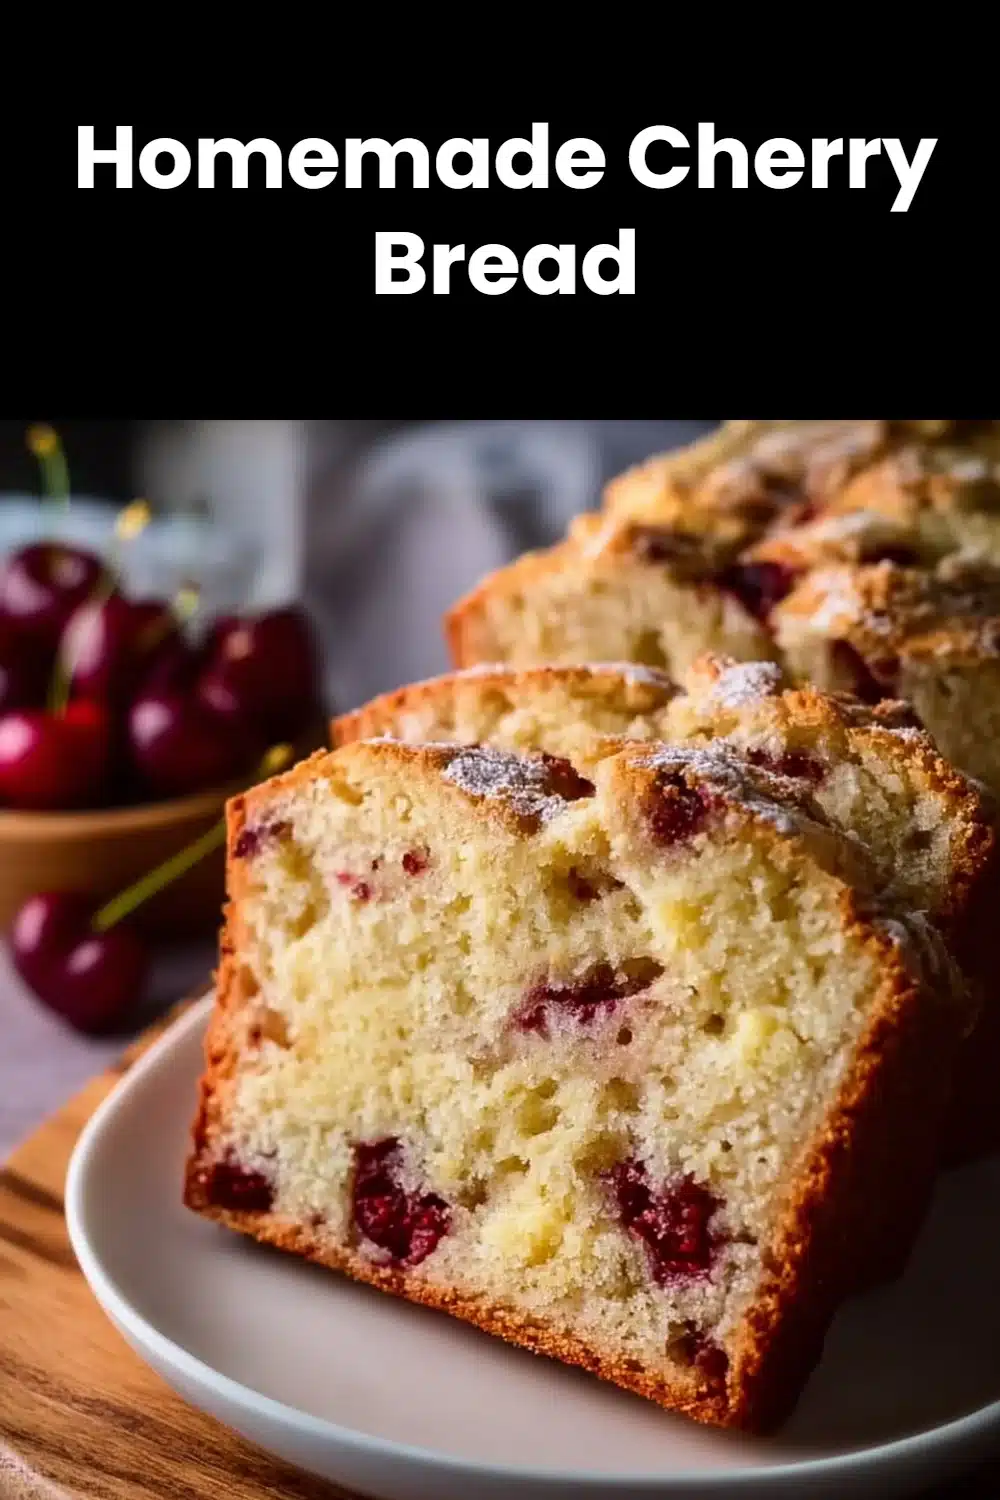
Homemade Cherry Bread
Homemade Cherry Bread is a bright, tender loaf that brings the best of late-summer fruit into a cozy, sliceable cake-bread you can enjoy for breakfast, snack time, or dessert. This recipe balances sweet cherries, rich butter, and a soft crumb, making it approachable for bakers of all levels. If you enjoy experimenting with different loaves, you might also like the texture contrasts in an easy homemade sourdough bread recipe, which offers a very different but equally satisfying baking experience.
This article walks you through why this cherry bread is worth making, ingredient notes and substitutions, clear step-by-step directions, pro tips to ensure success, tasty variations, serving ideas, storage instructions, nutrition estimates, and a helpful FAQ to cover common questions. Whether you’re using fresh summer cherries or fruit from the freezer in the off-season, this loaf is made to be simple, forgiving, and delicious.
Why make this recipe
There are many reasons to reach for this Homemade Cherry Bread recipe. First, it’s a straightforward batter-style loaf—no yeast, no long rises—so you can go from mixing bowl to warm loaf in under an hour and a half. The cherries add both sweetness and a bit of tart brightness that keeps the bread from feeling heavy or cloying. The crumb is tender thanks to the combination of butter, milk, and eggs, which all contribute fat and moisture.
This recipe is versatile: you can use fresh cherries in season or frozen cherries year-round (just thaw and drain them), swap in a different fruit, or add mix-ins like nuts and spices. It’s also a wonderful recipe for sharing—slice it thin for a coffee hour, or pack slices for lunches and picnics. Finally, it’s an approachable project for bakers who want great flavor without complicated techniques.
How to make Homemade Cherry Bread
This simple loaf comes together in two bowls: one for dry ingredients and one for wet. You’ll combine them briefly, fold in cherries, and bake until golden and set. The batter will be thicker than cake batter but still spreadable in the pan. A toothpick inserted near the center should come out mostly clean with a few moist crumbs attached when the bread is done.
- Preheat the oven to 350°F (175°C). Grease a 9×5-inch loaf pan and line it with parchment for easy removal.
- In a large bowl, whisk together the dry ingredients: 2 cups all-purpose flour, 1 cup sugar, 1/2 teaspoon salt, and 1 tablespoon baking powder.
- In a separate bowl, whisk the wet ingredients until smooth: 1/2 cup unsalted butter, melted and slightly cooled; 1 cup milk; 2 large eggs; and 1 teaspoon vanilla extract.
- Make a well in the center of the dry ingredients and pour in the wet mixture. Stir gently until just combined—do not overmix.
- Fold in 1 1/2 cups pitted and halved fresh or thawed, drained cherries. If the cherries are very juicy, toss them with a small spoonful of flour before folding in to prevent streaking and sinking.
- Spoon the batter into the prepared loaf pan and smooth the top. If you’d like, scatter a few halved cherries on top for an attractive finish.
- Bake on the middle rack for 50–65 minutes, or until the top is golden and a toothpick comes out mostly clean. If the top browns too quickly, tent the loaf loosely with foil after 35–40 minutes.
- Let the loaf cool in the pan for 10–15 minutes, then lift it out using the parchment and cool completely on a rack before slicing. Cooling fully prevents a gummy interior and makes clean slices easier.
Ingredients
- 2 cups all-purpose flour (Opt for a good-quality brand like King Arthur Flour for consistent results.)
- 1 cup sugar (Granulated sugar works best, but brown sugar can be used for a hint of caramel flavor.)
- 1/2 teaspoon salt (Enhances all the flavors.)
- 1 tablespoon baking powder (Make sure it’s fresh for optimal rise.)
- 1/2 cup unsalted butter, melted (Use butter at room temperature for easier mixing.)
- 1 cup milk (Whole milk is ideal for moisture, but any milk or substitute will do.)
- 2 large eggs (Use them at room temperature for better incorporation.)
- 1 teaspoon vanilla extract (Pure vanilla extract elevates the flavor.)
- 1 1/2 cups fresh or frozen cherries, pitted and halved (If using frozen, thaw and drain excess liquid.)
Ingredient notes and substitutions:
- Flour: All-purpose flour creates a tender crumb with enough structure. For a slightly heartier loaf, substitute up to 50% whole-wheat pastry flour, but expect a denser texture.
- Sugar: Granulated sugar is standard. Swap half of the sugar for light brown sugar for deeper flavor, or use coconut sugar for a more subtle caramel note.
- Fat: Unsalted butter gives the best flavor control; if you only have salted butter, reduce added salt by half. For a dairy-free option, use melted coconut oil or a neutral vegetable oil, but the flavor will shift slightly.
- Milk: Whole milk yields the richest loaf, but you can use 2% or a plant milk (almond, oat) in equal amounts. If using plant milks, choose unsweetened to avoid altering sweetness.
- Eggs: Room-temperature eggs blend more evenly. For an egg-free version, try substituting two flax eggs (2 tbsp flaxseed meal + 6 tbsp water, mixed and set 5 minutes) though texture will be a touch denser.
- Cherries: Fresh cherries give the best texture, but frozen work well. Thaw and drain thoroughly; toss with a teaspoon of flour to minimize bleeding into the batter.
Directions
Preparation
- Preheat and prepare: Preheat the oven to 350°F (175°C). Grease and line a 9×5-inch loaf pan with parchment paper, leaving an overhang for easy removal.
- Dry ingredients: In a large mixing bowl, whisk together 2 cups all-purpose flour, 1 cup sugar, 1/2 teaspoon salt, and 1 tablespoon baking powder until evenly combined.
- Wet ingredients: In a medium bowl, whisk 1/2 cup melted unsalted butter, 1 cup milk, 2 large eggs, and 1 teaspoon vanilla extract until smooth.
- Combine: Make a well in the dry ingredients and add the wet mixture. Stir gently with a spatula or wooden spoon until just combined—streaks of flour are okay. Do not overmix.
- Add cherries: Fold in 1 1/2 cups pitted and halved cherries. If cherries are wet, toss with 1–2 teaspoons of flour before folding in to prevent excess moisture from weighing down the batter.
- Bake: Transfer batter to the prepared loaf pan and smooth the top. Bake 50–65 minutes, checking at 50 minutes. If the top browns too fast, tent with foil. A toothpick inserted near the center should come out clean or with a few moist crumbs.
- Cool: Allow the bread to cool in the pan for 10–15 minutes, then use the parchment overhang to lift it out. Cool completely on a wire rack before slicing for best texture.
Pro Tips for Success Homemade Cherry Bread
- Use room-temperature ingredients. Eggs and milk straight from the fridge can cause the batter to seize slightly and affect the final rise. Bring them to room temperature for smoother mixing.
- Don’t overmix. Once the wet and dry ingredients are combined, stop. Overmixing develops gluten, which can make the loaf tough instead of tender.
- Drain frozen cherries well. Excess water from frozen fruit is the most common cause of a dense or gummy loaf. Thaw, drain, and even pat cherries with a paper towel before tossing with flour.
- Measure flour correctly. Spoon flour into a measuring cup and level it off with a knife. Scooping directly with the cup packs more flour and can dry out the loaf.
- Protect the top. If the loaf edges are browning more quickly than the center is baking, loosely tent a sheet of foil over the top halfway through baking to prevent over-browning.
- Let it cool fully. While it’s tempting to slice warm bread, cooling allows the crumb to set and gives much cleaner slices.
Flavor Variations Homemade Cherry Bread
- Almond-Cherry: Substitute 1/2 teaspoon almond extract for half of the vanilla and sprinkle sliced almonds on top before baking. Almond and cherry are a classic pairing that amplifies the nutty, fruity profile.
- Chocolate Cherry: Fold in 1/2 cup mini chocolate chips or 1/3 cup cocoa powder to the batter for a black-forest inspired loaf. If adding cocoa powder, reduce flour by the same amount and add 1–2 tablespoons extra milk if batter seems thick.
- Lemon Cherry: Add 1 tablespoon lemon zest to the batter and a squeeze of lemon juice for bright citrus notes. Top the cooled loaf with a thin lemon glaze for a tangy finish.
- Oat-Topped Cherry: Fold 1/2 cup rolled oats into the batter and sprinkle more on top for added texture and a hearty breakfast loaf.
- Cottage-Cheese Inspired: To make a softer, more moist crumb reminiscent of dairy-rich breads like some two-ingredient loaves, experiment with strategic dairy swaps—see techniques similar to the light texture in a 2-ingredient cottage cheese bread for inspiration.
Serving Suggestions Homemade Cherry Bread
This cherry bread is versatile and pairs well with both sweet and savory accompaniments. Serve slightly warmed with a pat of butter or a smear of cream cheese for breakfast. For dessert, toast slices and top with a dollop of whipped cream or a scoop of vanilla ice cream and a drizzle of warm cherry compote. Pair thin slices with a strong cup of coffee or a milder green tea; the fruit brightens richer beverages. For a brunch board, slice and serve alongside fresh fruit, soft cheeses, and toasted nuts.
Storage and Freezing Instructions Homemade Cherry Bread
- At room temperature: Wrapped tightly in plastic wrap or stored in an airtight container, the loaf will keep well for up to 2 days on the counter. Keep it in a cool, dry place away from direct sunlight.
- Refrigeration: To extend freshness, wrap the chilled loaf tightly and store in the refrigerator for up to 5 days. Note that refrigeration may slightly dry the crumb; bring slices to room temperature before serving, or briefly warm them in a toaster oven.
- Freezing: For longer storage, wrap the cooled loaf tightly in plastic wrap, then in aluminum foil, or place slices in a freezer-safe bag with air removed. Freeze up to 3 months. Thaw overnight in the refrigerator or at room temperature for a few hours. Reheat slices in a microwave or toaster oven to restore freshness.
- Tips for reheating: Gently warm slices in a 300°F oven for 8–10 minutes or microwave for 15–25 seconds. Topping with a little butter or jam while reheating will refresh moisture.
Nutrition Facts (Per Serving)
These estimates assume 12 even slices per loaf. Values are approximate and will vary with exact brands and ingredient substitutions.
- Calories: ~240 kcal
- Protein: ~3.8 g
- Carbohydrates: ~36 g
- Fat: ~9.5 g
- Fiber: ~1.1 g
- Sodium: ~175 mg
Nutrition note: Substituting whole-wheat flour will increase fiber, while using lower-fat milk or oil will change fat totals. Adding nuts increases protein and healthy fats; chocolate chips will raise sugar and calorie counts.
FAQ About Homemade Cherry Bread
What kind of cherries should I use for best results?
Fresh cherries are ideal for texture and flavor when in season. Sweet cherries (like Bing or Rainier) provide a naturally sweet, juicy bite, while tart cherries (like Montmorency) give a pleasant tang that balances the sweetness of the batter. If fresh cherries aren’t available, frozen cherries work well—just make sure to thaw and drain them thoroughly, and toss with a teaspoon of flour before folding into the batter to prevent excess moisture and streaking.
Can I use pitted canned cherries instead of fresh or frozen?
Canned cherries are an option but require careful handling because they’re packed in syrup and can make the batter too wet. Rinse canned cherries to remove syrup and pat them dry thoroughly before use. If they’re still very juicy, use fewer cherries or increase the dry ingredients slightly to maintain proper batter consistency.
Why did my bread sink in the middle?
A sinkhole or dense middle usually happens from underbaking, too much moisture, or overmixing. Make sure your baking powder is fresh and that you preheated the oven properly. Avoid overmixing once you combine wet and dry ingredients; stir until just combined. If using frozen cherries, ensure they’re well-drained to prevent extra liquid from weighing down the center.
How can I prevent cherries from sinking to the bottom of the loaf?
Lightly dusting the drained cherries with a teaspoon or two of flour helps them “stick” in the batter and stay suspended during baking. Also, fold cherries into the batter gently and quickly to avoid breaking them up and releasing more juice that could cause sinking.
Can I make this recipe into muffins instead of a loaf?
Yes. Line a muffin tin with paper liners and fill each cup about two-thirds full. Bake at 350°F (175°C) for about 18–22 minutes or until a toothpick comes out clean. Muffins will bake faster, so check earlier than you would a loaf to prevent overbaking.
Will this recipe work with other fruits, like blueberries or apples?
Absolutely. Blueberries are the easiest swap and require no extra changes beyond possibly tossing with a teaspoon of flour. Apples should be peeled and diced; since they hold more water than cherries and can release juice, consider reducing any added milk slightly to keep batter consistency similar. Stone fruits like peaches or plums also work well when cut into uniform small pieces.
How can I make a glaze or topping for extra flavor?
A simple glaze is powdered sugar mixed with a little milk or lemon juice until pourable—about 1 cup powdered sugar to 1–2 tablespoons liquid. Drizzle over cooled bread. For a textured topping, mix 2 tablespoons softened butter, 2 tablespoons brown sugar, and 2 tablespoons flour to make a crumble and sprinkle on top before baking.
Is this recipe freezer-friendly if I make a big batch?
Yes. Cool the loaf completely, then wrap tightly in plastic and foil, or slice and bag portions individually. Frozen slices are convenient for quick breakfasts—toast or microwave briefly to warm. The loaf will keep well for up to 3 months when frozen properly.
Final Thoughts
Homemade Cherry Bread is an inviting and adaptable bake that shines with seasonal fruit yet remains friendly year-round via frozen cherries. It’s quick to prepare, forgiving for bakers at every level, and flexible enough for countless variations—from almond-cherry to chocolate-cherry twists. Follow the simple tips above—room-temperature ingredients, gentle mixing, and careful handling of wet fruit—and you’ll have a loaf with a tender crumb and bright flavor every time. Enjoy generous slices with your morning coffee, pack a few for a picnic, or serve thin slices for dessert with a scoop of ice cream.
Print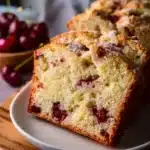
Homemade Cherry Bread
- Total Time: 80 minutes
- Yield: 12 servings
- Diet: Vegetarian
Description
A bright and tender loaf using fresh or frozen cherries, perfect for breakfast, snacks, or dessert.
Ingredients
- 2 cups all-purpose flour
- 1 cup sugar
- 1/2 teaspoon salt
- 1 tablespoon baking powder
- 1/2 cup unsalted butter, melted
- 1 cup milk
- 2 large eggs
- 1 teaspoon vanilla extract
- 1 1/2 cups fresh or frozen cherries, pitted and halved
Instructions
- Preheat the oven to 350°F (175°C) and grease a 9×5-inch loaf pan.
- Whisk together the dry ingredients in a large bowl.
- Whisk the wet ingredients in a separate bowl until smooth.
- Make a well in the dry ingredients and pour in the wet mixture, stirring gently until just combined.
- Fold in the cherries, ensuring they’re coated with a little flour if very juicy.
- Spoon the batter into the prepared pan and smooth the top.
- Bake for 50–65 minutes, until golden and a toothpick comes out mostly clean.
- Cool in the pan for 10–15 minutes before transferring to a rack to cool completely.
Notes
For best results, use room-temperature ingredients and avoid overmixing to maintain a tender crumb.
- Prep Time: 15 minutes
- Cook Time: 65 minutes
- Category: Bread
- Method: Baking
- Cuisine: American