Celebrating the news of a new addition to the family is always a joyful occasion, and there’s no better way to share that excitement than with a gender reveal cake. The moment when you slice into the cake and reveal the pink or blue interior is not only thrilling but also a fun and memorable experience. In this post, we’ll walk you through how to make a beautiful, delicious, and fun gender reveal cake that will steal the show at your celebration.
From choosing the right ingredients to decorating and cutting the cake, we’ll cover everything you need to know to make this sweet moment unforgettable. Whether you’re a seasoned baker or a first-time cake decorator, this cake is approachable, fun, and sure to impress!

Key Benefits of a Gender Reveal Cake
A gender reveal cake is more than just a delicious dessert—it’s an experience. Here are some key benefits to making one:
- Exciting Surprise: The moment of cutting into the cake and revealing the gender is one of the most exciting parts of a gender reveal party.
- Memorable Moment: The cake serves as a perfect centerpiece for photos, making it an unforgettable part of your celebration.
- Customizable: You can choose the flavors, colors, and decorations that best match your theme, making it a highly personal and fun project.
- Family-Friendly: Gender reveal cakes are a sweet treat that both kids and adults will enjoy, ensuring everyone feels included in the moment.
- Versatility: From simple vanilla to decadent chocolate, you can experiment with different cake flavors and fillings to suit every taste.
Ingredients for the Gender Reveal Cake
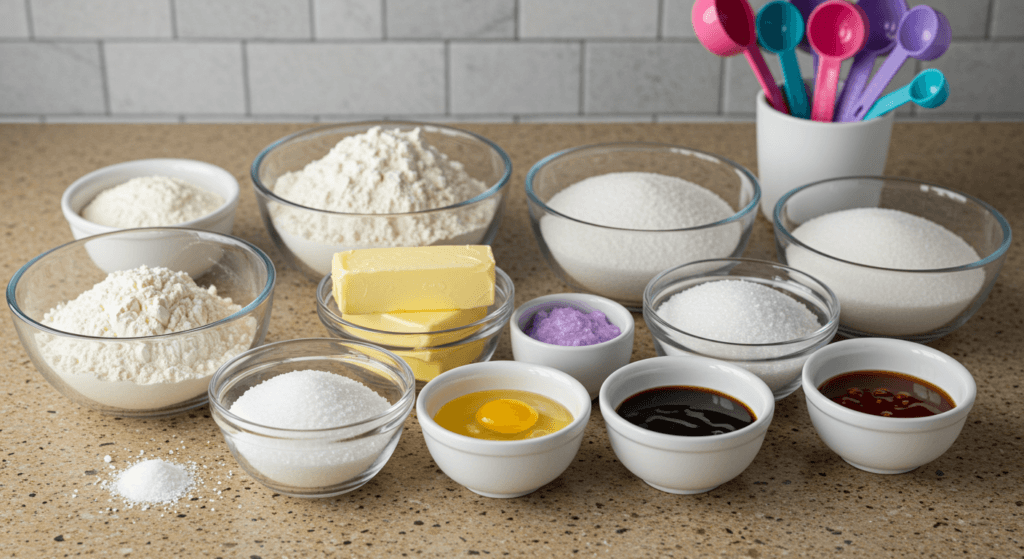
When making a gender reveal cake, it’s essential to use high-quality ingredients that will ensure a moist and flavorful cake. Here’s what you’ll need:
For the Cake Layers:
- 2 ½ cups all-purpose flour
- 2 ½ teaspoons baking powder
- ½ teaspoon salt
- 1 cup unsalted butter, softened
- 1 ½ cups granulated sugar
- 4 large eggs
- 2 teaspoons vanilla extract
- 1 cup whole milk
- Pink or blue food coloring (for the inside reveal)
For the Buttercream Frosting:
- 1 cup unsalted butter, softened
- 4 cups powdered sugar
- 2 teaspoons vanilla extract
- 2-4 tablespoons of heavy cream or milk (adjust as needed for desired consistency)
- A pinch of salt
For the Surprise Filling (Optional):
- Pink or blue candy or sprinkles (optional for extra fun!)
Instructions for the Gender Reveal Cake
With your ingredients ready, let’s dive into baking! Follow these steps for a picture-perfect gender reveal cake.
Step 1: Prepare the Cake Layers
- Preheat your oven to 350°F (175°C). Prepare two round cake pans (8-inch or 9-inch) by greasing and lining them with parchment paper.
- In a medium-sized bowl, whisk the flour, baking powder, and salt until well combined. Set aside.
- In a separate large mixing bowl, beat the softened butter and sugar together until the mixture becomes light and fluffy, about 3-4 minutes.
- Add the eggs one at a time, beating well after each addition to ensure they are fully incorporated before adding the next. Stir in the vanilla extract.
- Gradually incorporate the dry ingredients into the wet ingredients, alternating with the milk. Start and finish with the dry ingredients, mixing gently until just combined.
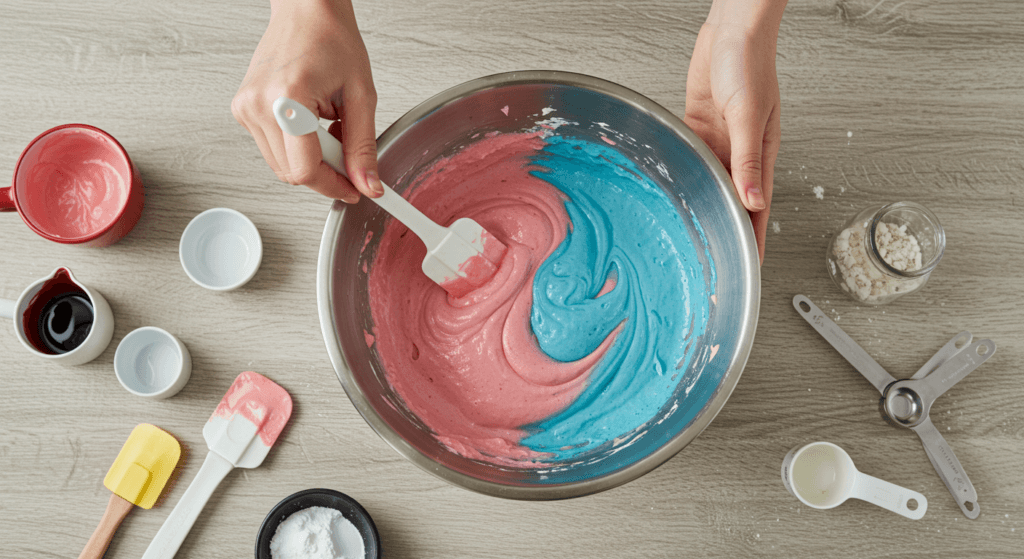
- Divide the batter evenly into two bowls. Add a few drops of pink or blue food coloring to one of the bowls and mix until you reach your desired shade.
- Pour the colored batter into one cake pan and the plain batter into the other cake pan.
- Bake both cakes in the preheated oven for 25-30 minutes, or until a toothpick inserted into the center comes out clean. Let the cakes cool completely in the pans before carefully removing them.
Step 2: Make the Buttercream Frosting
- In a large bowl, beat the softened butter with an electric mixer until it becomes creamy and smooth.
- Slowly add the powdered sugar, one cup at a time, beating well after each addition.
- Add vanilla extract and a pinch of salt. Slowly add the heavy cream or milk, one tablespoon at a time, until the frosting reaches your desired consistency.
- Continue beating the frosting for an additional 2-3 minutes to achieve a light and fluffy texture.
Step 3: Assemble the Cake
- Once the cakes are completely cool, place one of the cakes on your cake stand or serving plate.
- Carefully slice a small hole in the center of the cake to create a space for the surprise (if you are adding candy or sprinkles).
- Fill the hole with your pink or blue candy or sprinkles, depending on the gender you are revealing.
- Place the second cake layer on top, making sure the colored side is facing down.
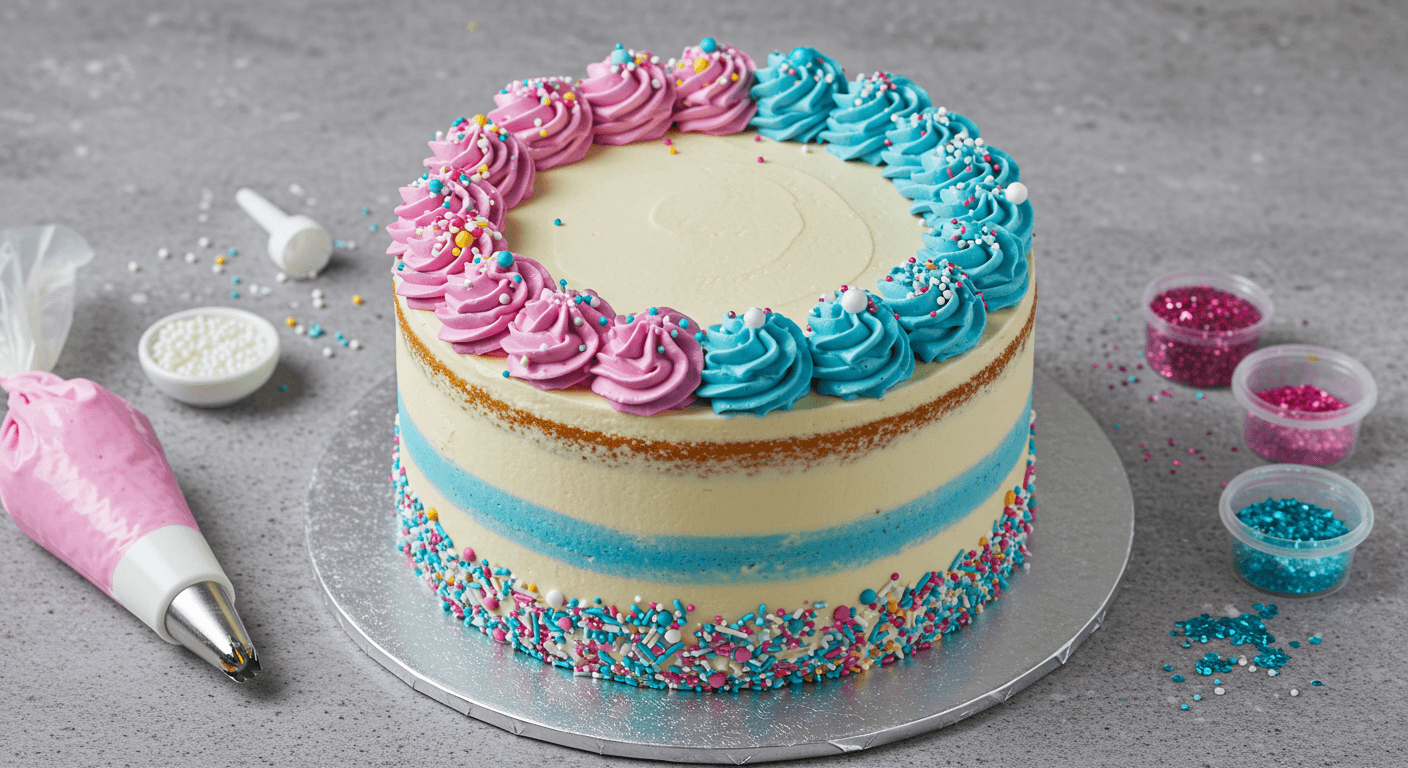
- Frost the entire cake with the buttercream frosting. Use a spatula to smooth the frosting, or get creative with a piping bag to add designs or borders.
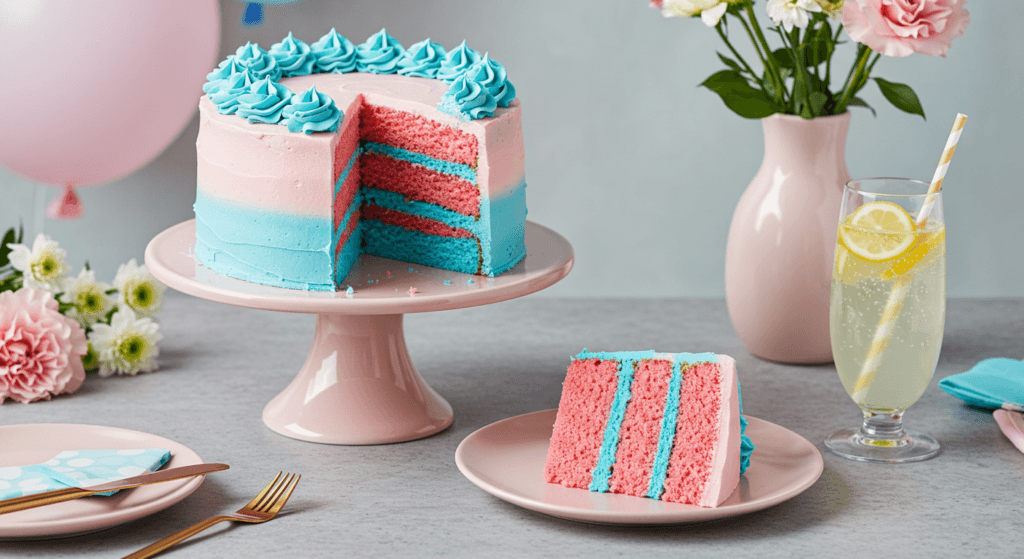
Step 4: The Big Reveal
Once your cake is frosted, it’s ready to be sliced and enjoyed. Whether you’re hosting a party or simply sharing the news with your loved ones, this is the moment everyone has been waiting for! As you cut the cake, the colorful interior will reveal the gender, and cheers will follow as everyone celebrates your exciting news.
Pro Tips and Variations
Here are some additional tips to help you perfect your gender reveal cake:
- Food Coloring: Ensure the food coloring you use is gel-based for the most vibrant colors.
- Flavor Options: Feel free to swap out the vanilla cake flavor for other flavors like chocolate, lemon, or strawberry. Just make sure the batter is thick enough to hold the surprise.
- Filling Options: For an extra twist, you can add a hidden layer of frosting or jam in the center before assembling the cake.
- Decorative Touches: Get creative with the cake’s appearance! You can decorate the outside with colored sprinkles, edible glitter, or even fondant for a more polished look.
Serving Suggestions
Once you cut the cake, the fun doesn’t stop! Here are some ideas on how to serve your gender reveal cake:
- For a Big Party: Slice the cake into generous portions and serve with a scoop of ice cream or whipped cream for added indulgence.
- For a More Intimate Gathering: Keep it simple by serving the cake with fresh fruit or a light dusting of powdered sugar to complement the rich flavors.
- Mini Cake Variations: Make individual mini gender reveal cakes for a unique party favor that guests can take home and enjoy!
Recipe Recap: Gender Reveal Cake
- Prep Time: 30 minutes
- Cook Time: 25-30 minutes
- Total Time: 1 hour
- Servings: 12-16 slices
- Calories per Serving: 350 kcal (approx.)
Nutrition Information (per serving)
- Calories: 350 kcal
- Fat: 15g
- Carbohydrates: 50g
- Protein: 3g
- Sodium: 220mg
Categorize the Recipe
- Course: Dessert
- Cuisine: American
- Diet: Vegetarian
- Method: Baking
- Keyword: Gender Reveal Cake
- Skill Level: Intermediate
Conclusion
A gender reveal cake is a perfect way to celebrate one of the most exciting moments in your life. Whether you’re revealing whether you’re having a boy or girl, or simply enjoying the company of family and friends, this cake adds a fun twist to the occasion. By following our step-by-step instructions, tips, and serving suggestions, you can easily create a show-stopping dessert that everyone will remember.
Remember, while the surprise inside is the highlight, the joy comes from sharing this experience with those you love. So get creative, have fun with the process, and celebrate the big reveal in the most delicious way possible! Enjoy baking your gender reveal cake and celebrating this special time with family and friends.
FAQs
u003cstrongu003e1. Can I make a gluten-free gender reveal cake?u003c/strongu003e
Yes! You can easily substitute the all-purpose flour with a gluten-free flour blend. Be sure to check the rest of the ingredients to ensure they’re also gluten-free.
u003cstrongu003e2. Can I use a different color for the cake reveal?u003c/strongu003e
Absolutely! You can choose any color that suits your theme or personal preference. Simply use a different color of food coloring for the cake’s interior.
u003cstrongu003e3. Can I make the cake in advance?u003c/strongu003e
Yes, you can bake the cake a day in advance. Just store the cooled cake layers tightly wrapped in plastic wrap and refrigerate. Frost and assemble the cake on the day of your celebration.
u003cstrongu003e4. How can I make this cake dairy-free?u003c/strongu003e
To make a dairy-free cake, replace the butter with a dairy-free butter substitute and use dairy-free milk (like almond or oat milk). The frosting can also be made dairy-free by using dairy-free butter and milk.
u003cstrongu003e5. How can I keep the surprise filling from leaking?u003c/strongu003e
Make sure the hole in the cake is not too big, and the colored candy or sprinkles are compact in the center. You can also frost the inside edges to help keep the surprise contained until you’re ready to cut.
Gender Reveal Cake
- Total Time: 60 minutes
- Yield: 12-16 slices
- Diet: Vegetarian
Description
A delightful cake that reveals the gender of your baby with a colorful surprise inside, perfect for celebrating special moments.
Ingredients
- 2 ½ cups all-purpose flour
- 2 ½ teaspoons baking powder
- ½ teaspoon salt
- 1 cup unsalted butter, softened
- 1 ½ cups granulated sugar
- 4 large eggs
- 2 teaspoons vanilla extract
- 1 cup whole milk
- Pink or blue food coloring (for the inside reveal)
- For the Buttercream Frosting:
- 1 cup unsalted butter, softened
- 4 cups powdered sugar
- 2 teaspoons vanilla extract
- 2-4 tablespoons of heavy cream or milk (adjust as needed for desired consistency)
- A pinch of salt
- For the Surprise Filling (Optional):
- Pink or blue candy or sprinkles (optional for extra fun!)
Instructions
- Preheat your oven to 350°F (175°C) and prepare two round cake pans by greasing and lining them with parchment paper.
- Whisk together flour, baking powder, and salt in a medium bowl. Set aside.
- In a large mixing bowl, beat the softened butter and sugar until light and fluffy, about 3-4 minutes. Add eggs one at a time, mixing well after each. Stir in the vanilla.
- Gradually incorporate the dry ingredients alternating with the milk, starting and finishing with dry ingredients. Mix gently until just combined.
- Divide the batter; add food coloring to one bowl until desired shade is reached. Pour colored batter into one pan and plain batter into the other.
- Bake for 25-30 minutes; cool completely in pans before removing.
- For the frosting, beat softened butter until creamy, then gradually add powdered sugar, mixing well. Add vanilla and salt. Adjust consistency with cream or milk.
- Once cool, place one cake on a stand, create a hole for the candy/sprinkles, fill, and top with the second layer, colored side down. Frost the entire cake.
- Slice and enjoy your big reveal!
Notes
Ensure food coloring is gel-based for vibrant colors. This cake can be customized with different flavors.
- Prep Time: 30 minutes
- Cook Time: 30 minutes
- Category: Dessert
- Method: Baking
- Cuisine: American